This article explains the requirements and test process for Pearson VUE integration.
Creating a Pearson VUE test
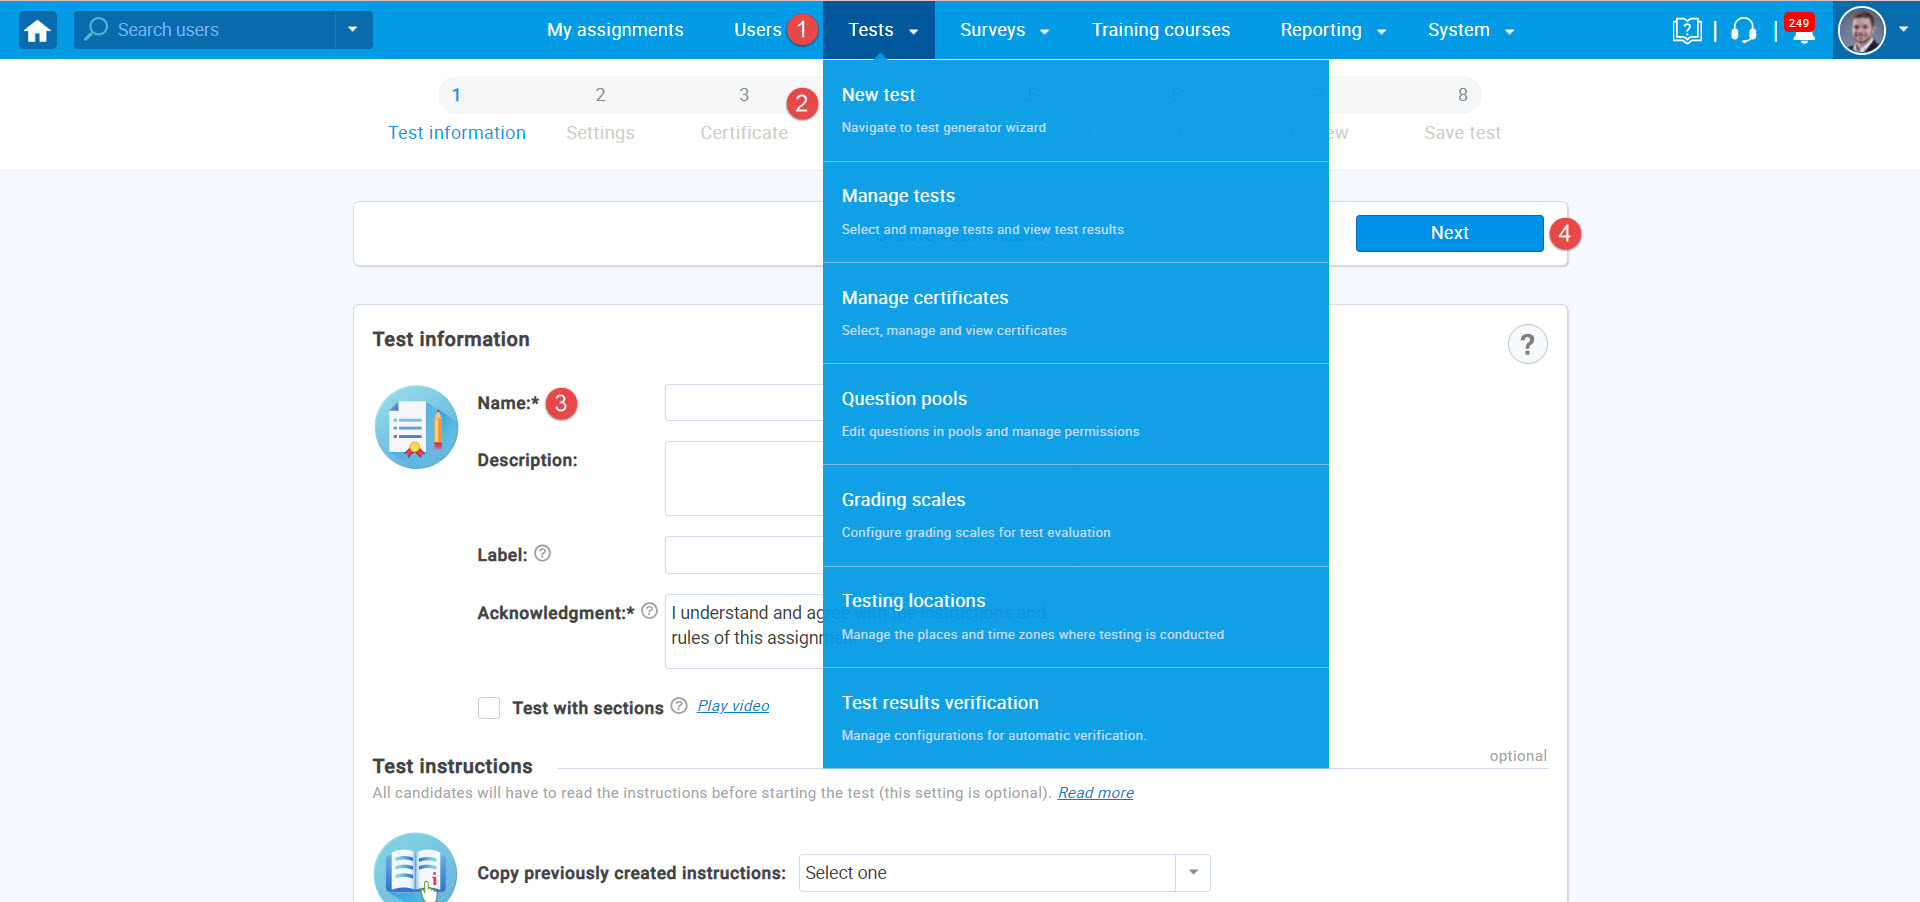
To create a Pearson VUE test, do the following:
- Navigate to the “Tests” tab in the main menu.
- Select the “New test” tab.
- Enter the name of the test.
- Select the “Next button“.
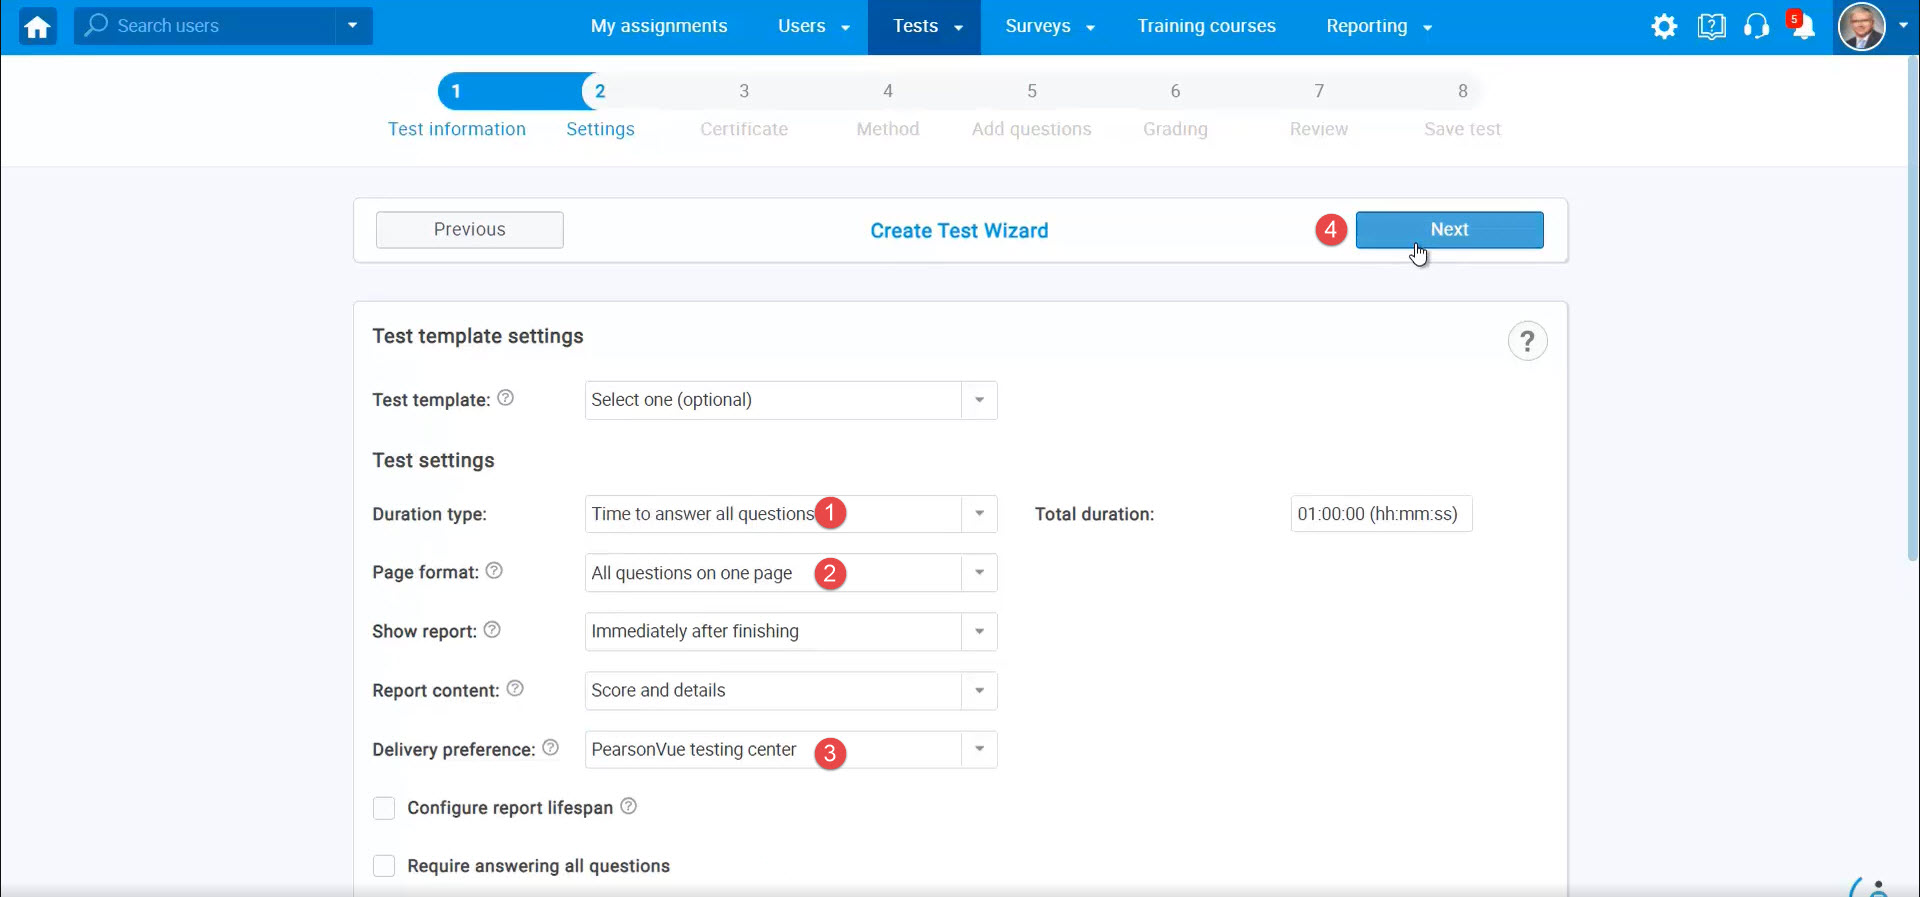
The test can be configured by:
- Changing the duration of the test.
- Change how the questions will be shown to the candidate.
- Changing the “Delivery preferences” option to “PearsonVUE testing center“.
- Click on the “Next” button to go through other steps.
In the fourth step, choose the “Test generator option“.
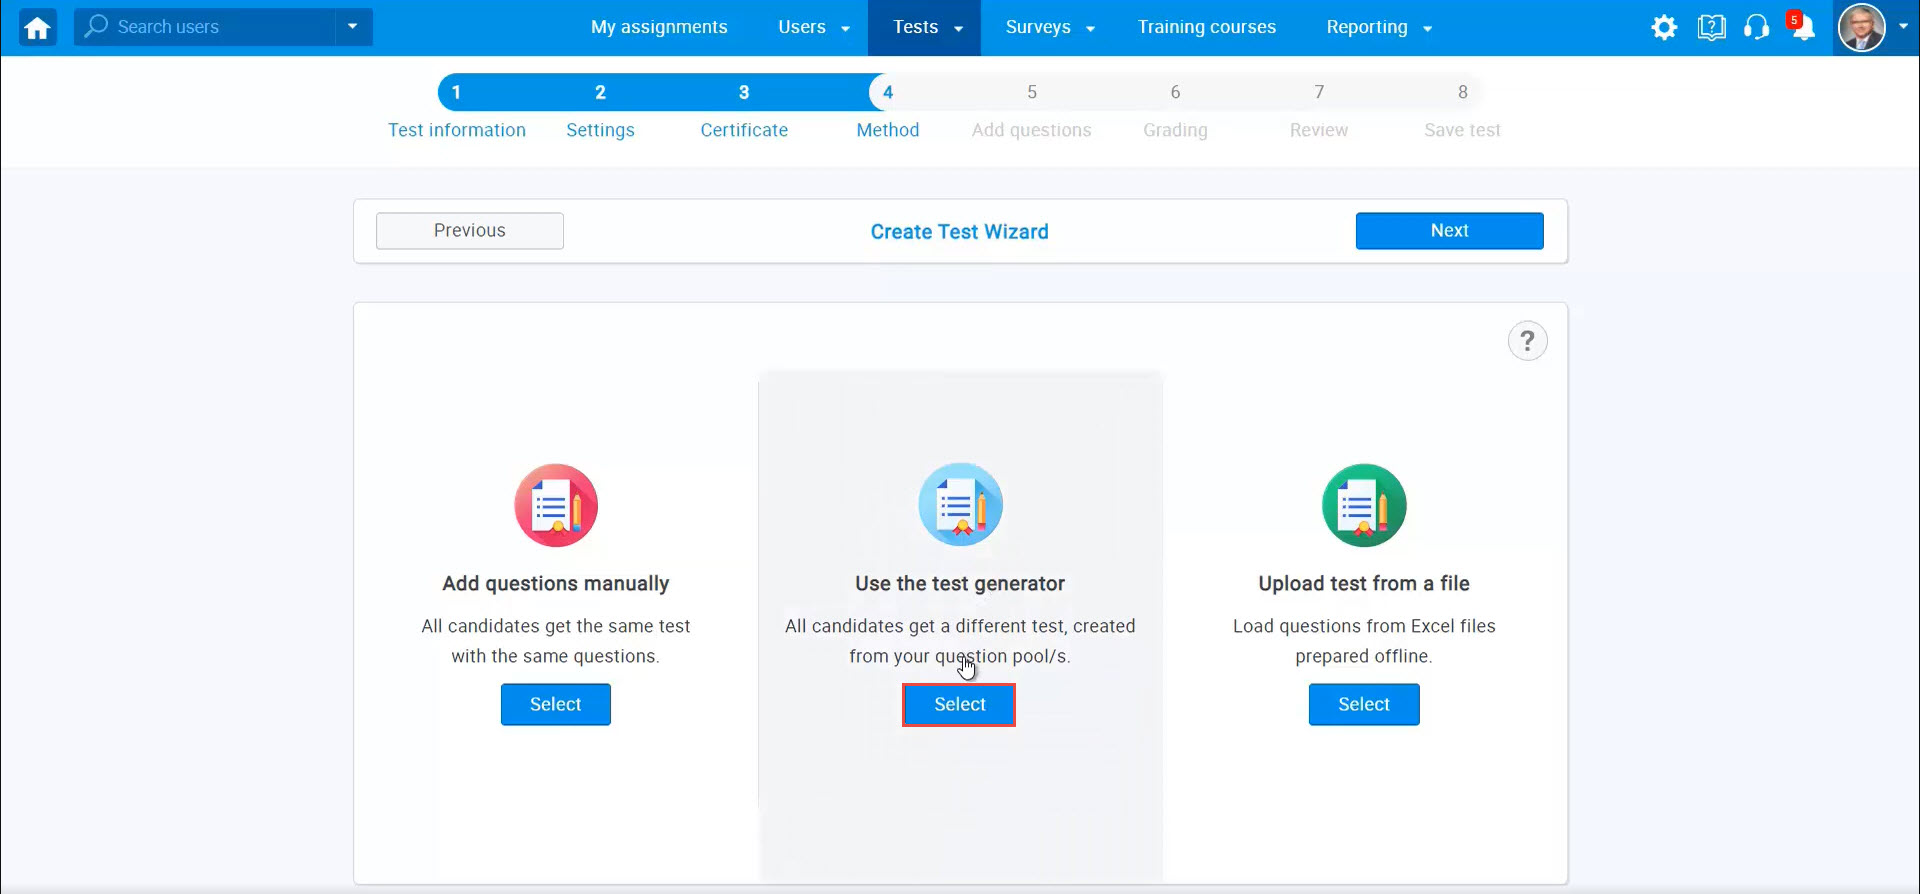
Note: The test generator will import questions from question pools and create multiple test versions of the same test.
Click on the “Add question pool” button to select question pools from which questions will be taken to create different test versions. To import the results from PearsonVUE, all the questions from the question pool must be a single choice.
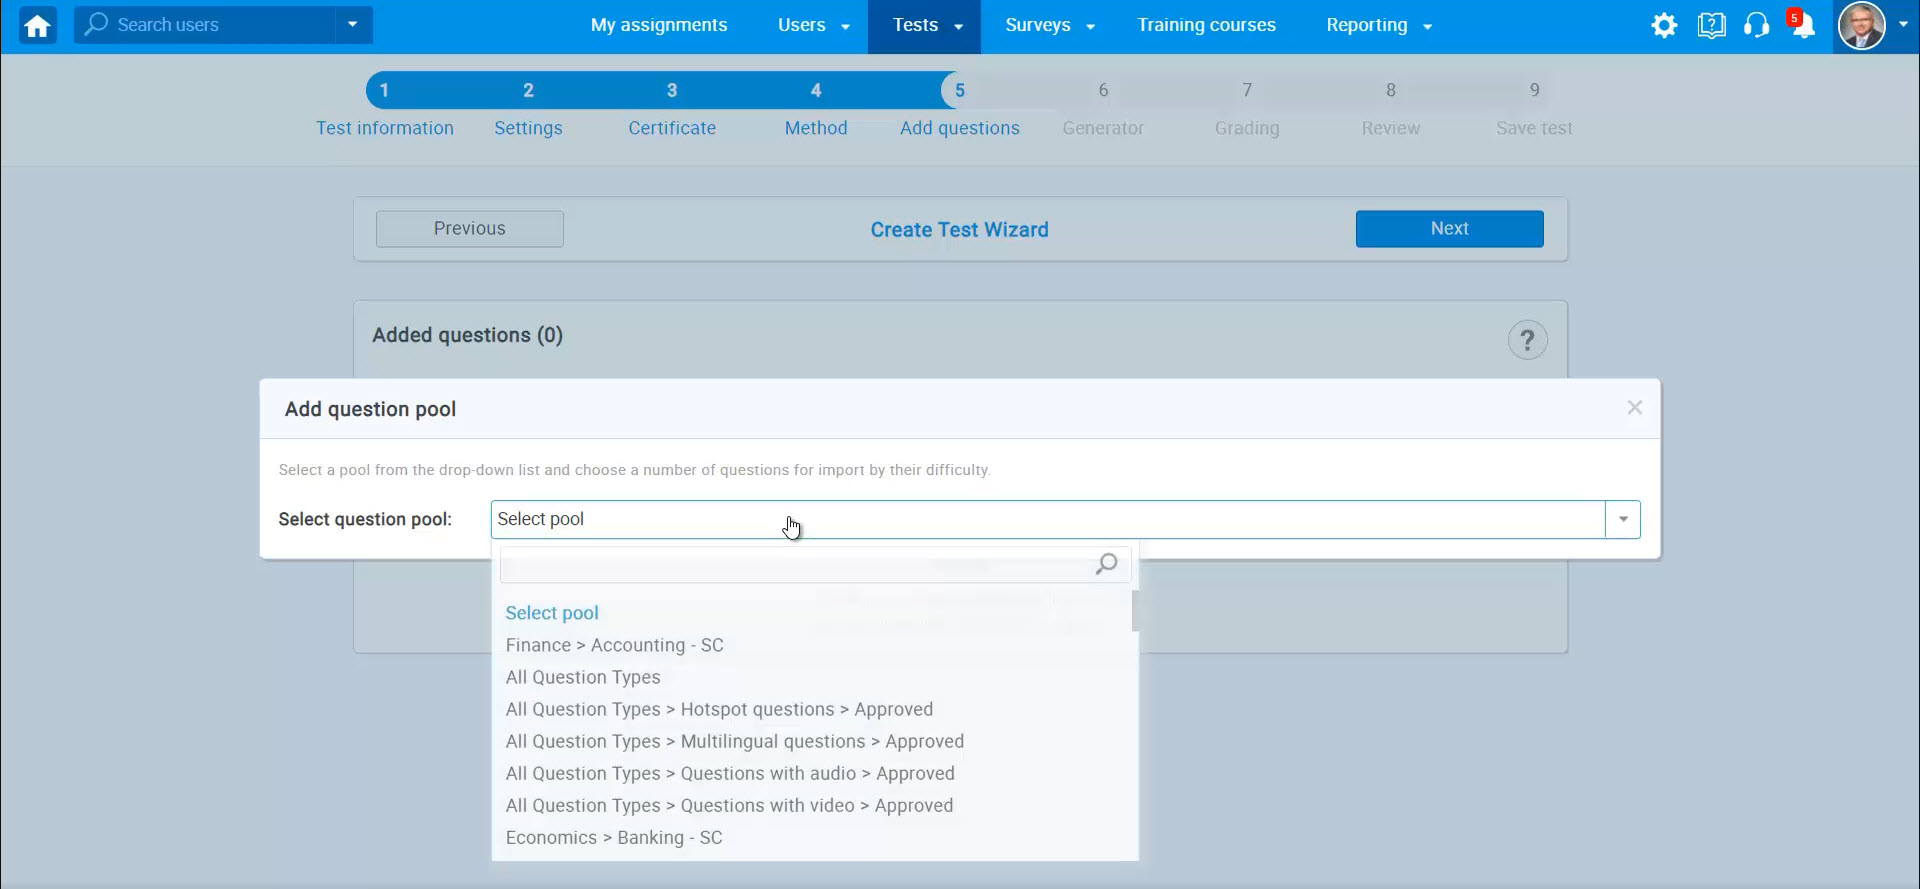
There can be added as many pools while following the same steps.
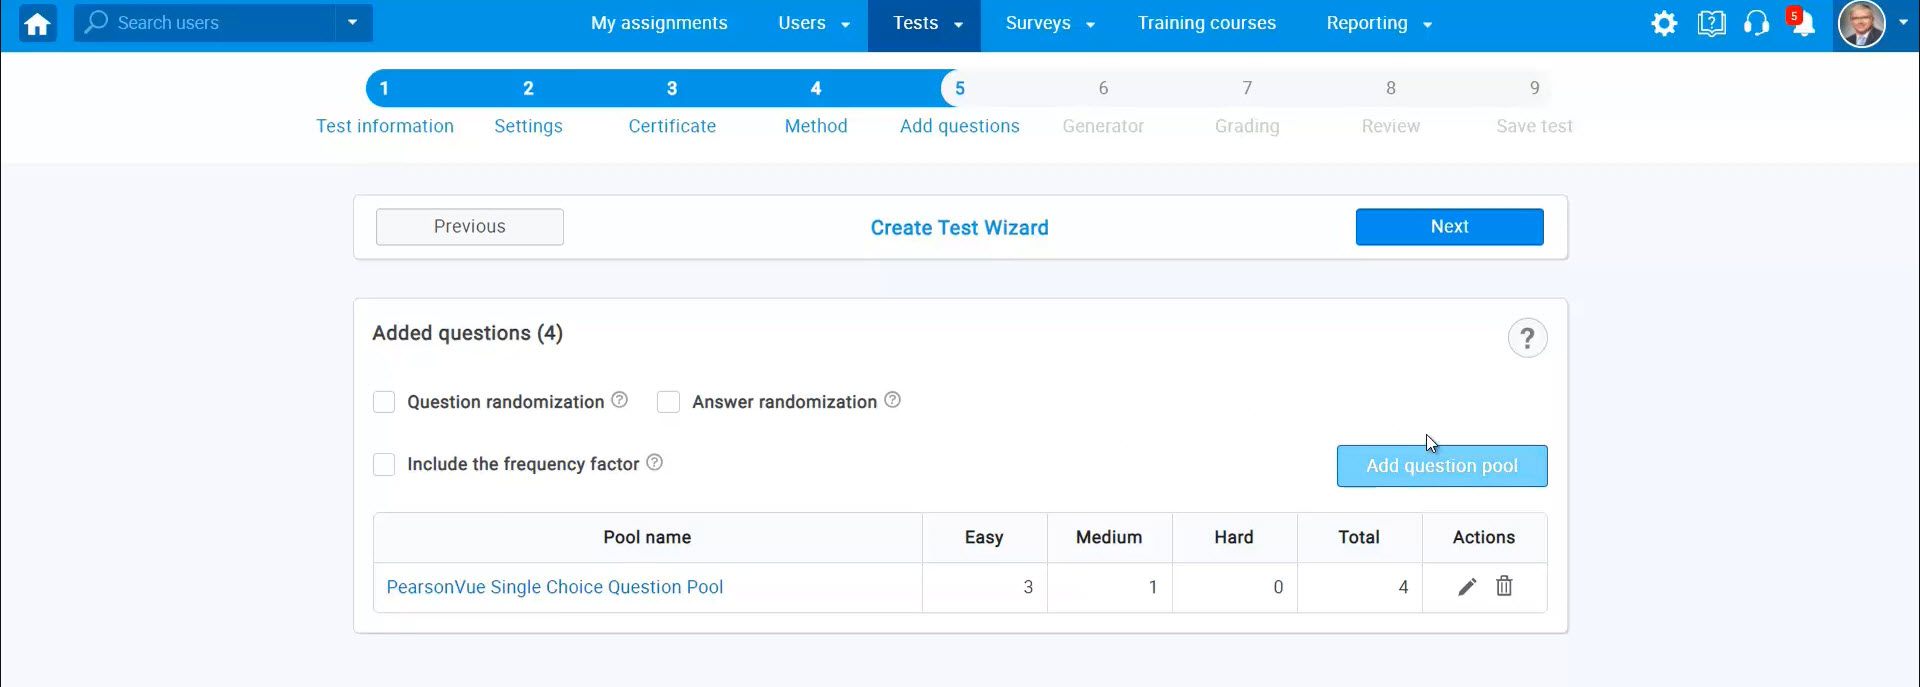
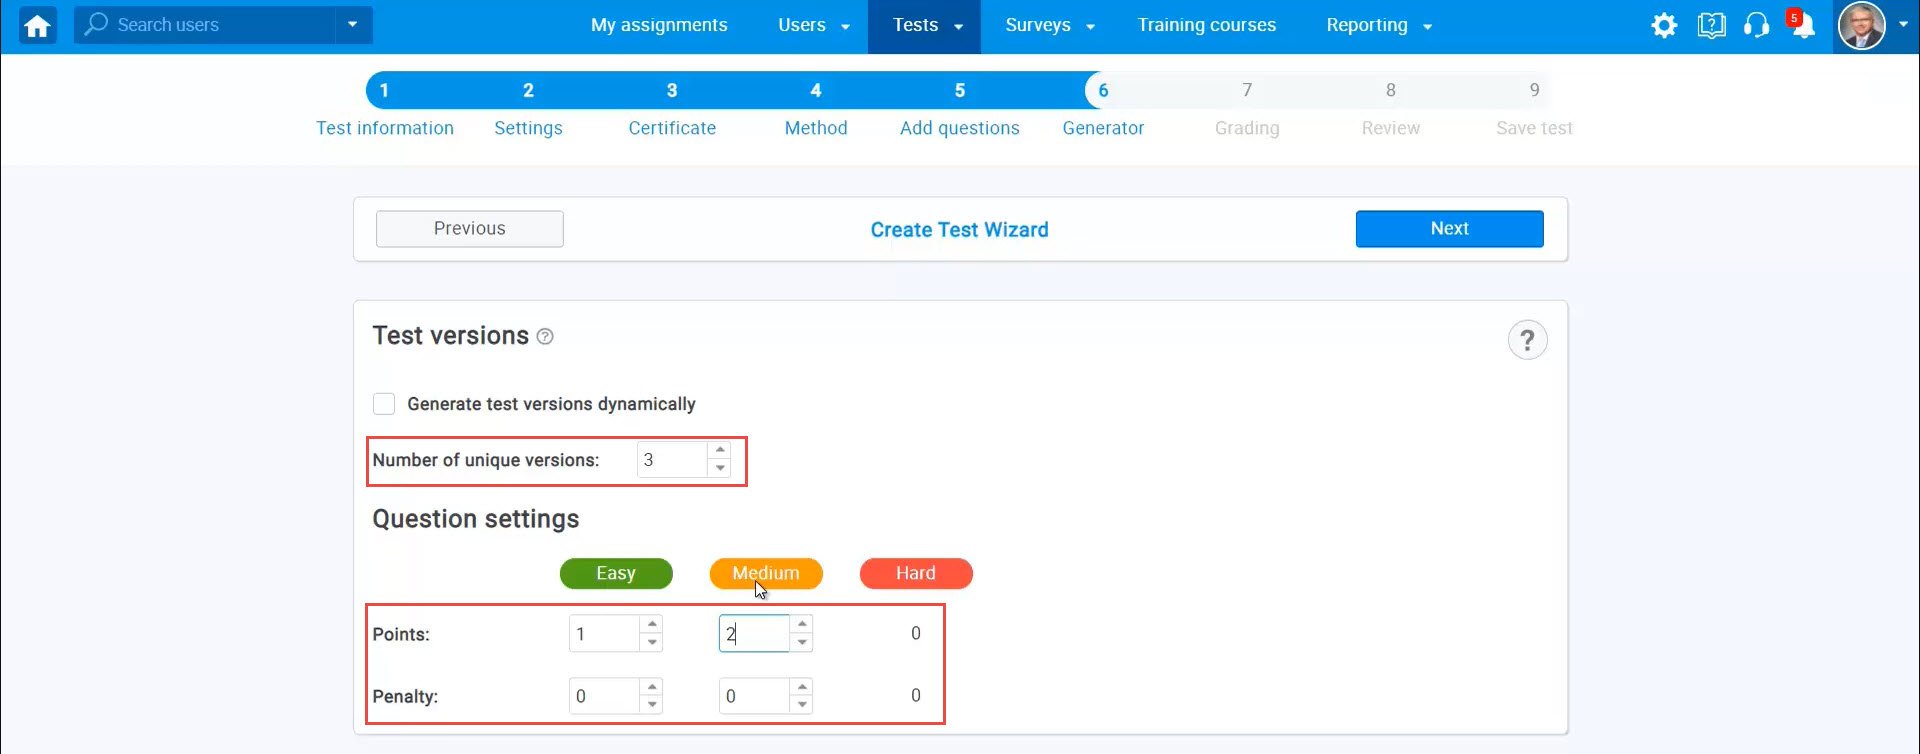
In the sixth step, the number of versions for the test can be defined. Questions settings allow defining the number of points and penalty points for each question.
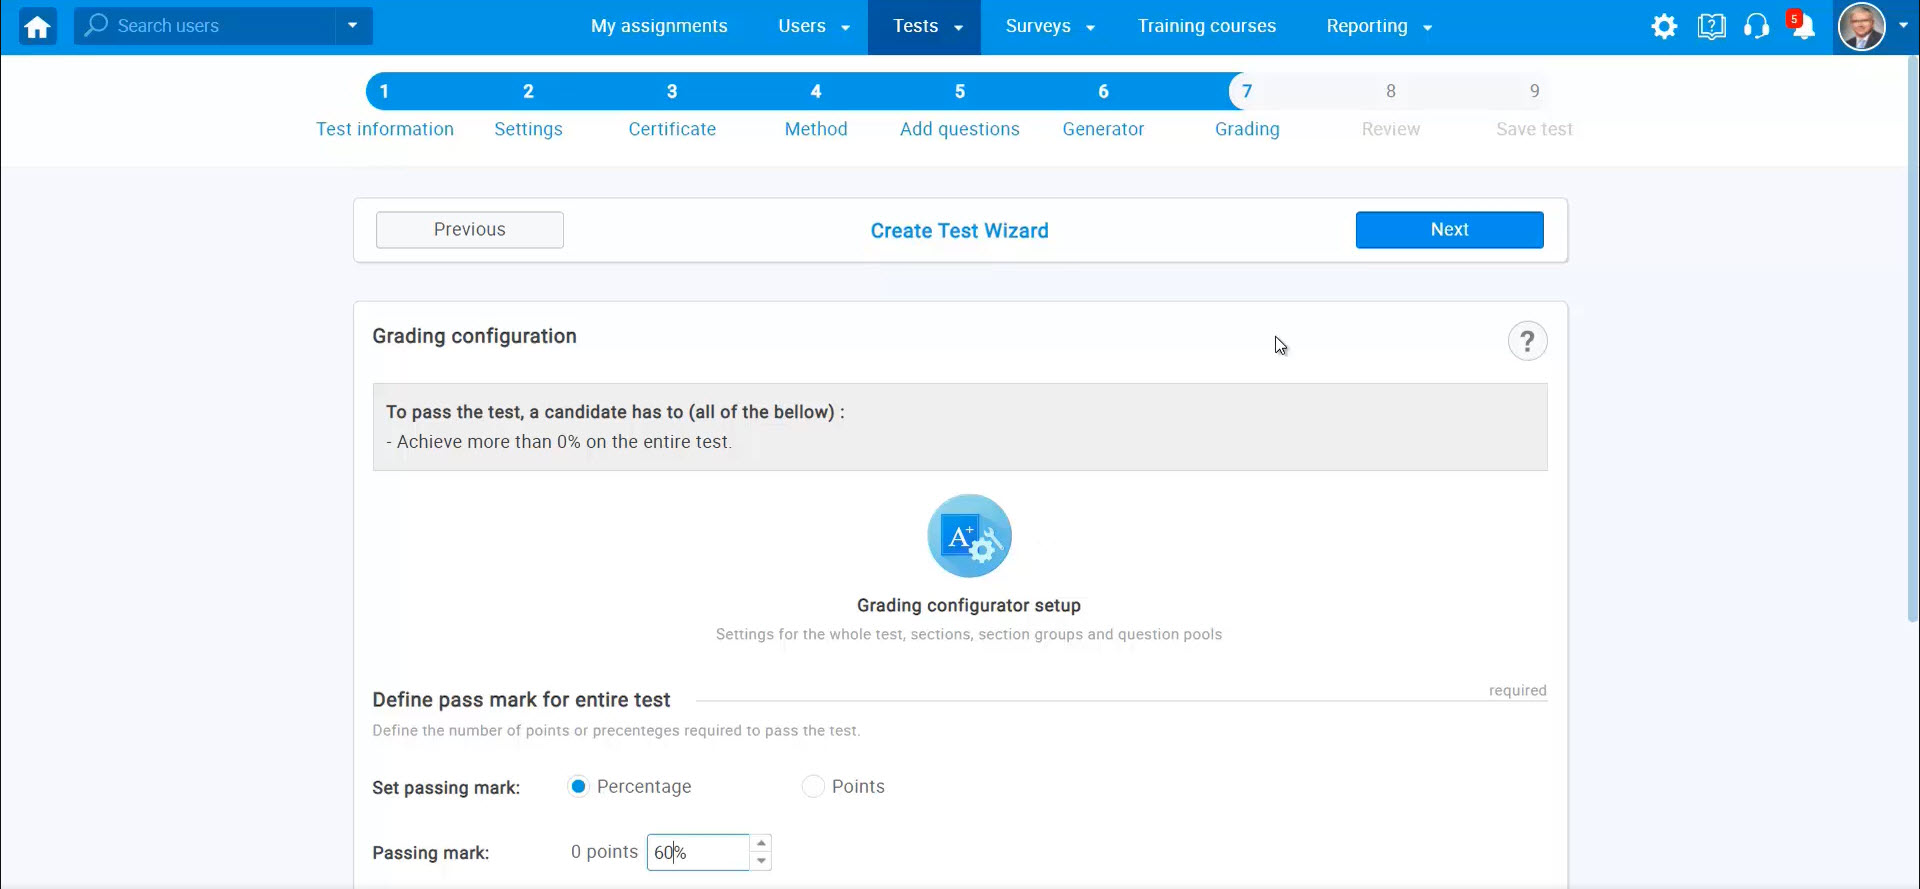
The next step can define the passing mark for the test.
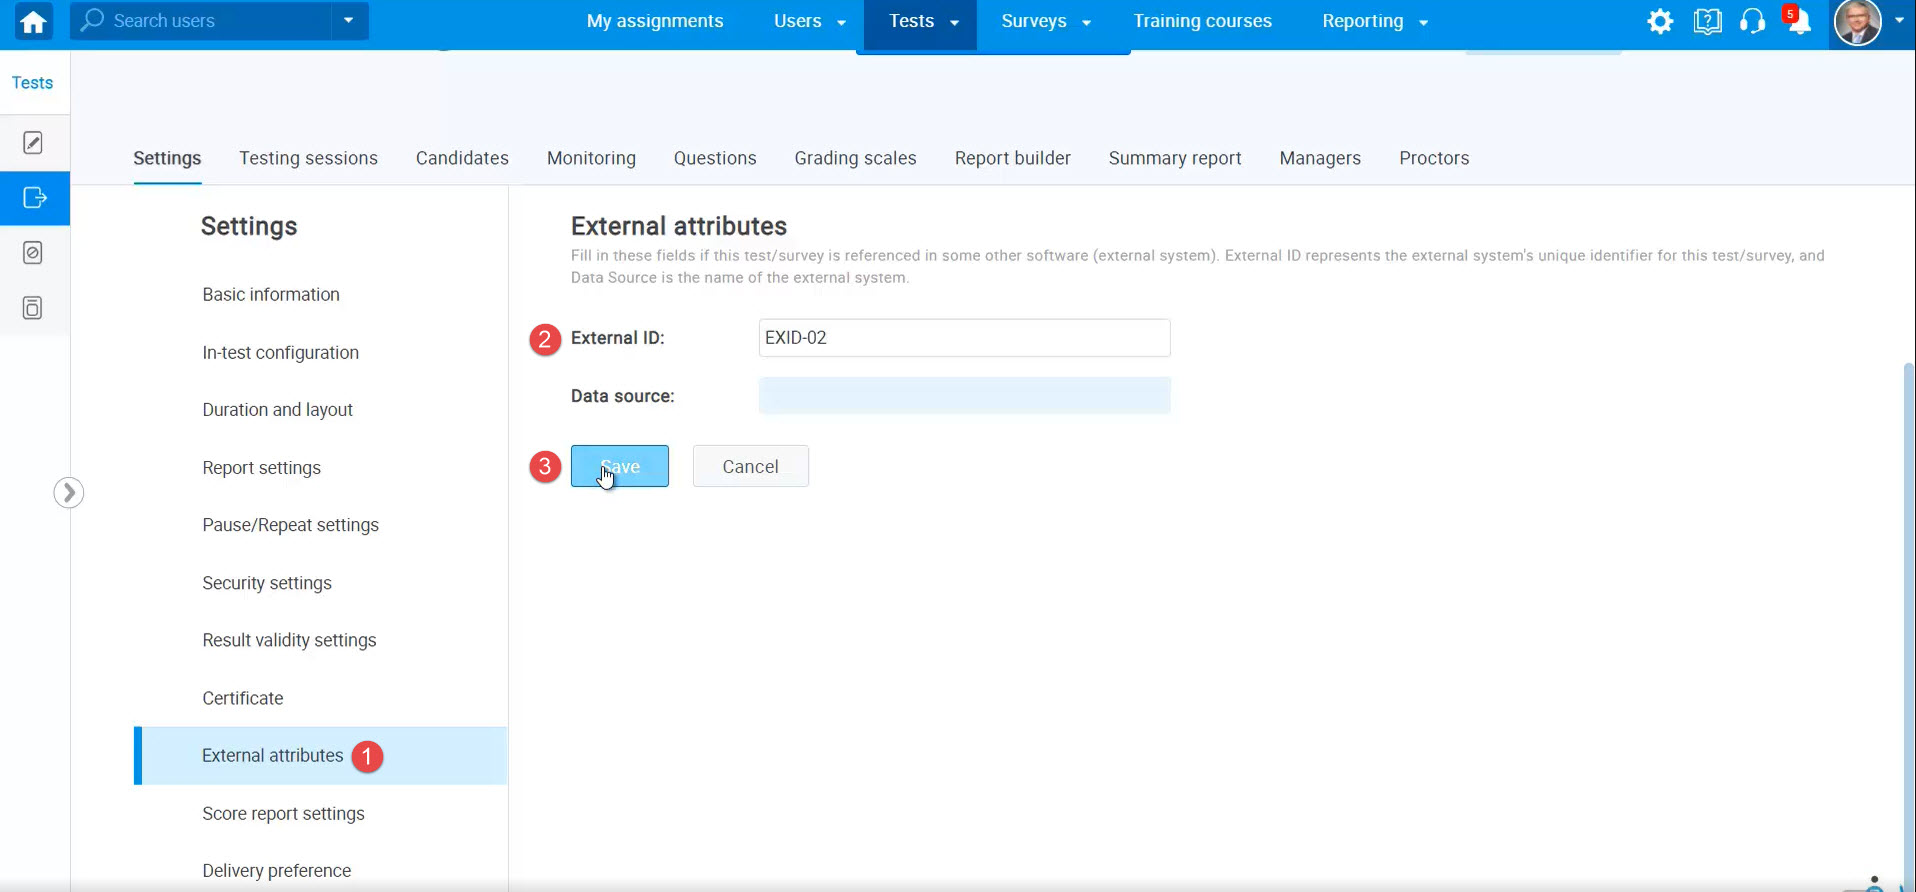
To define the external ID, do the following:
- Click on the “External ID” tab in the “System” tab.
- Add external ID.
- Click on the “Save” button.
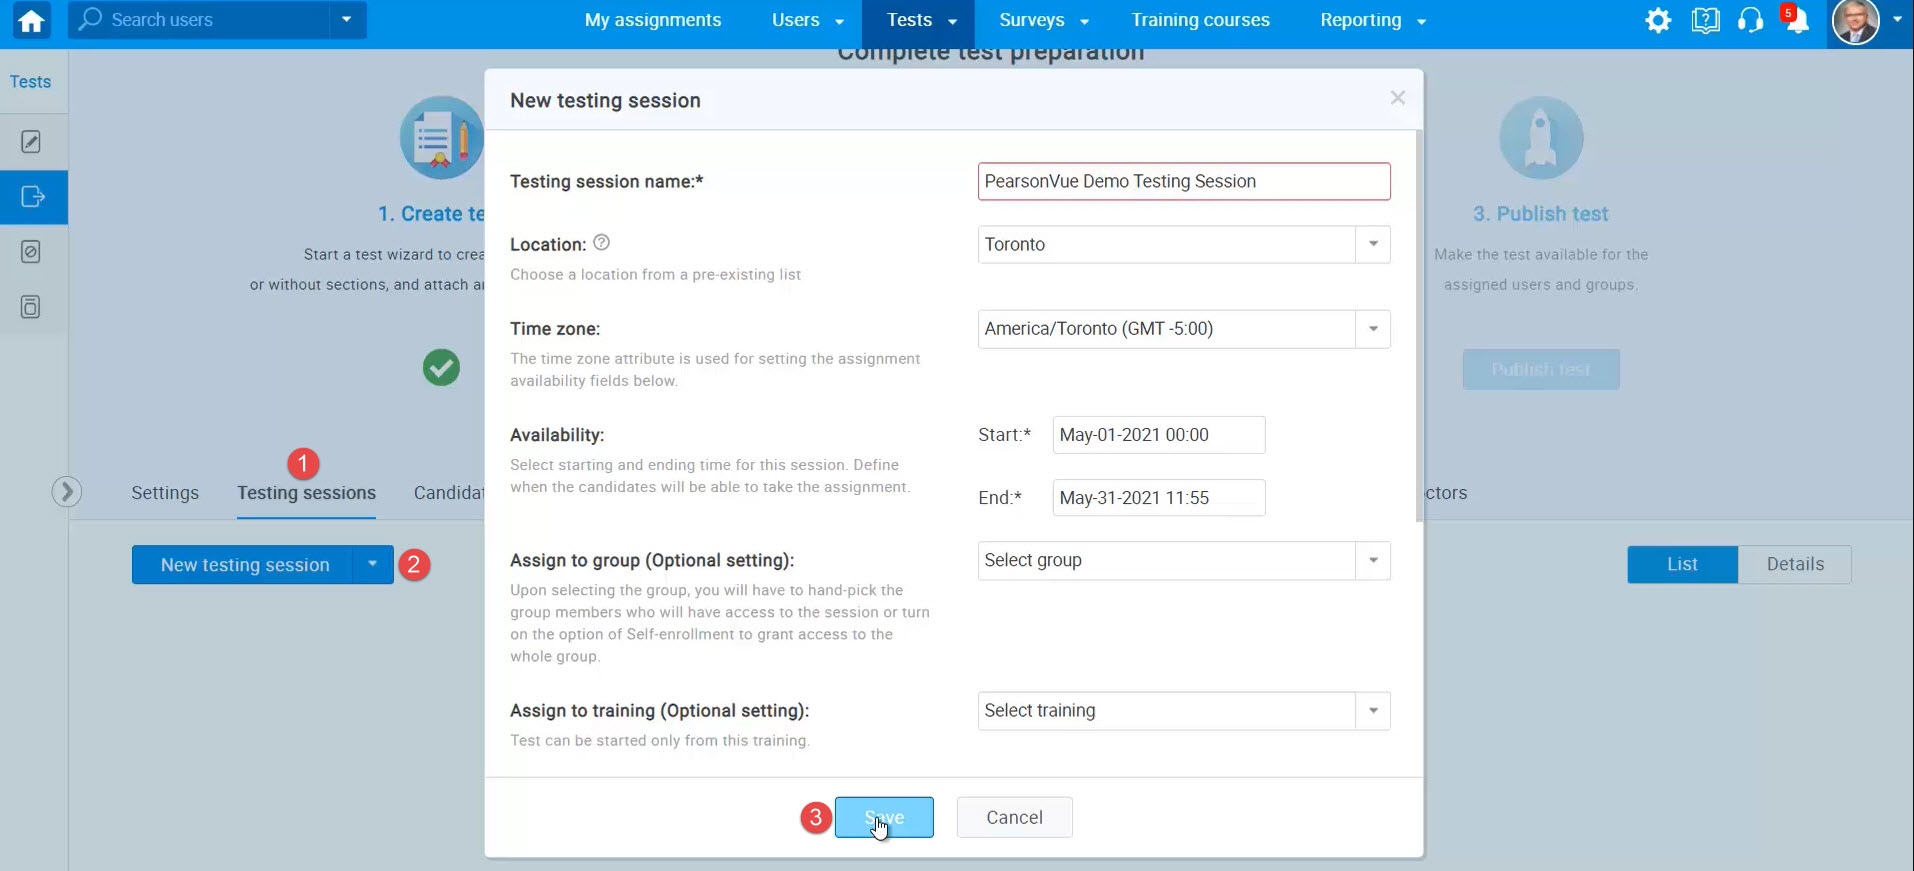
To schedule a test and assign candidates, do the following:
- Click on the “Testing sessions” tab.
- Click on the “New testing session” button.
- Fill in the necessary information and click on the “Save” button.
To add candidates, click on the “Plus” icon.
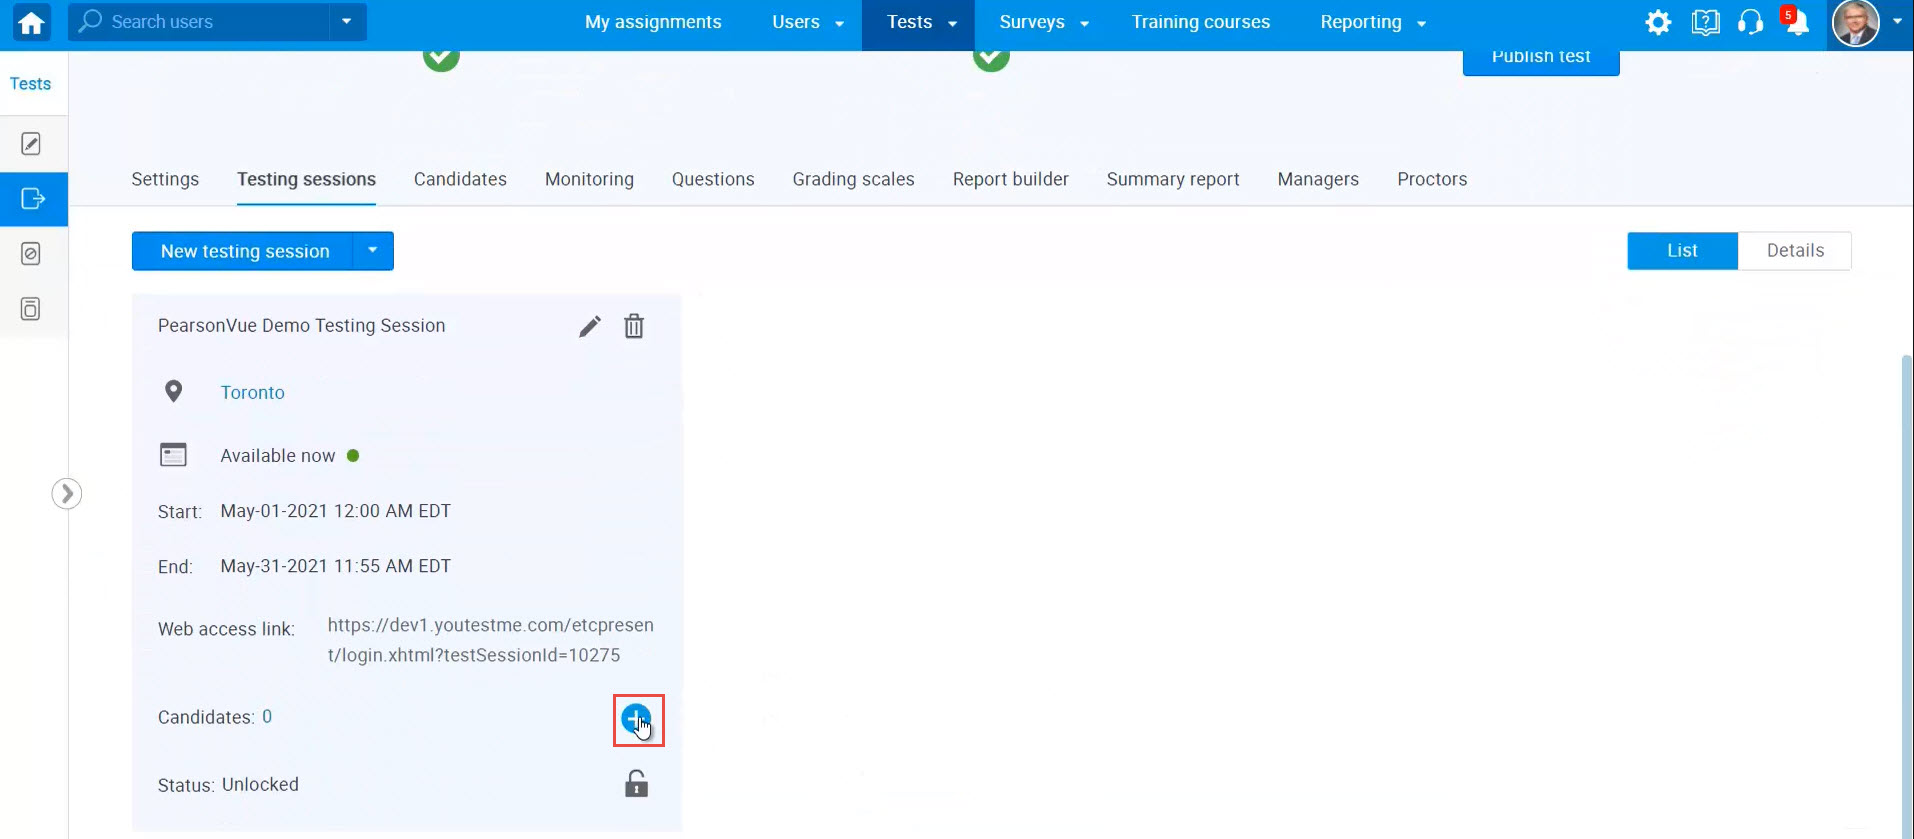
Select the desired candidates and click on the “Save” button.

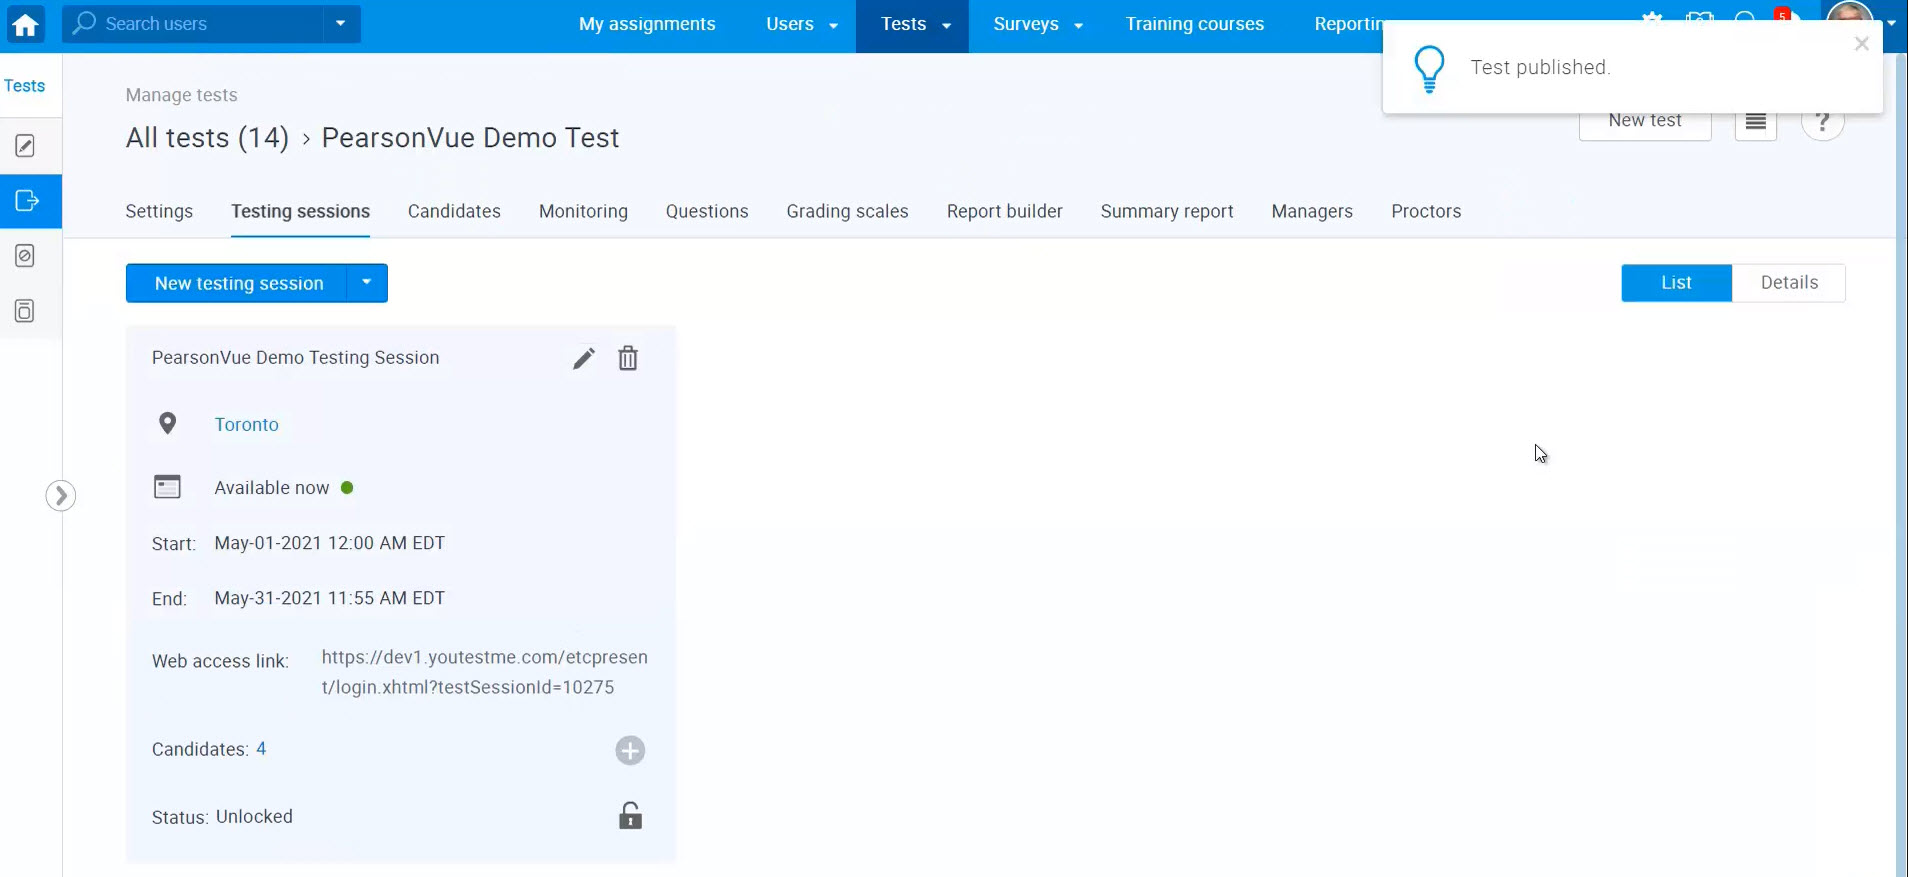
Finally, publish the test to be available for the assigned users.
For more similar information, please visit these links:


