This article explains how to import a test from an Excel file. You can create a test offline by predefining test settings, adding questions, configuring question settings, and then uploading a test as an Excel file.
Uploading a test from an Excel file
Start the test creation process in the Test Wizard. For detailed instructions on creating a test, please visit How to create a test.
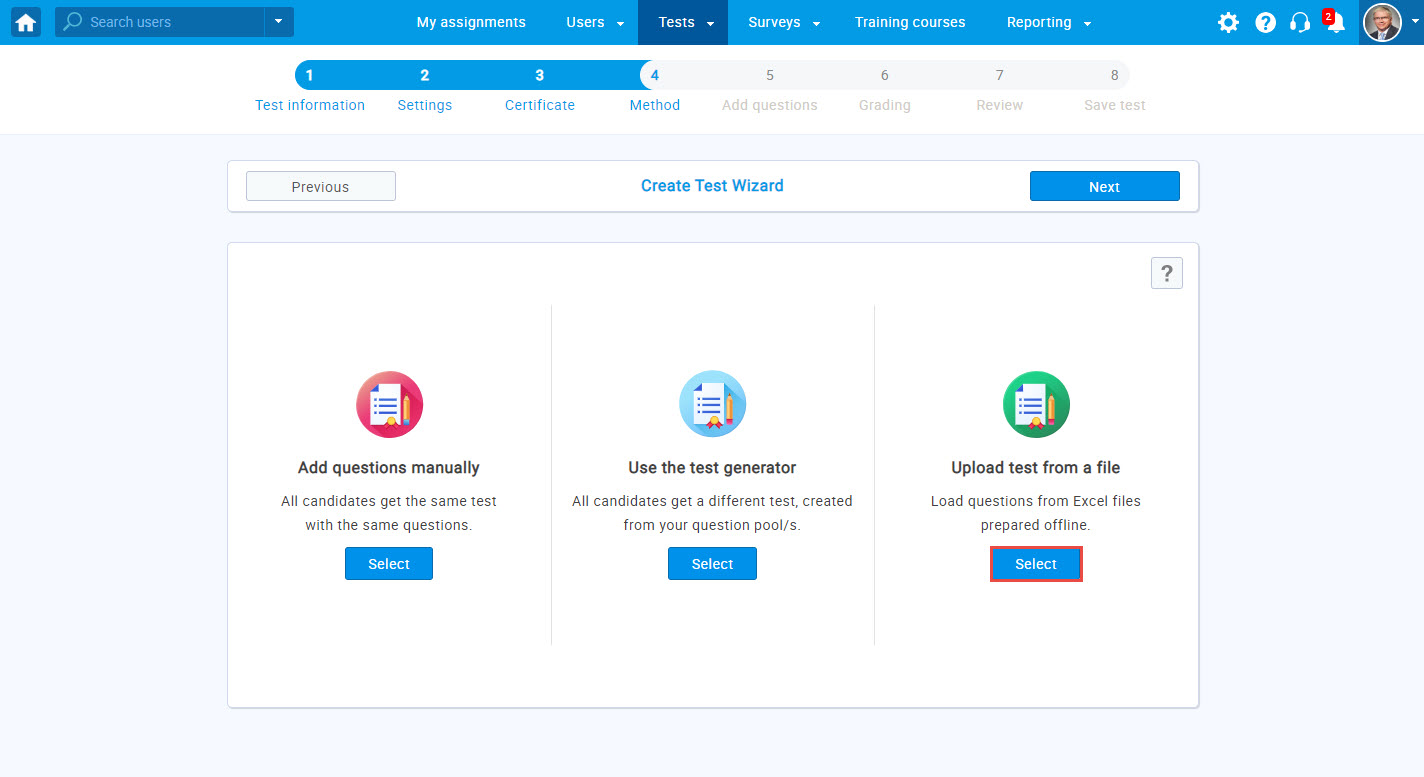
In “Method”, the fourth step of Test Creation Wizard, choose the “Upload test from file” option by clicking the “Select” button.
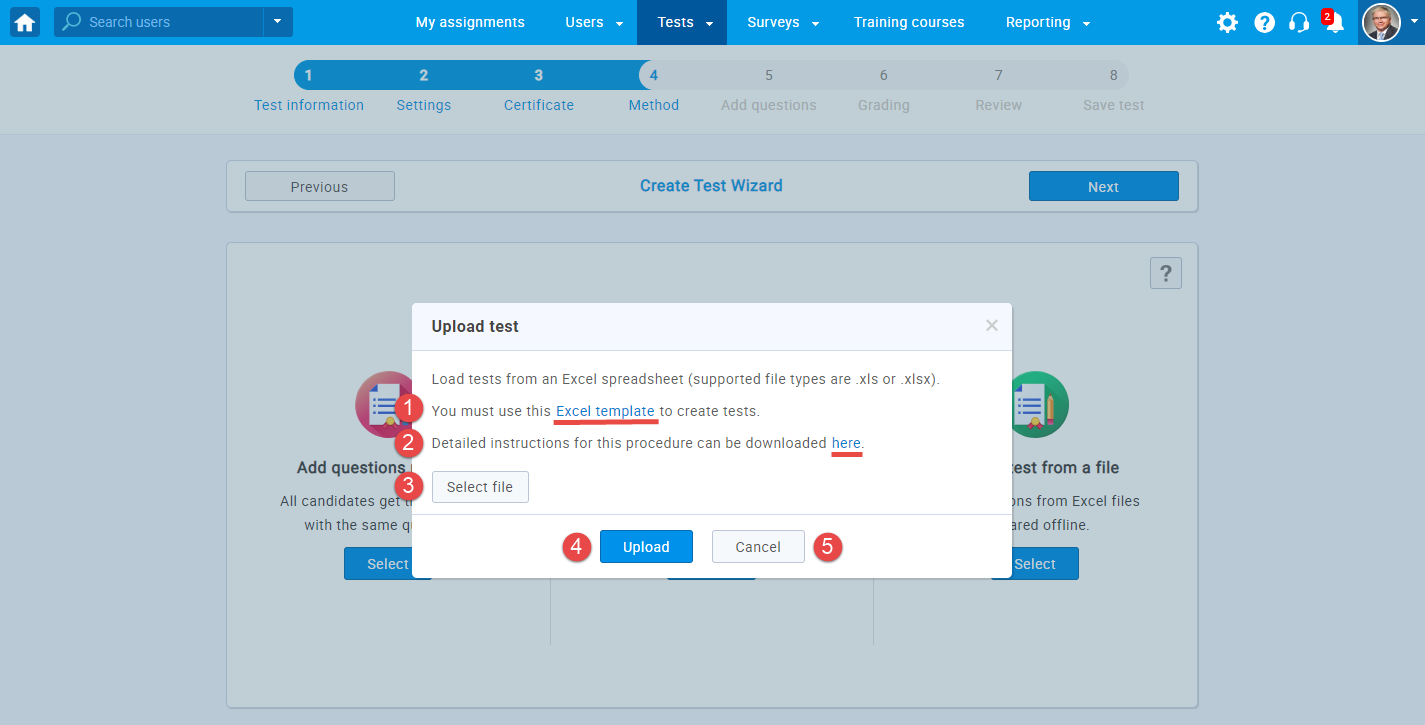
In the pop-up window:
- Click the “Excel template” to download our predefined Excel template that should be filled with test content.
- Download the detailed instructions on entering the data into the template by clicking the “here.”
- Once you fill in the template, click the “Select file” button to choose the Excel file.
- Click the “Upload” button to import the test as an Excel file.
- If you don’t want to upload the selected file, click the “Cancel” button.
Note: You will be able to edit the questions and change the test and question settings in the Test Creation Wizard once the test is uploaded.
For a video tutorial, please watch the video.


