This article explains how to customize the test instructions dialog from the beginning of the test.
Creating a test
For more information on creating tests, please check this article.
Configuring test instructions dialog
There are two ways to customize the test instructions dialog:
- In the test wizard, when creating a test.
- Through the “Manage tests” page, once the test is created.
Customizing the test instructions dialog in the test wizard
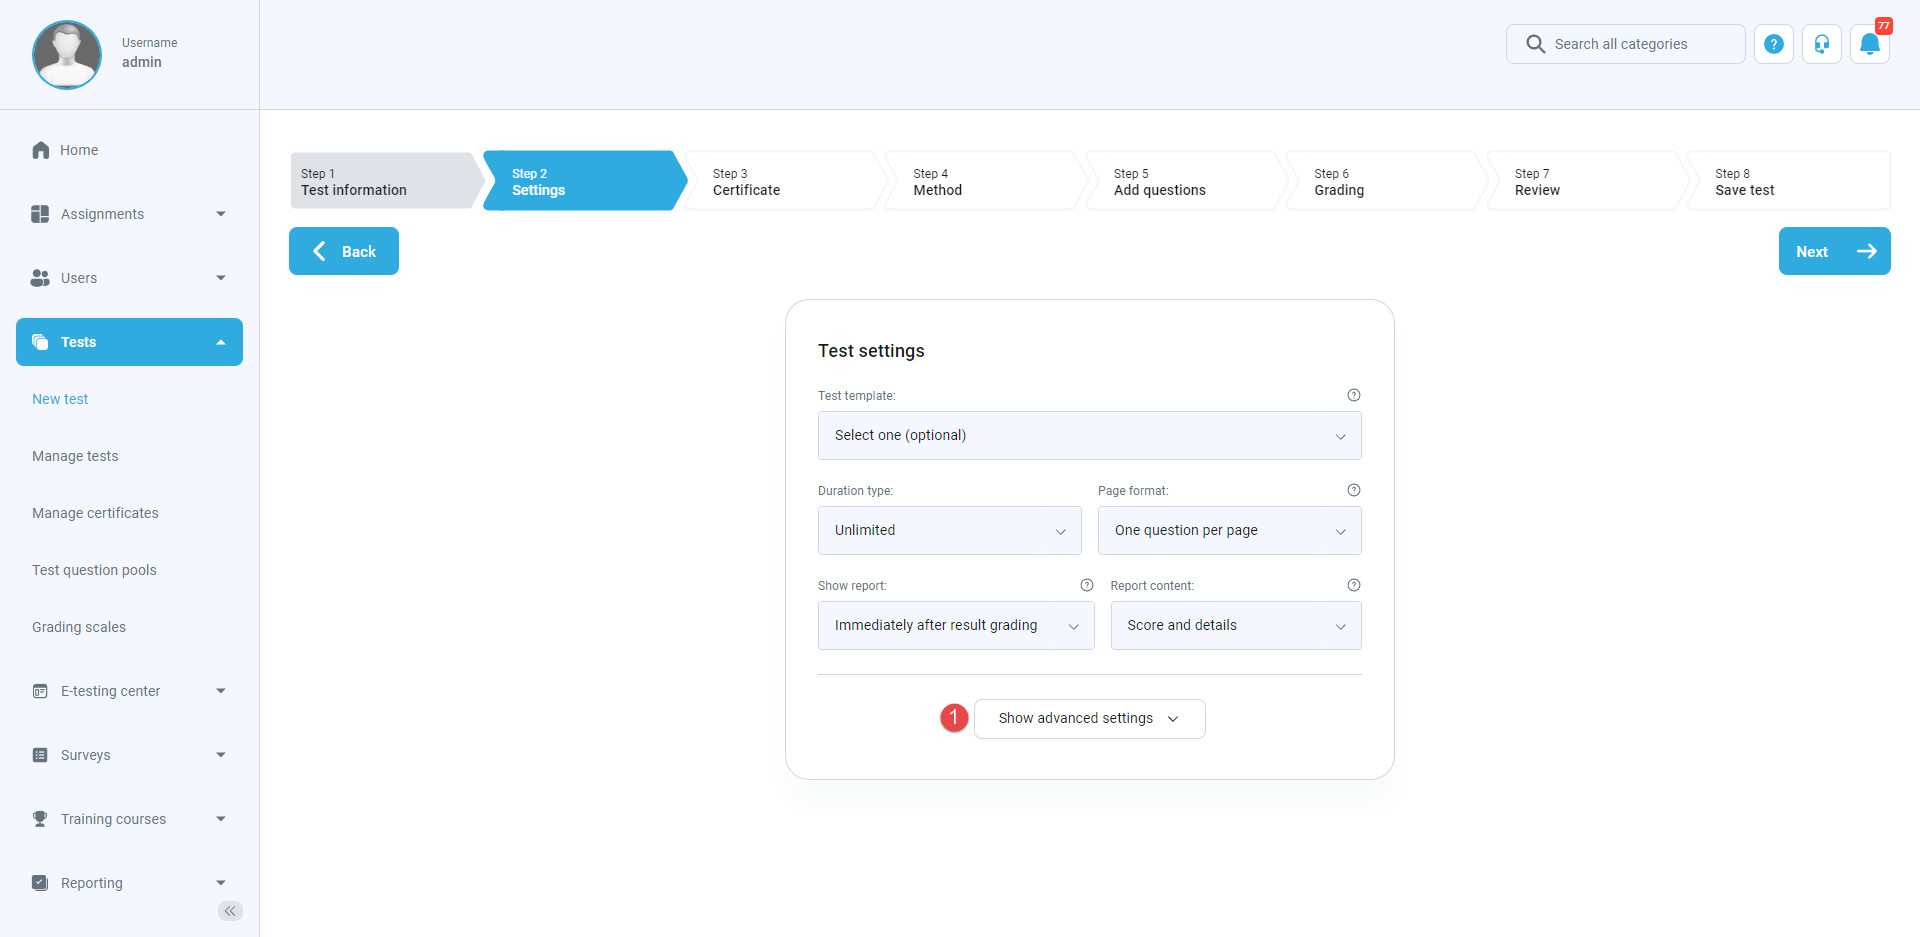
In the second step of the test creation wizard, you should do the following:
- Click the “Show advanced settings” button.
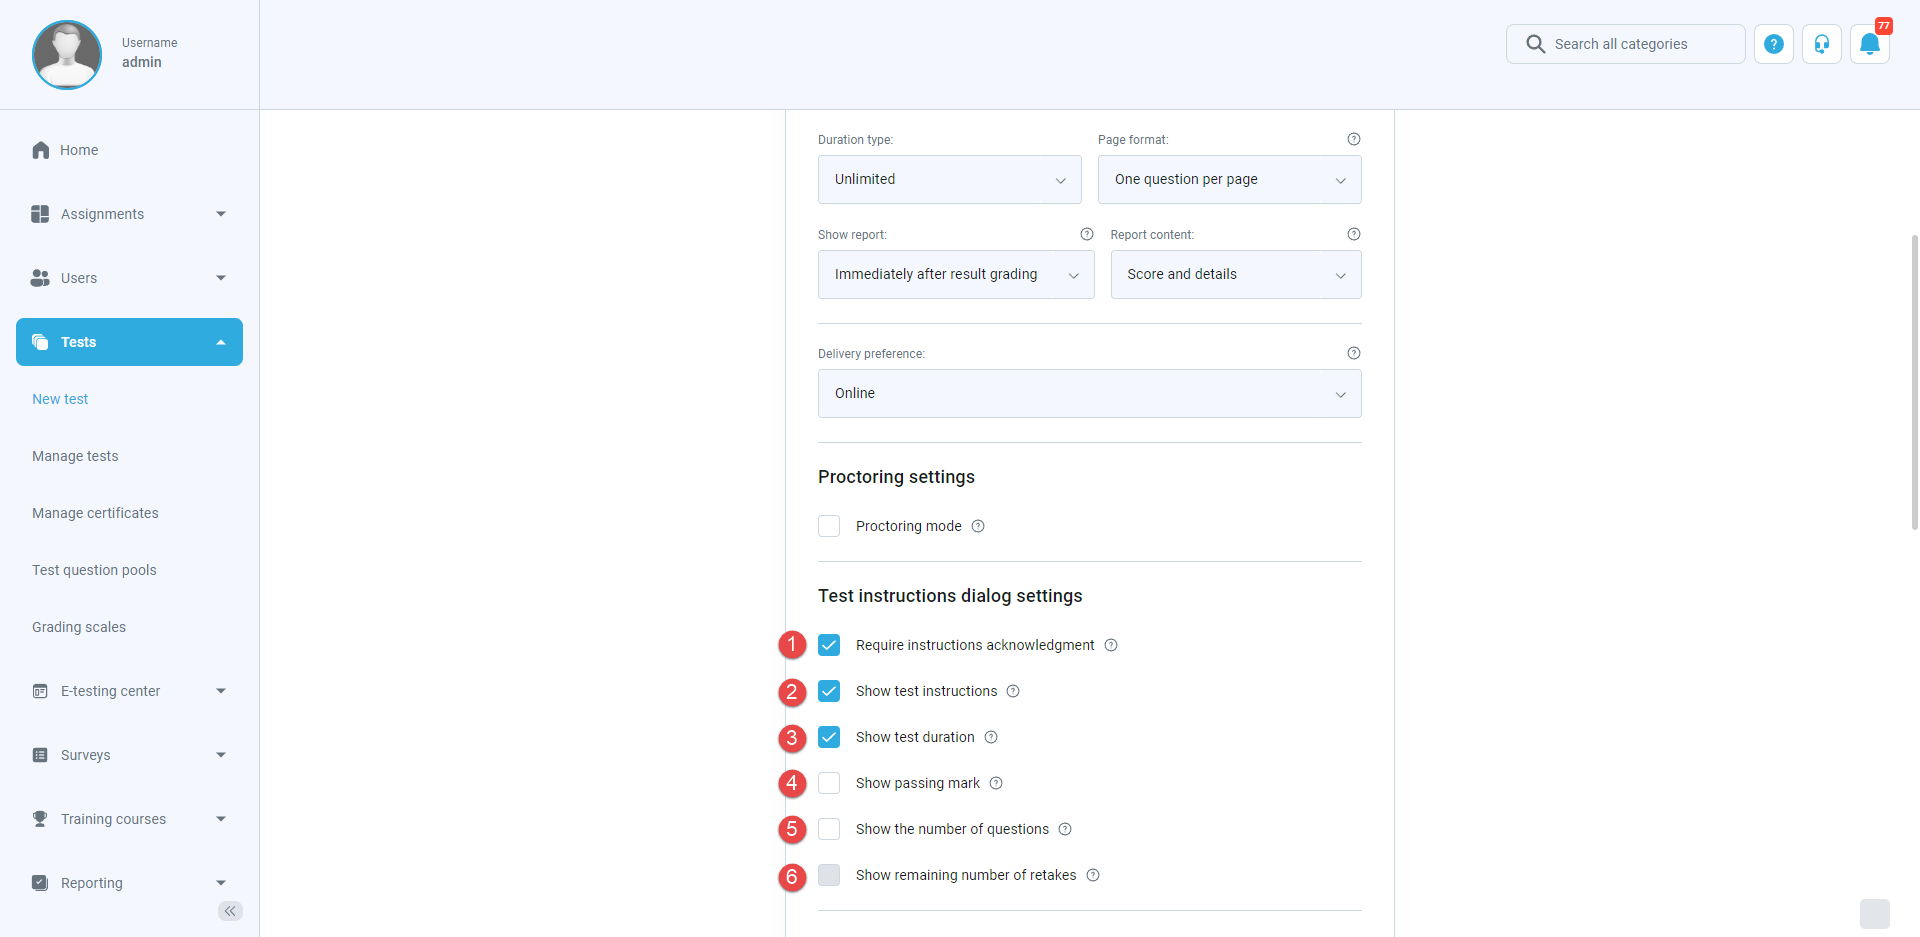
- Allow displaying the desired test information at the beginning of the test by clicking on the checkboxes next to the desired options.

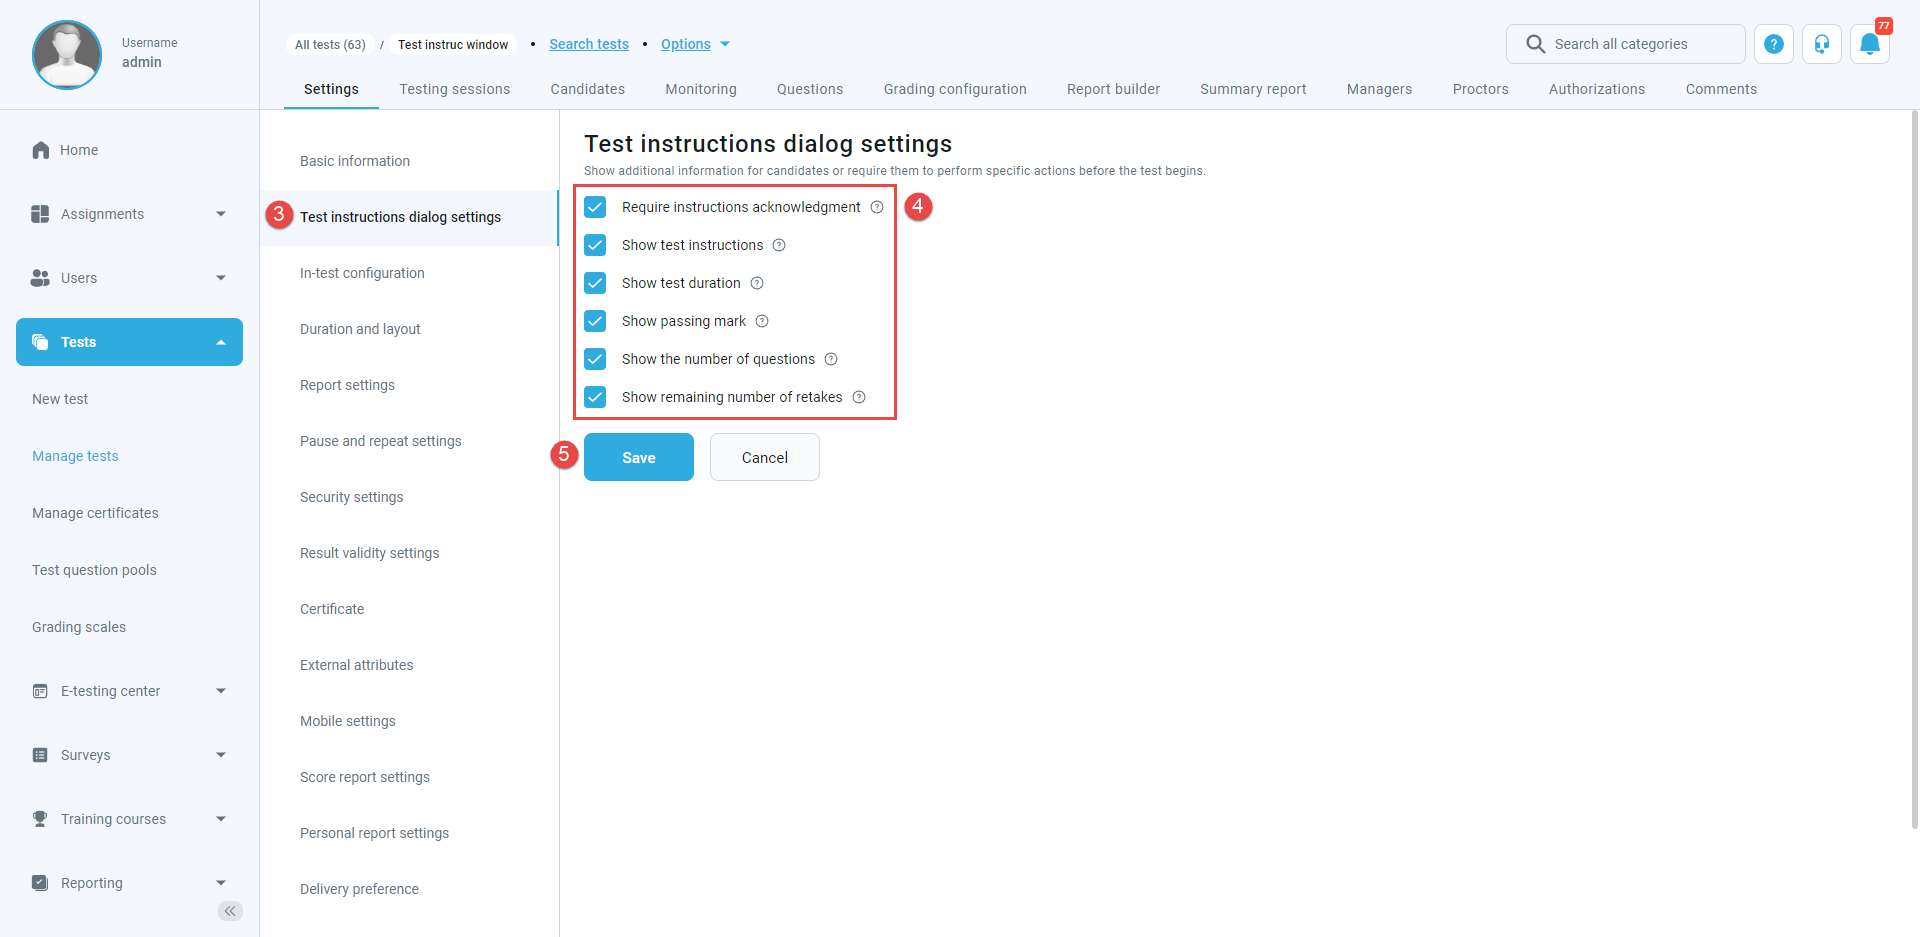
The following options are configurable:
- Requiring candidates to acknowledge test instructions before the test start.
- Displaying the previously defined test instructions that candidates can read before the test.
- Showing the time available for candidates to complete the test.
- Displaying the passing mark required to be achieved by candidates to pass the test.
- Showing the number of questions contained in the test.
- Showing how many times candidates can retake the test (if the retaking is allowed).
Customizing the test instructions dialog through the “Manage tests” page
To customize the test instructions dialog for previously created tests (unpublished and published), you should do the following:
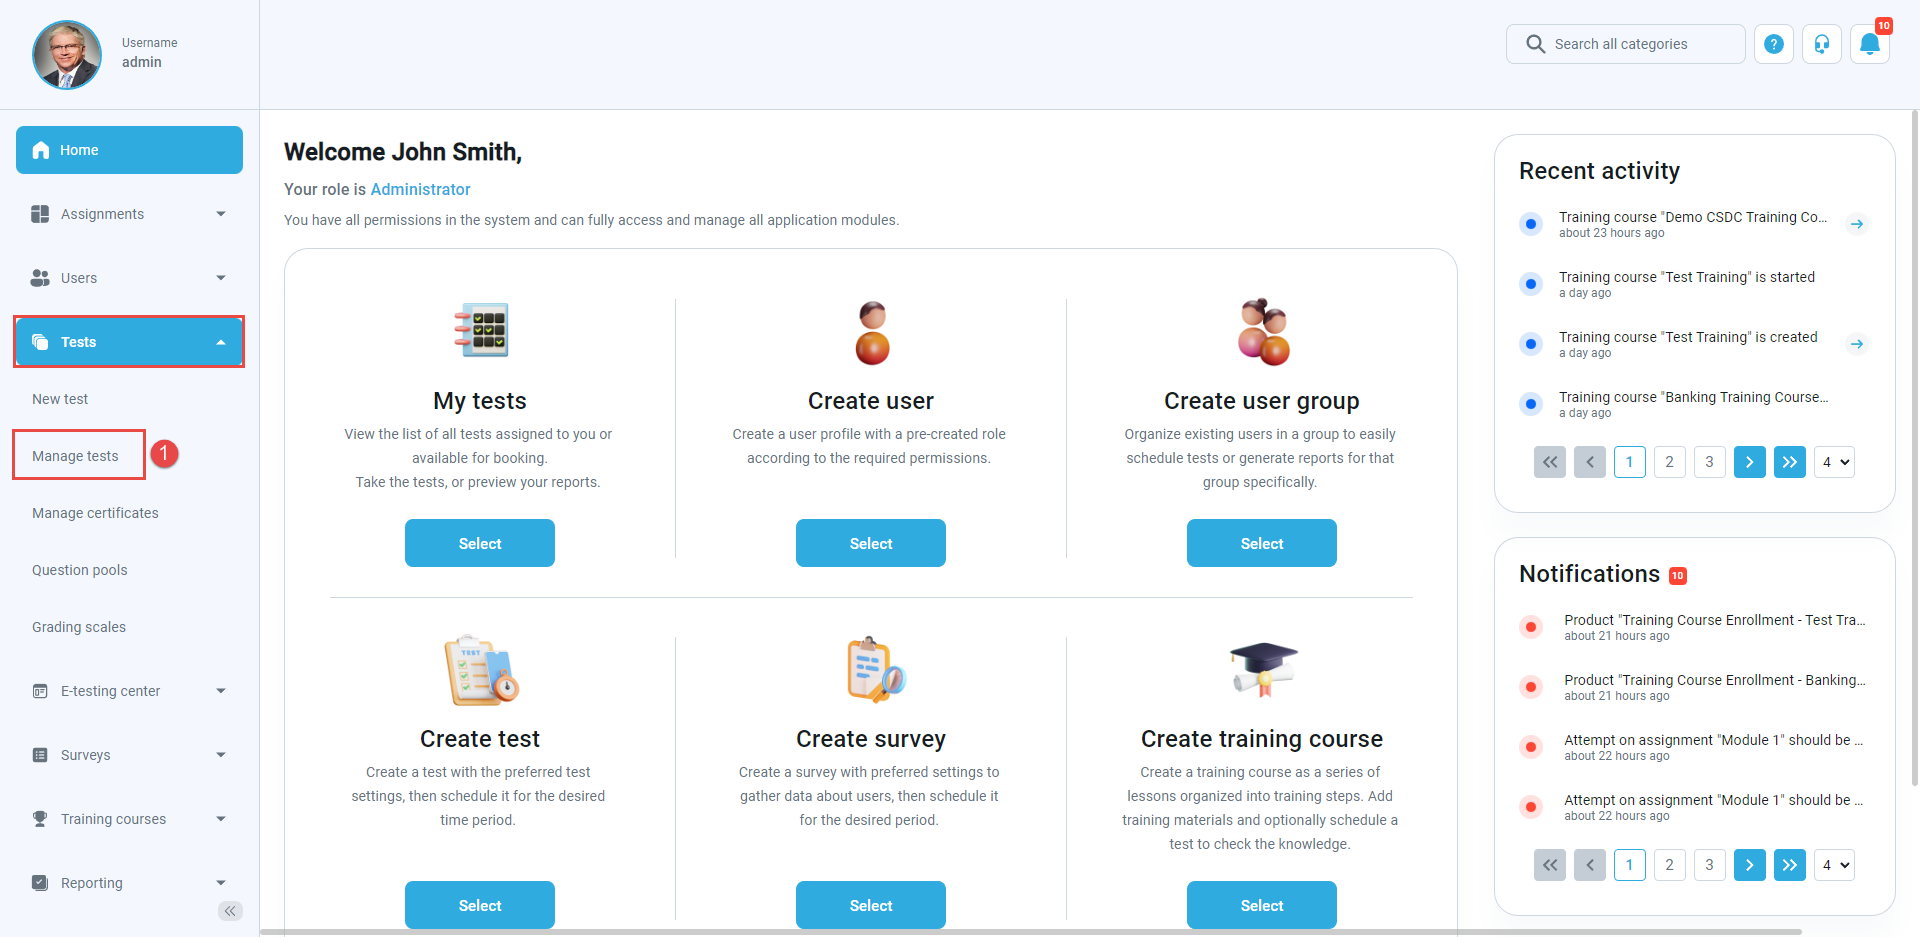
- Click the “Tests” option in the main menu, then select “Manage tests“.
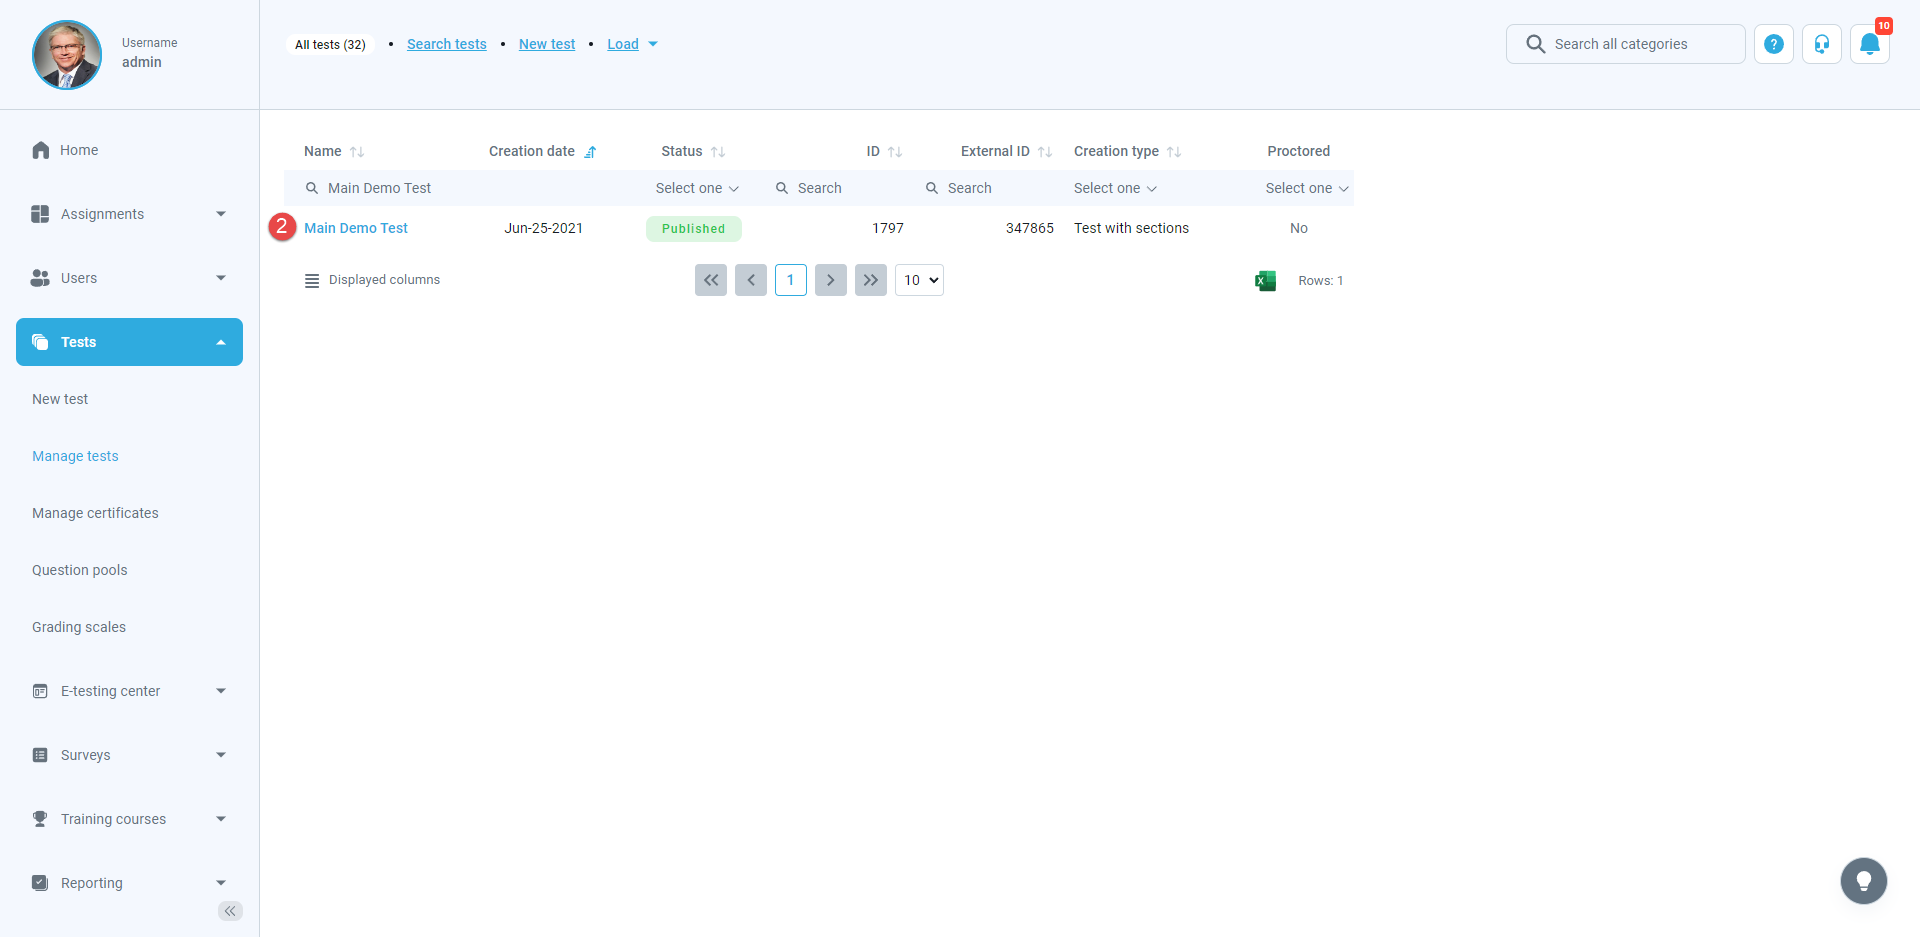
- Open the desired test.
- Navigate to the “Test instructions dialog settings” tab.
- Change the desired settings.
- Click the “Save” button to confirm changes.
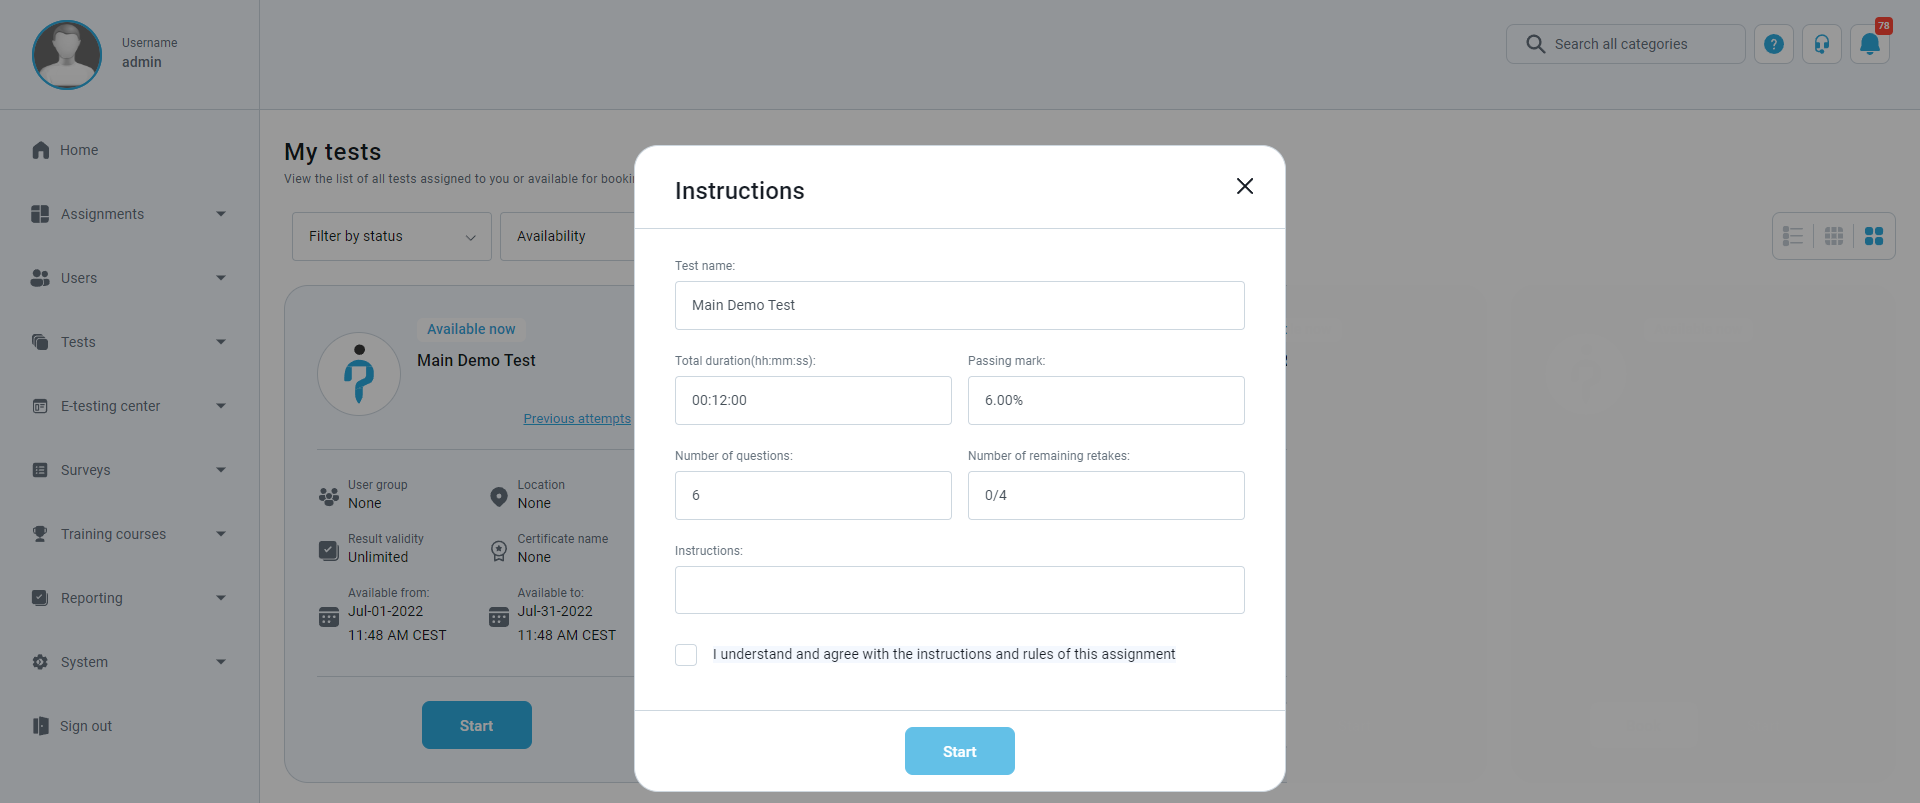
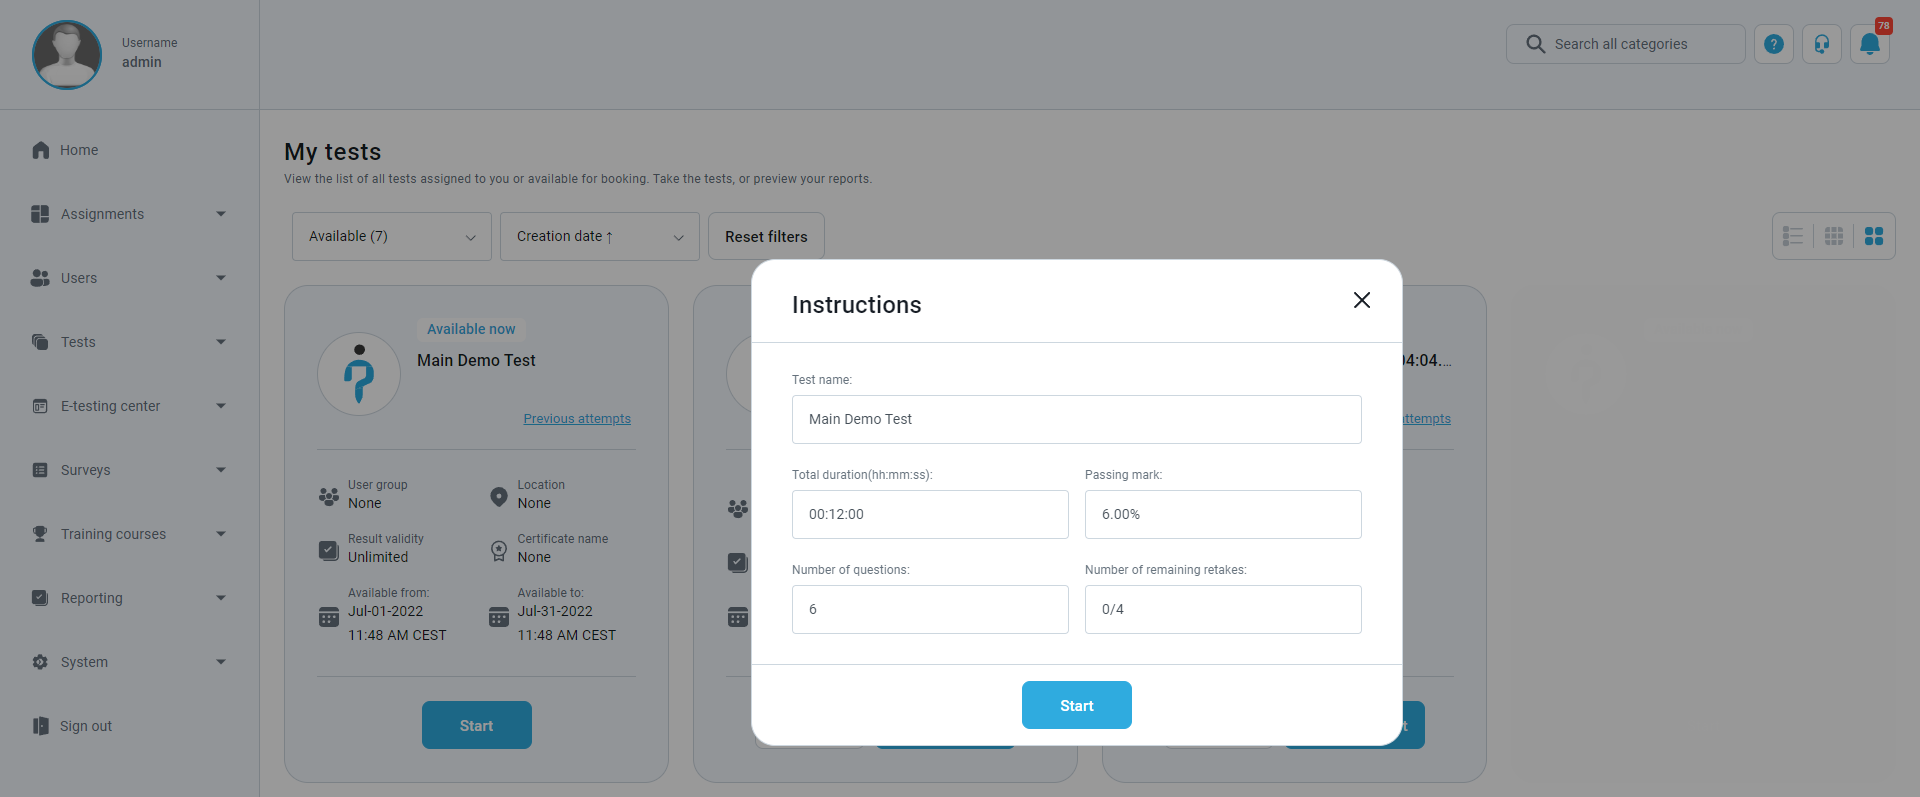
Examples of the customized test instructions dialog