Organize the process
- Create a test with a self-enrolment testing session
- Set prices needed for booking a test (predefined or custom prices)
- Add prices to the self-enrolment testing session
Creating a test
For more information on how to do that, check this article.
Setting up the prices
In order to set the prices for exam booking:
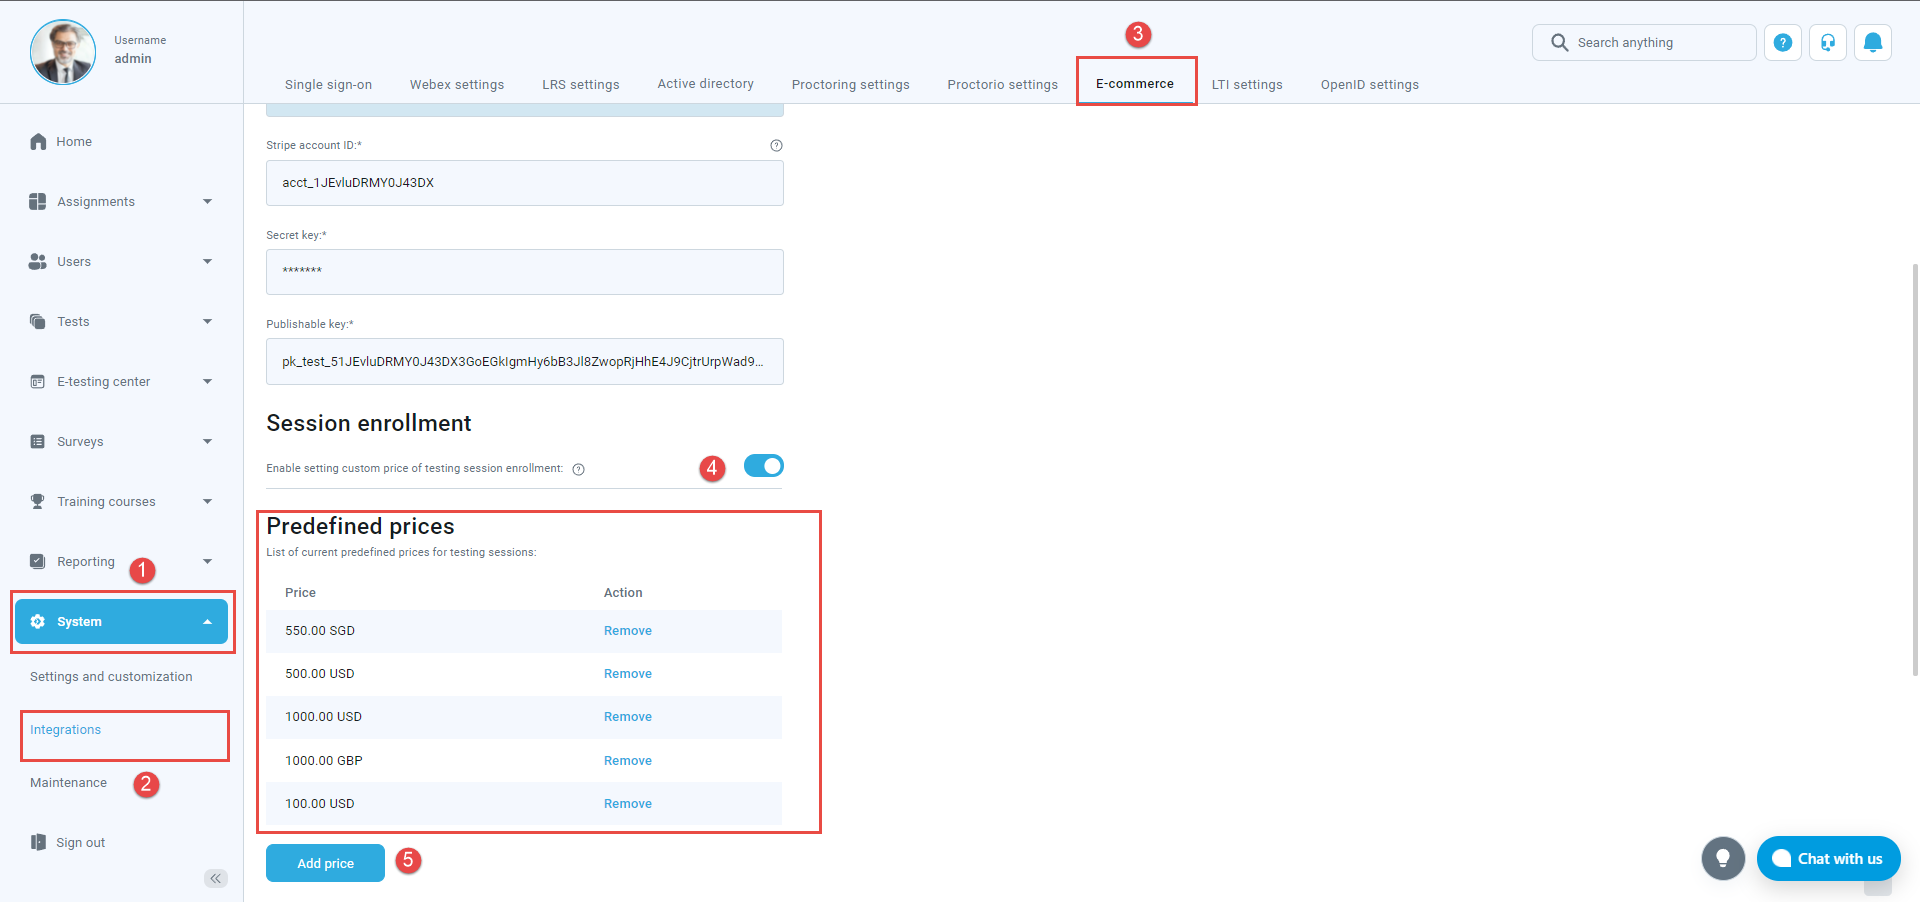
- Navigate to the “System” page.
- Choose the “Integrations” option from the list below.
- Click on the “E-commerce” tab. You have to connect your Stripe account to the application. Please check this article for more information on accessing your Stripe information required for E-commerce configuring.
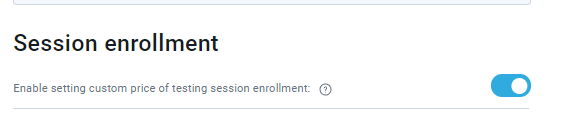
- Custom prices – click the “Enable setting custom price of testing session enrolment”.
- Predefined prices – If you want to use predefined prices, click on the “Add price” button.
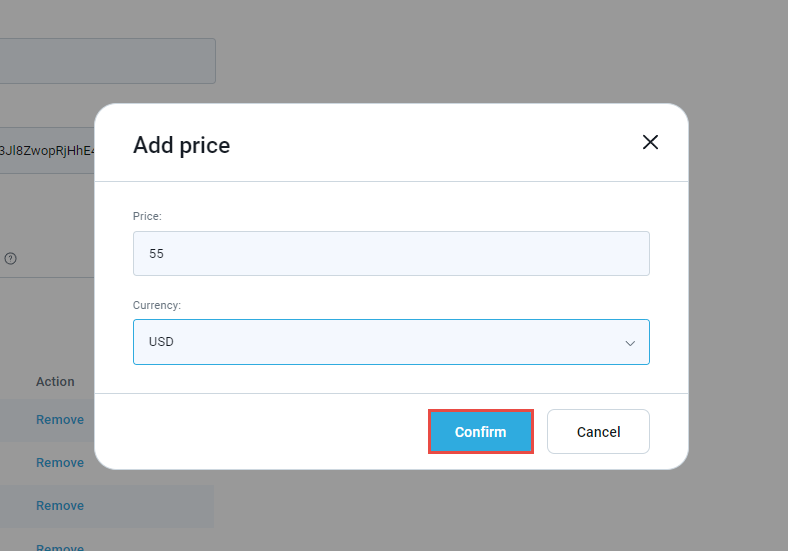
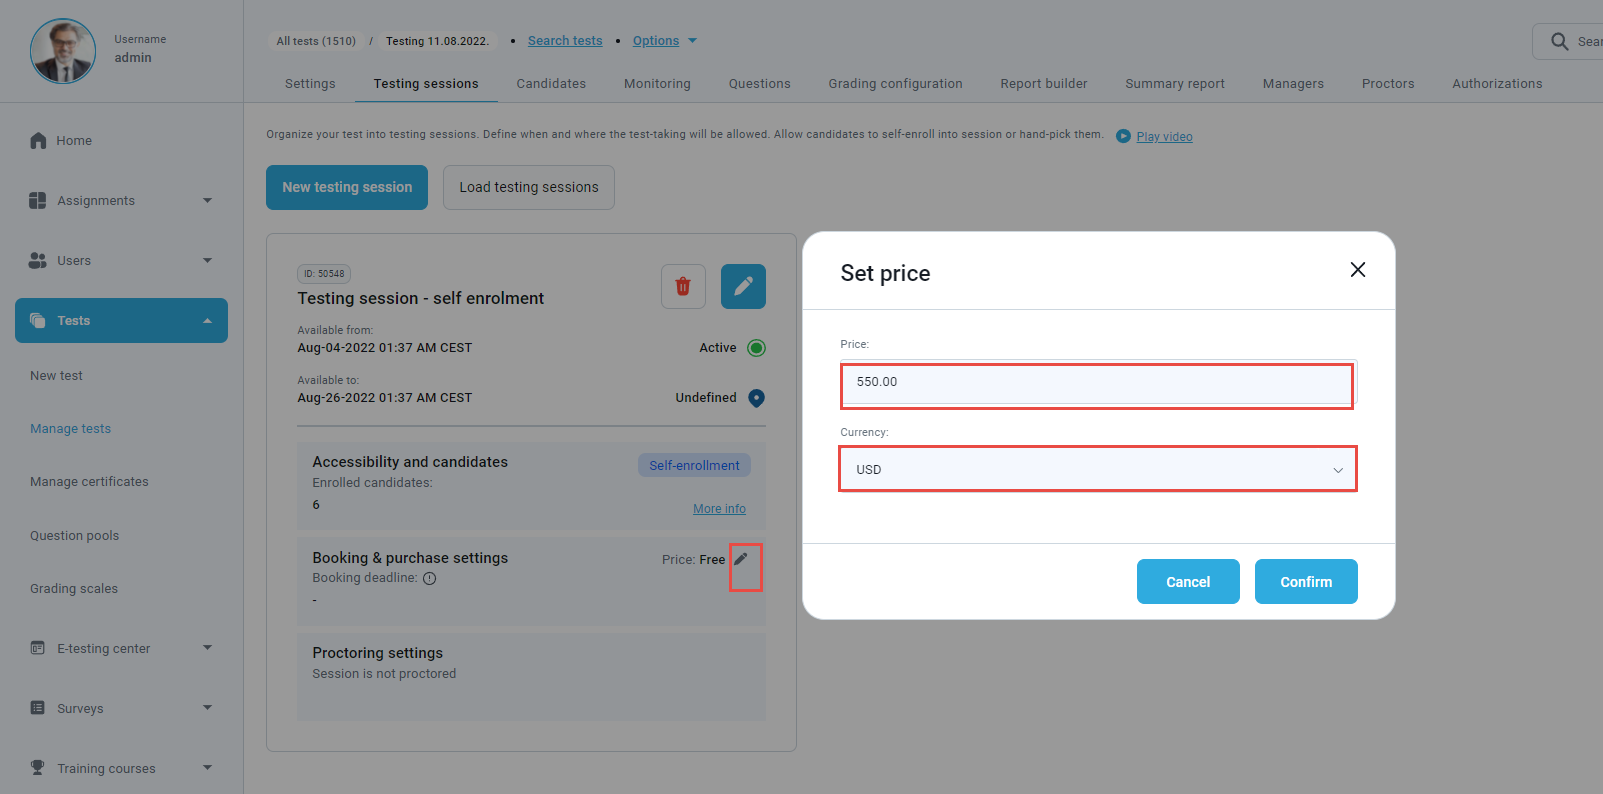
When the pop-up window shows up, add the price and confirm it by clicking on the “Confirm” button.
After setting up as many prices as you want, confirm it on the “Confirm” button at the bottom of the page.
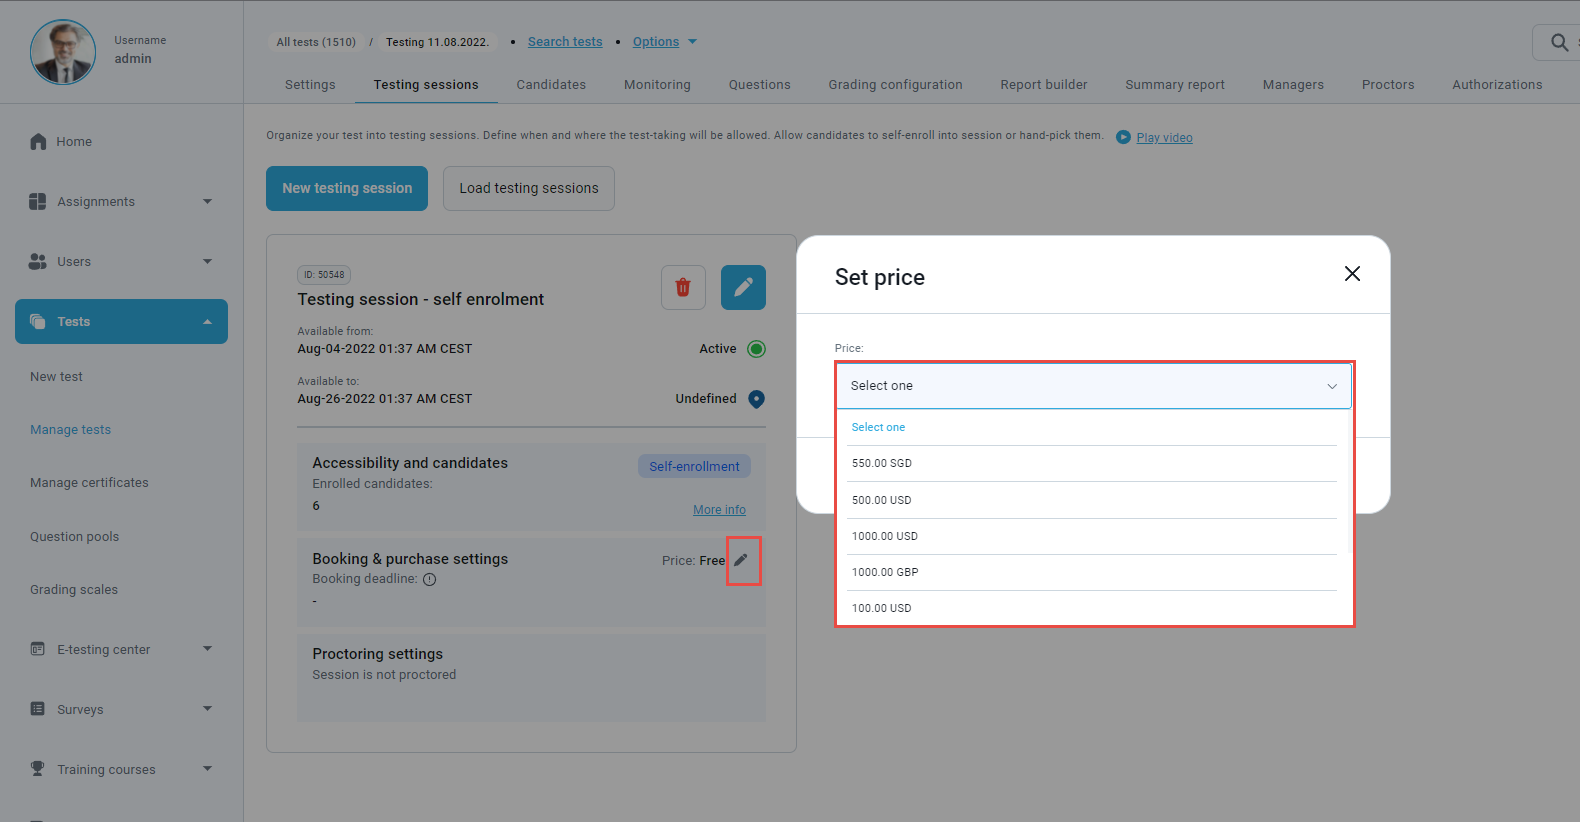
Predefined prices
Once you set up your self-enrolment testing session, you can add the price (by clicking on the edit icon from the picture below) and use one of the predefined prices you set earlier. It will be displayed in the next form:
Custom prices
Once you enabled custom prices previously in the “System” settings:
You can add to your self-enrolment testing session the desired price (by clicking on the edit icon from the picture below):
Now, the candidate will have to purchase this testing session in order to take the test.
For more related instructional materials, please visit:
- How to purchase, book, cancel or reschedule exam session
- How to set up training course fees with e-commerce
- How to create a stripe account


