This article represents a guide on creating Paper-based exams in the YTM application, following a predefined set of rules.
Creating paper-based test
To create an exam, hover over the “Tests” in the main menu, and select “New test”.
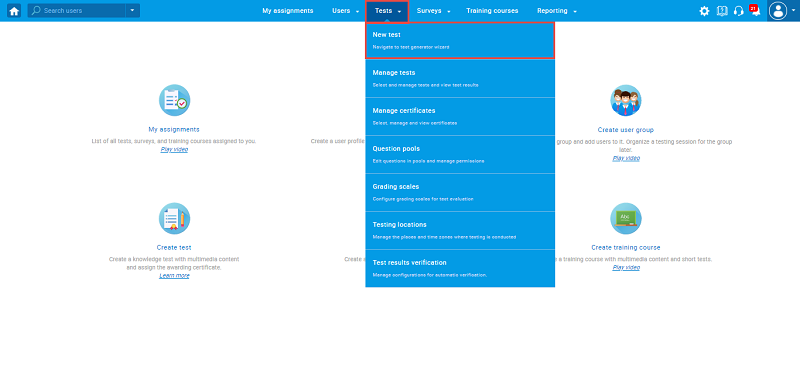
In the second step of “Test wizard“, set the delivery preference to be “Paper-based“.
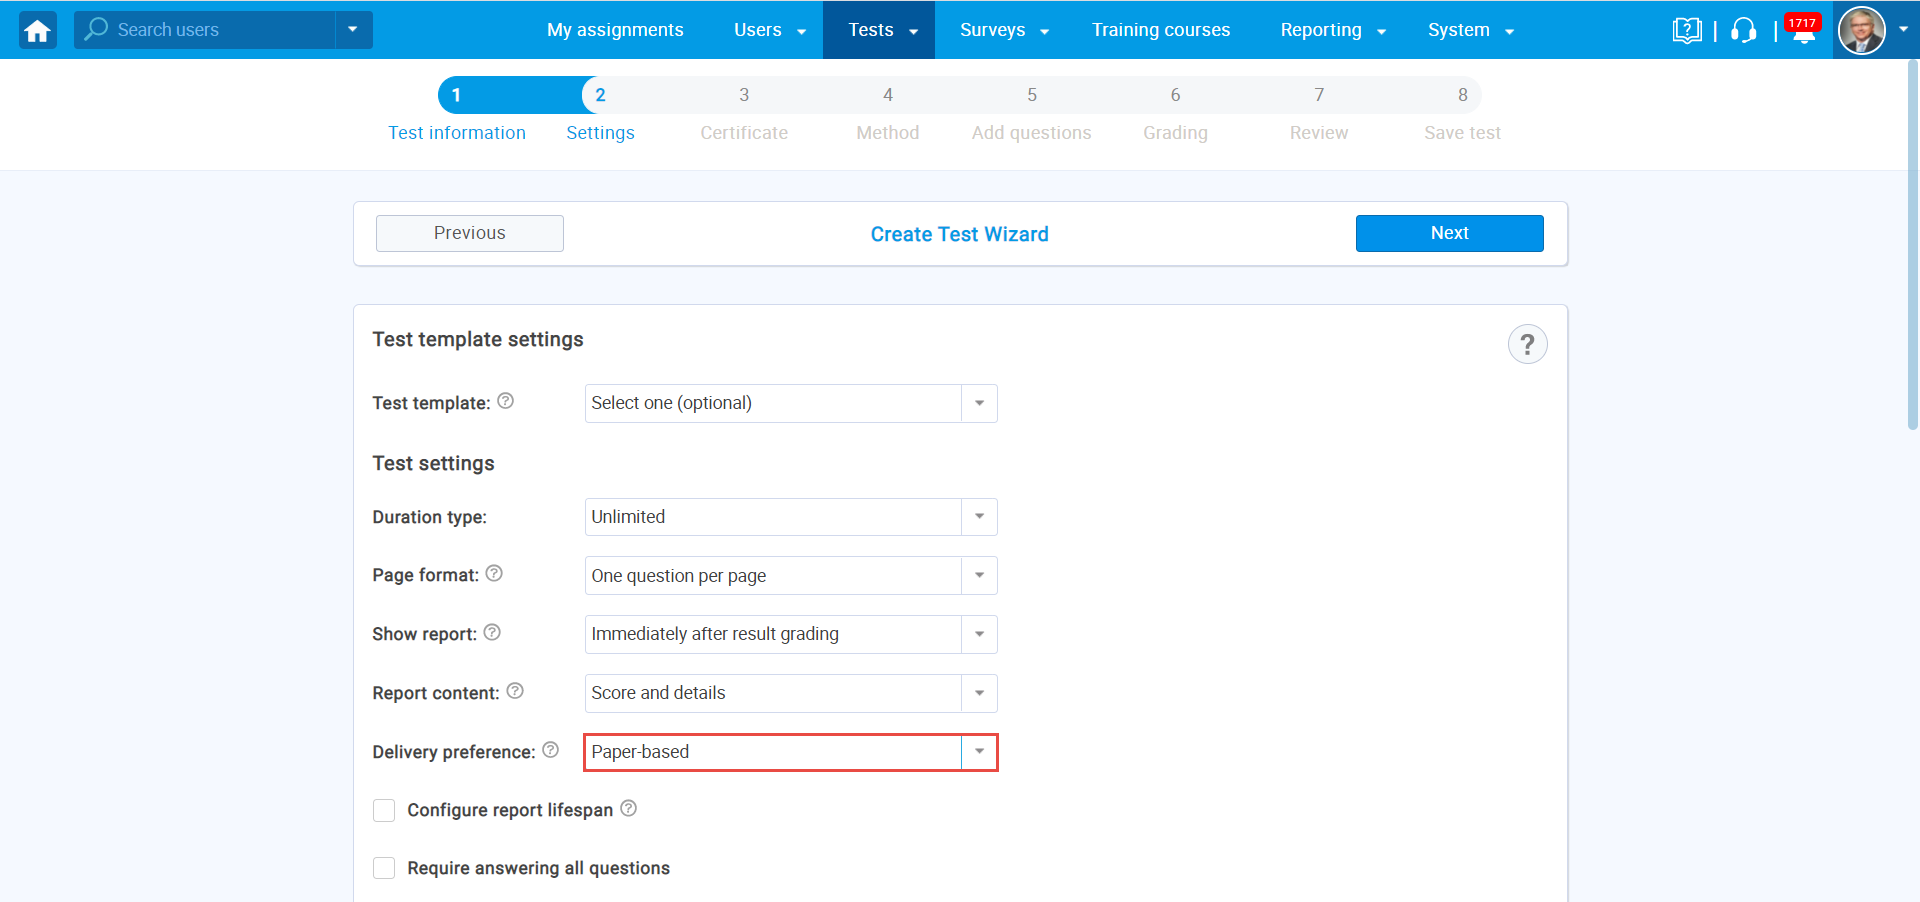
In the fourth step of the “Test wizard,” select the “Add questions manually” option to define the pre-printed versions of the exam manually.
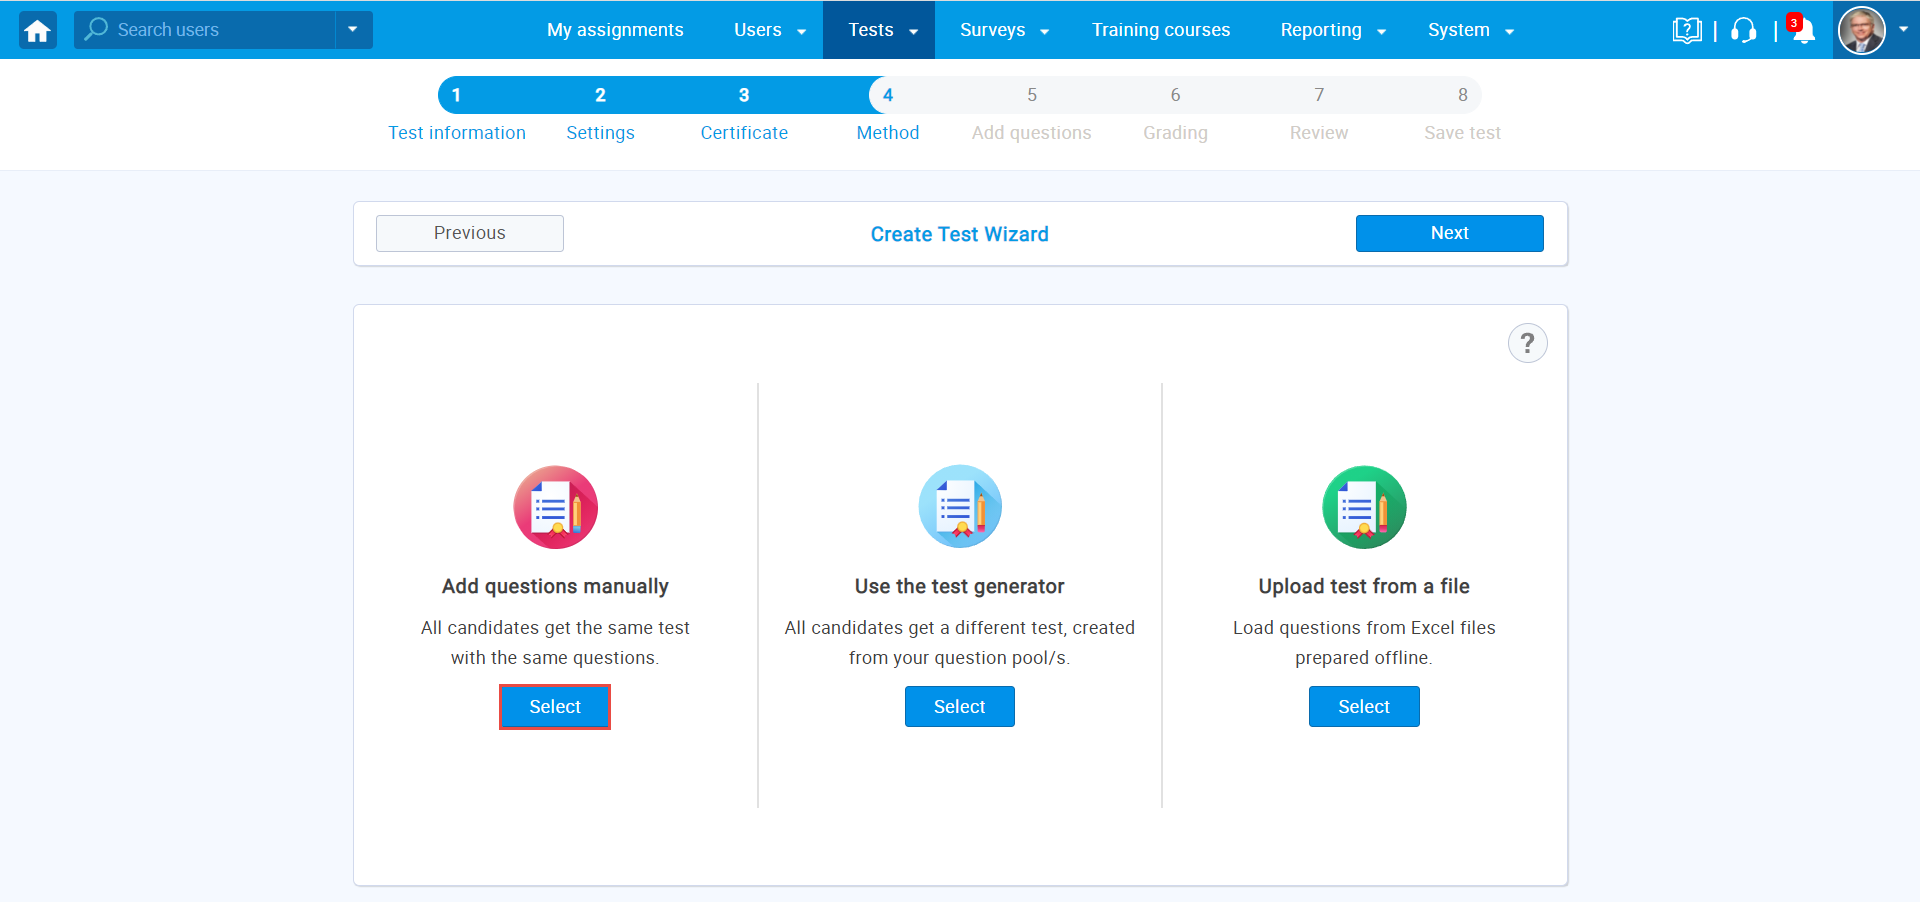
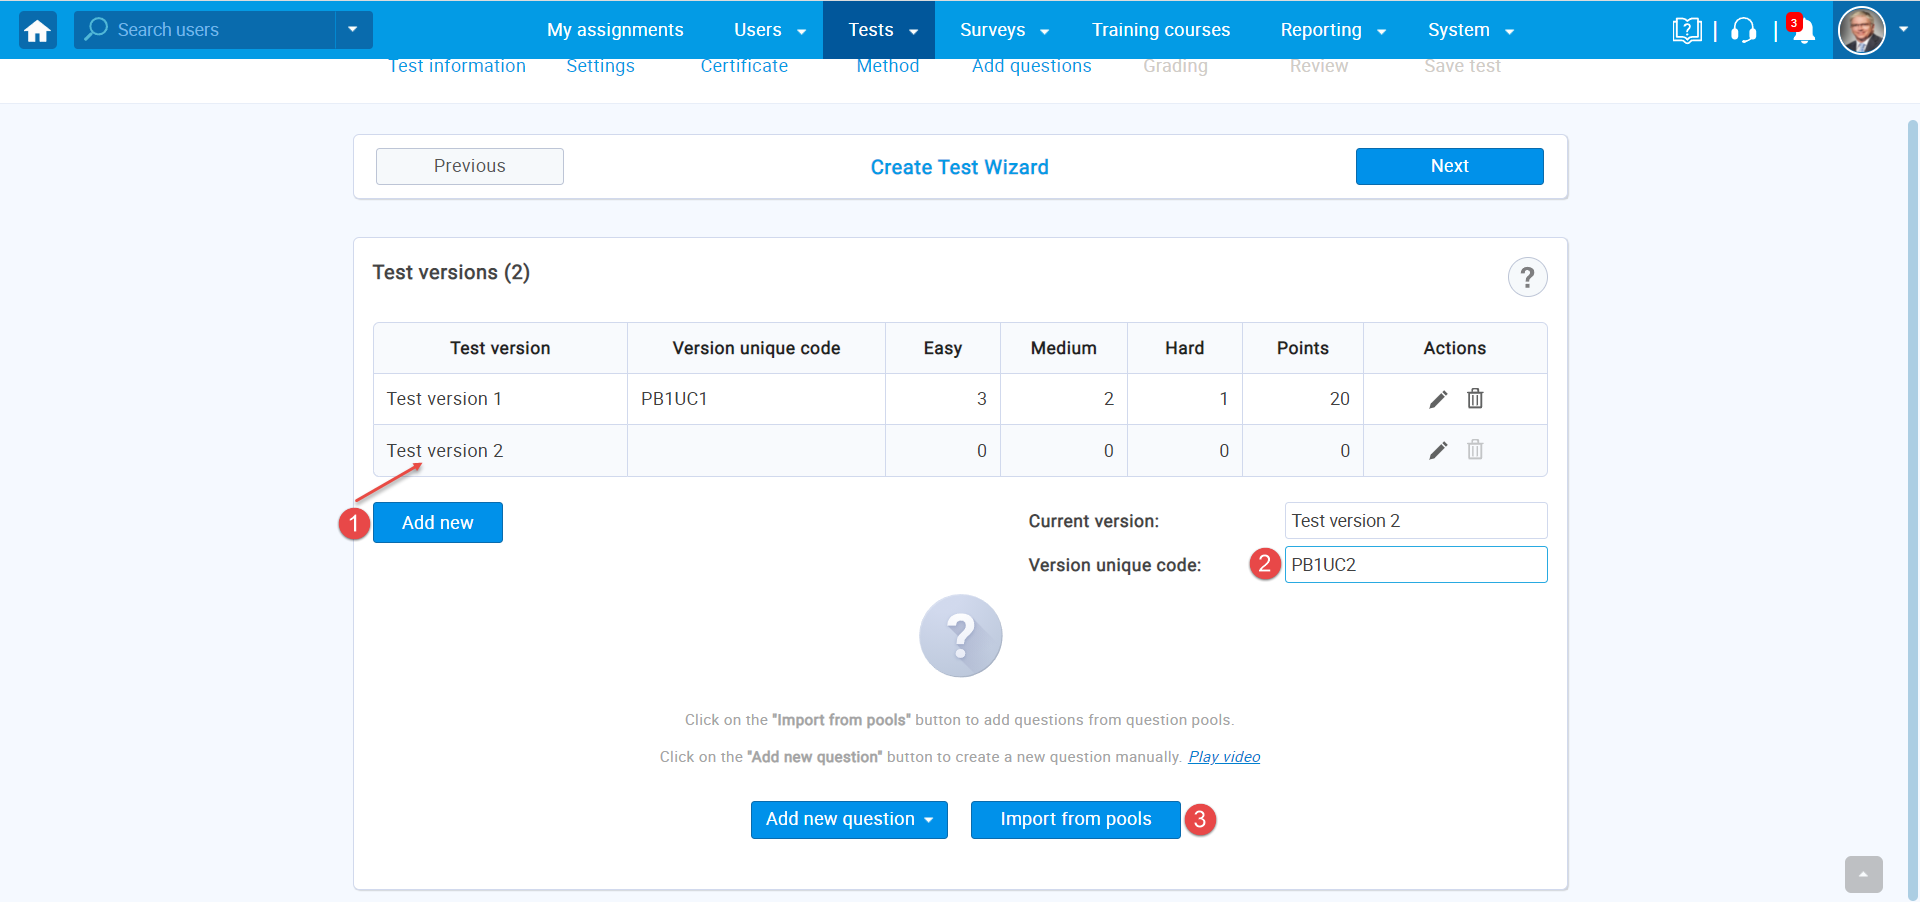
The 1st version will automatically be created and you should:
- Enter the “Version unique code”.
- Click on “Import from pools”.
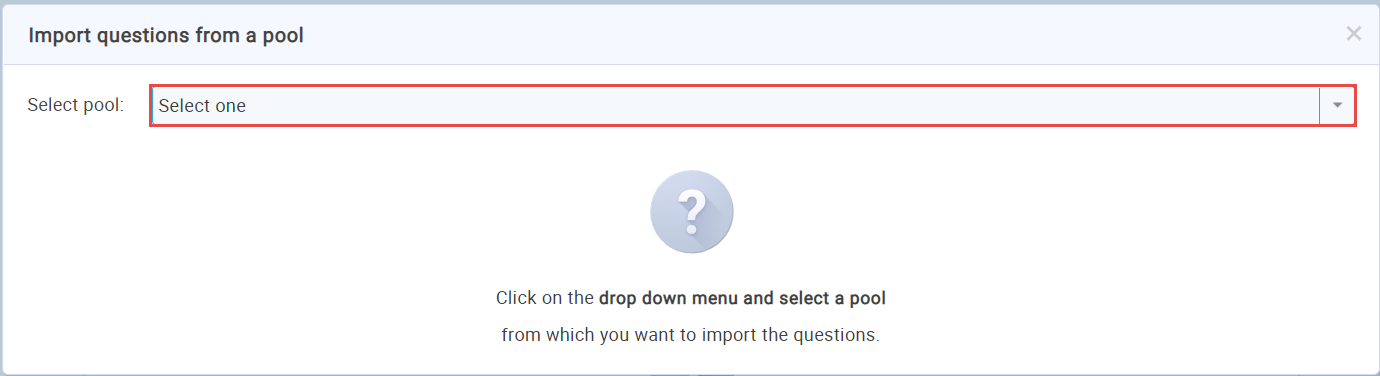
Click on the dropdown to select a question pool from which you want to assign questions.
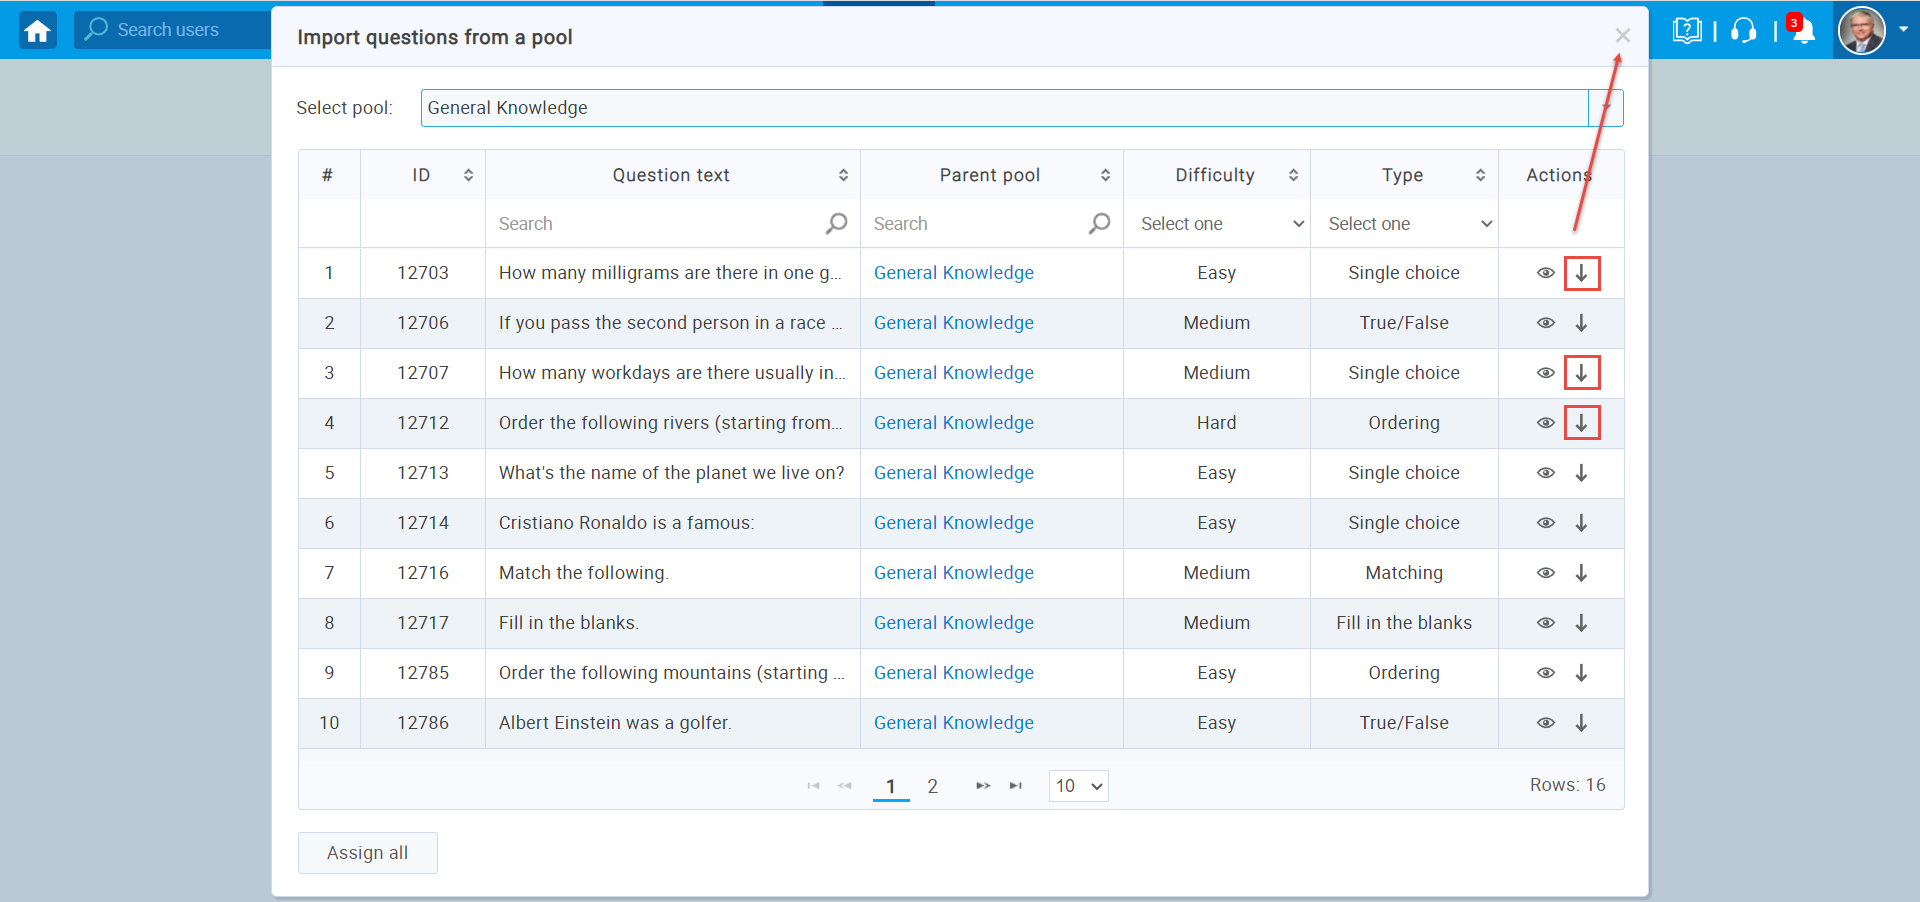
Select the questions that you want to assign in the 1st version and then click “X” button to close a window.
- Click on “Add new” to create a new version which will be presented in the “Test versions” table.
- Enter the “Version unique code”.
- Click on “Import from pools” button and then follow the same steps as above.
You can create as many versions as you need.
After creating different versions of the exam, go through other steps to finish the test creation process.
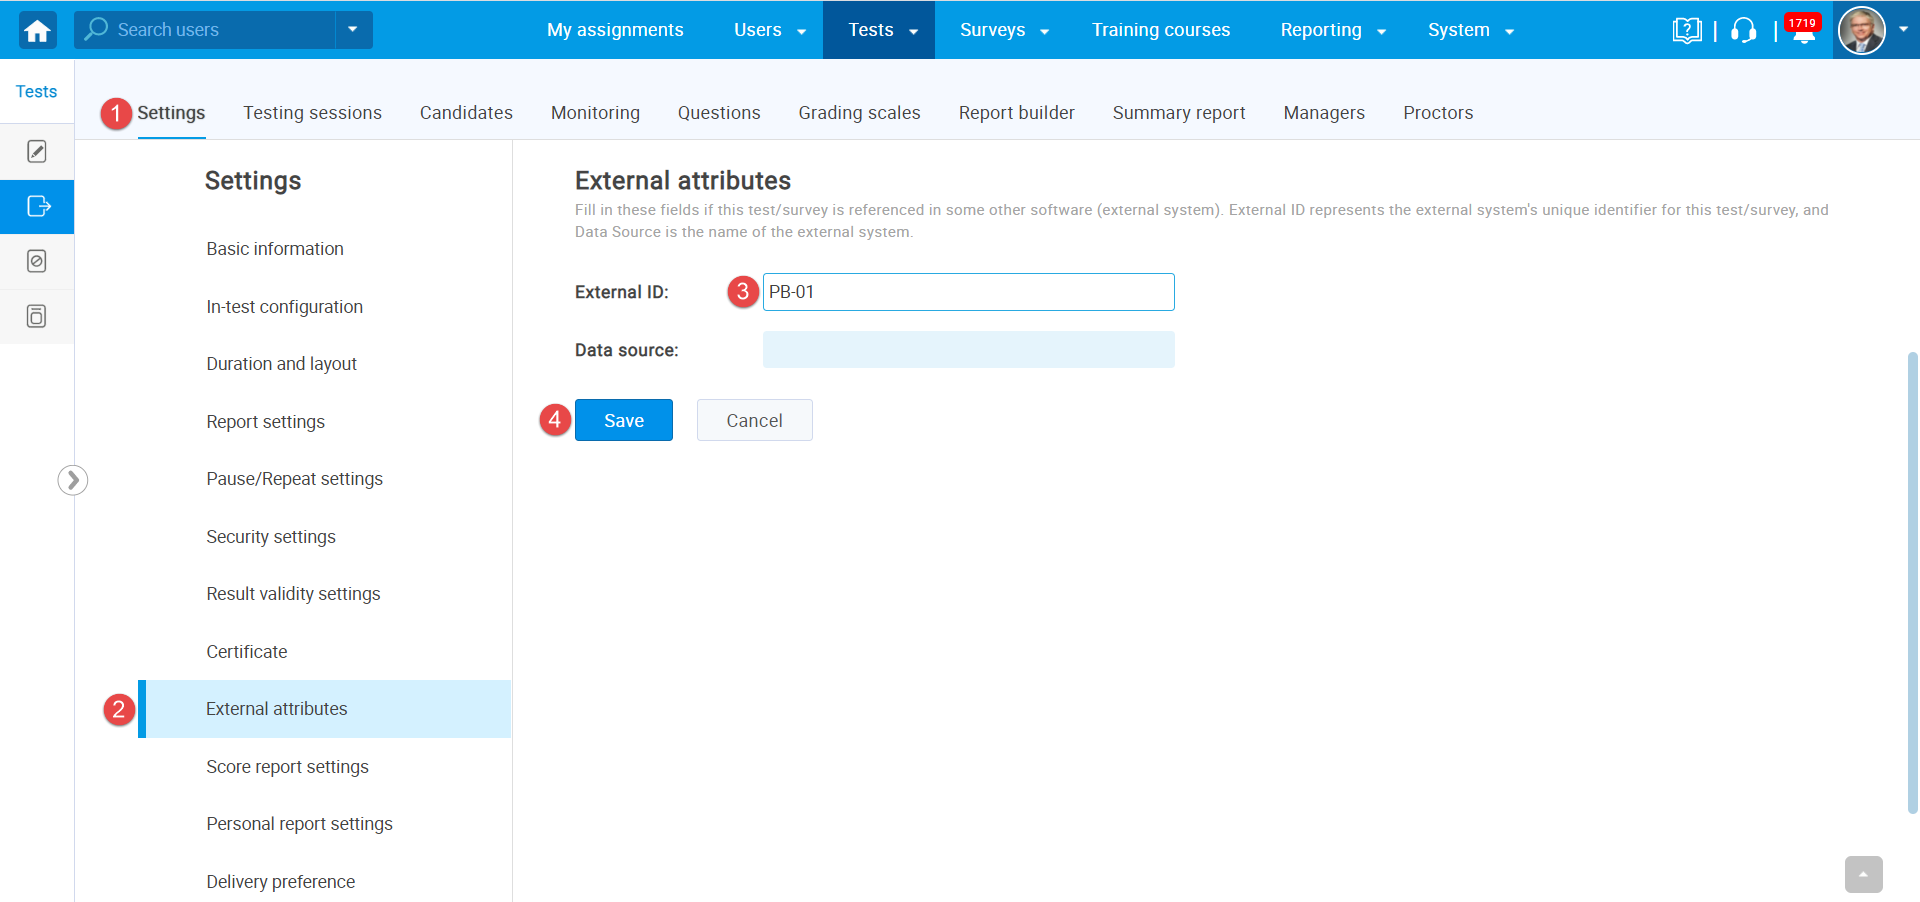
The next step is defining the exam code (External ID). To define the exam code:
- Click on the “Settings“.
- Click on “External attributes“.
- Enter the “External ID“.
- Click on the “Save” button.
For more related instructional materials, please visit:


