This article explains how to enable the period during which the test results will be valid. After the validity period expires, candidates will not be able to access the test results and must retake the test.
Enabling the test validity option
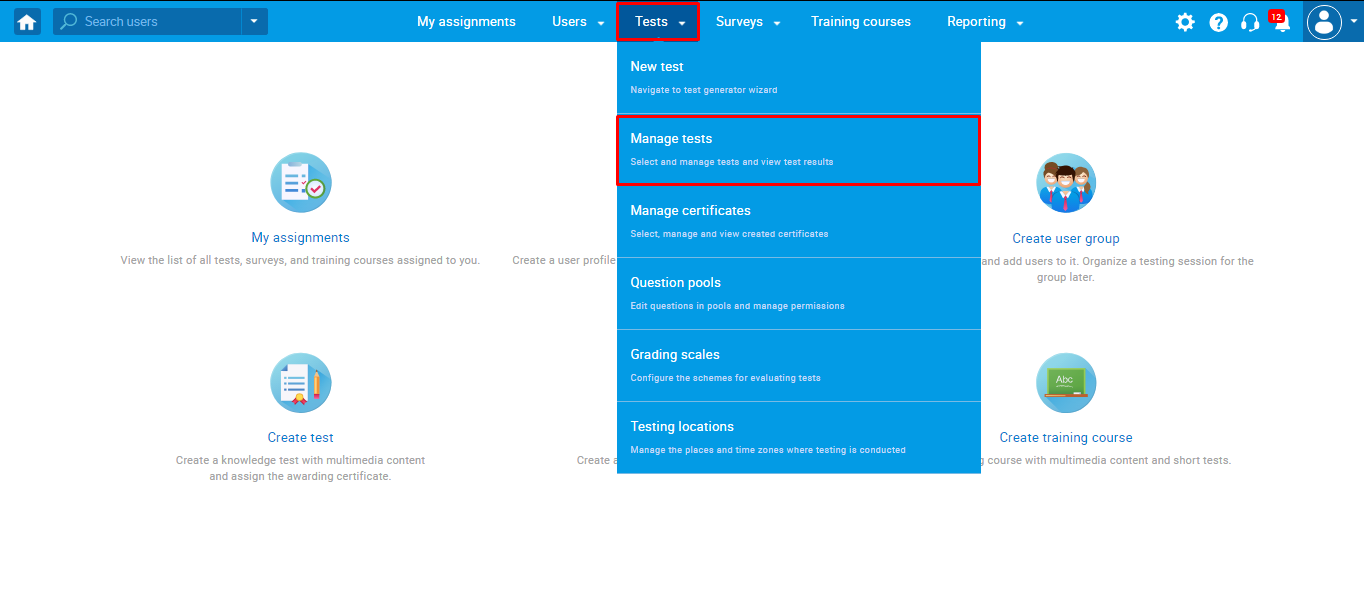
To enable the validity period, hover over the “Tests” tab in the main menu and select “Manage tests“.
Then, select the desired test from the list. For the selected test, you will set the test results validity period.
Please follow these step-by-step instructions on how to configure this option:
- In the “Settings” tab, navigate the “Result validity settings” on the left-side menu.
- Check the “Enable validity period” option.
- Define the “Test validity period (in days)”. This represents the period during which the test results will be valid, e.g., how much time in days those results hold. After this period, the test needs to be retaken (results become suspended). The test sessions will be automatically created for test-retaking.
- Click the “Save” button to save the result validity settings.
- Click the “Cancel” button to discard the changes.

If the session is defined for certain candidates, only those who have previously taken the test will be able to retake the test after the validity period has expired.
If the session has the self-enrollment option enabled, the test will be able to be taken by all users who have previously taken the test and users who did not take it yet.
For video instructions on how to configure the test validity option, please watch this video.
For more useful instructional materials, please visit:
- How to make the test available for all users in the system – this article explains how to create self-enrollment testing sessions.
- How to set certificate expiry date
- How to set up report content


