This article explains how to schedule automated sending reports by email at specified time intervals. You can specify what will be included in the report, who will receive the report, and how often it will be sent.
Accessing the page
Hover over the “Reports” in the main menu and select the “Scheduled reports“.
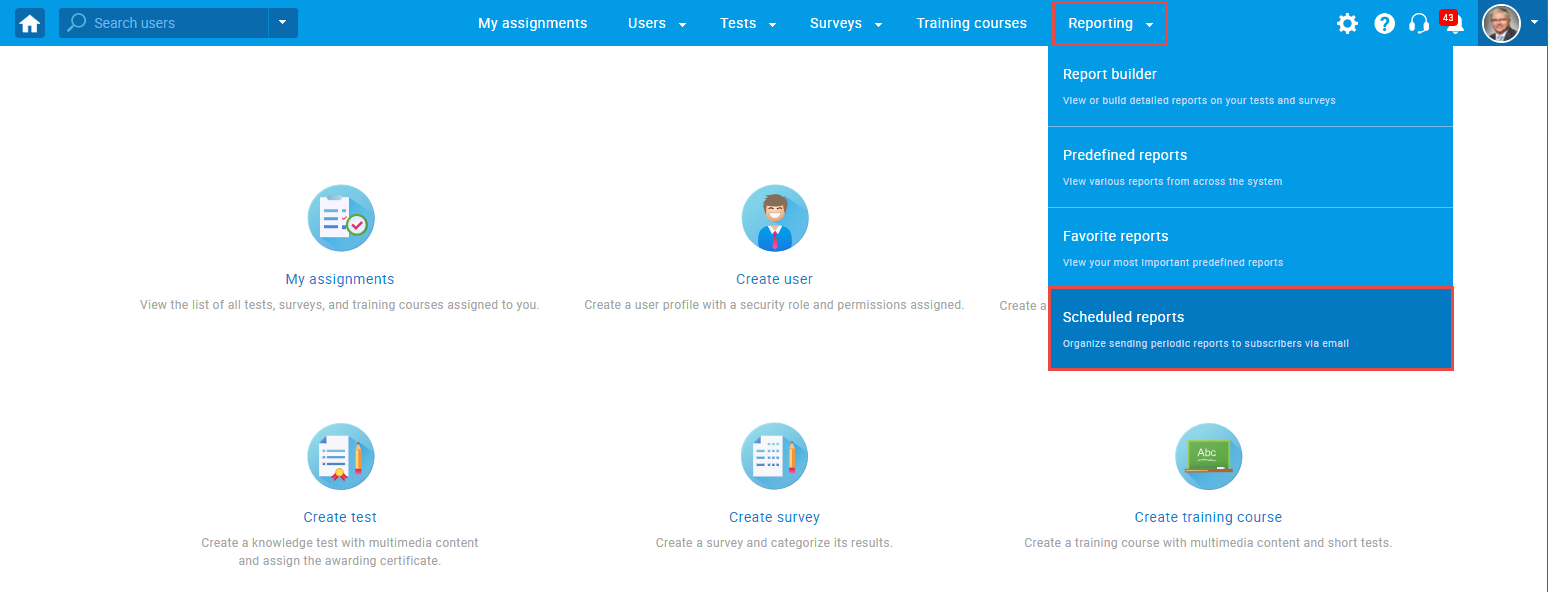
On this page, you will be displayed with a list of all scheduled reports, with their names, descriptions, and other relevant data.
Scheduling a report
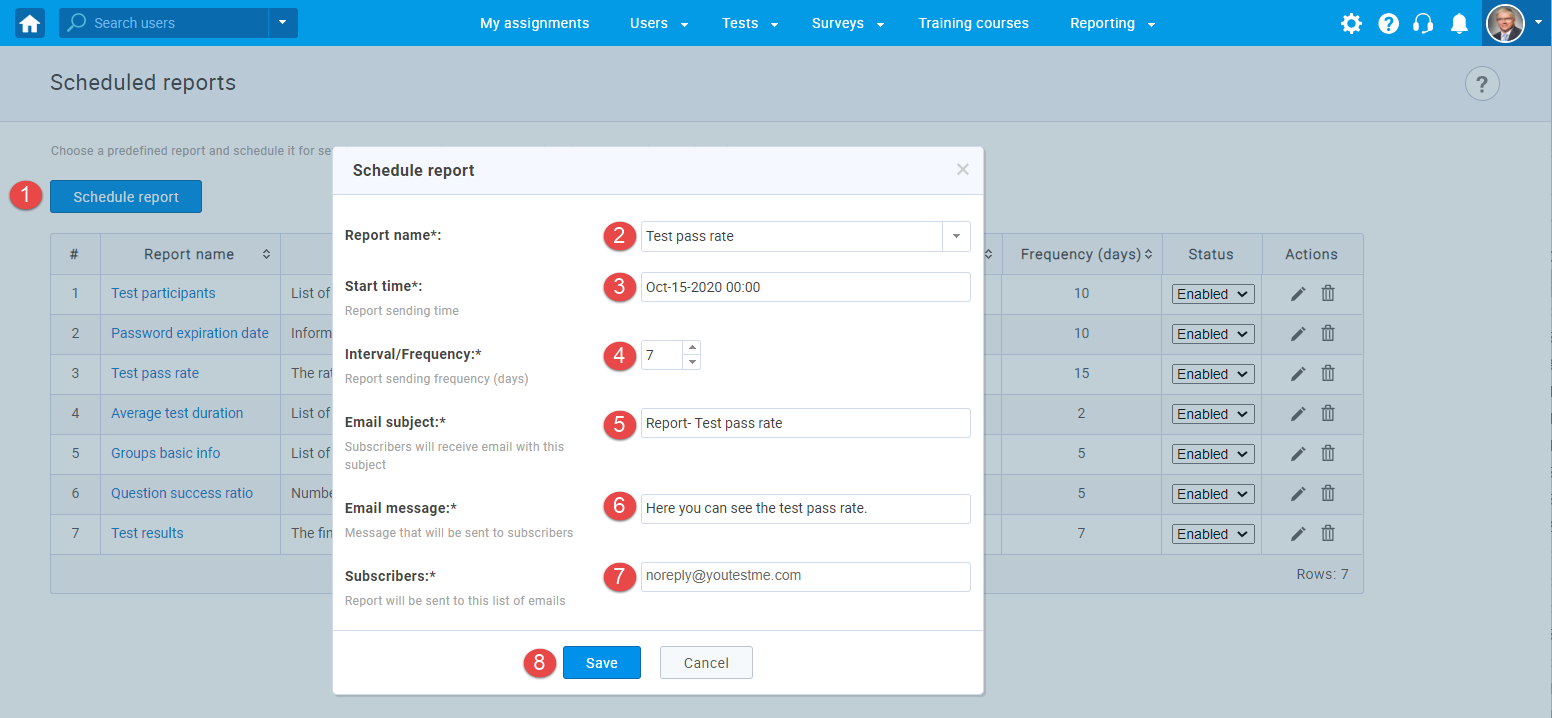
To schedule a report and include it to the list, follow these instructions:
- Click the “Schedule report” button.
- Select one of the predefined reports you want to schedule from the drop-down list.
- Set the start date and time – the day and time when the report will be sent for the first time.
- Specify the time interval/frequency (in days) of the automated report sending.
- Define the email subject that subscribers will see when they receive the email.
- Define the email message sent to subscribers.
- Enter the subscribers’ email addresses.
- Click the “Save” button to confirm the new scheduling configuration.
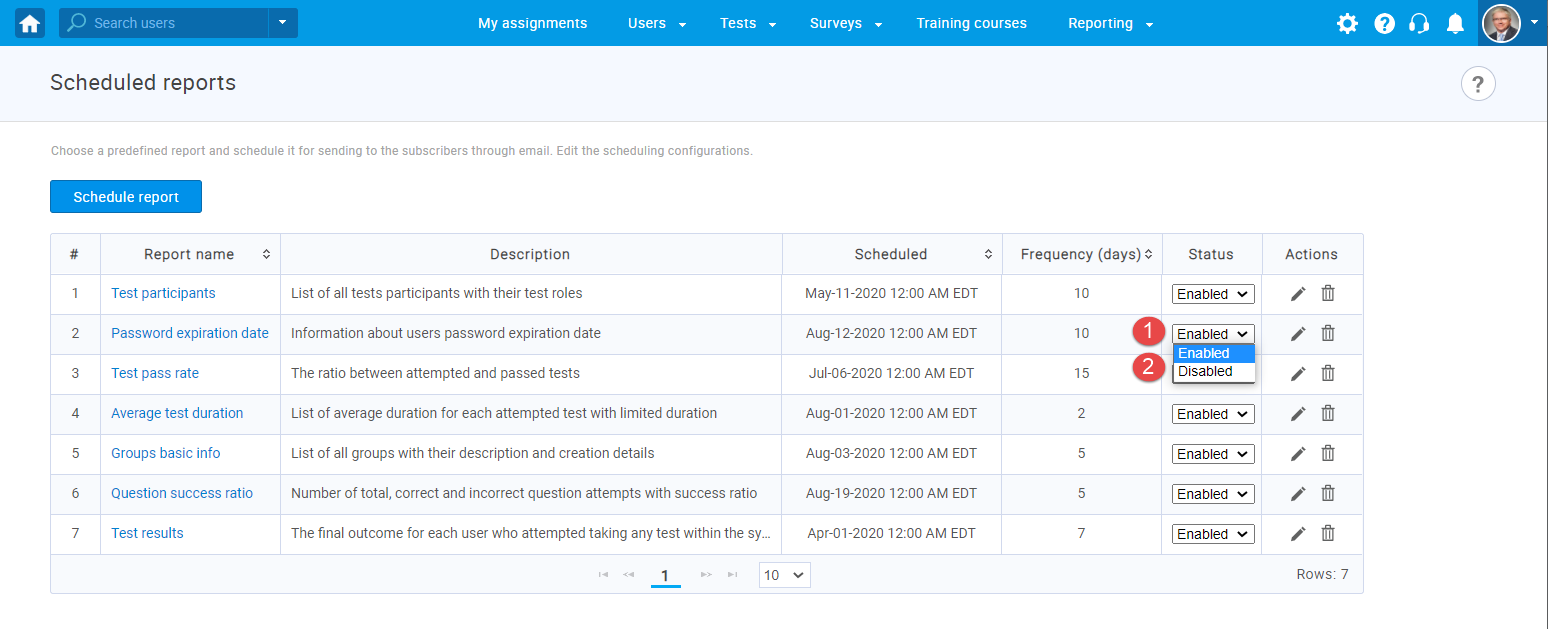
At any moment, you can enable/disable scheduled reports configuration:
- Click the drop-down list and select the report you want to change the status of.
- Select the “Enabled” option to enable the automated sending of the scheduled report, and the report will be sent to the subscribers as defined.
Select the “Disabled” option to turn off the automated sending of the scheduled report. The report will not be sent to the subscribers until its status is set to “Enabled” again.
For video instructions on how to schedule reports, please watch this video.
For more related instructional materials, please see:


