This article will explain how to choose and set the camera/microphone (from multiple) that will be used for proctored tests.
In Google Chrome Browser
Configuring the camera
If several cameras are connected to the computer:
- Click on the camera icon on the right side of the address bar and go to the settings by clicking the “Manage” button (Windows and Linux) or the “Manage multimedia device settings” button (MacOS).
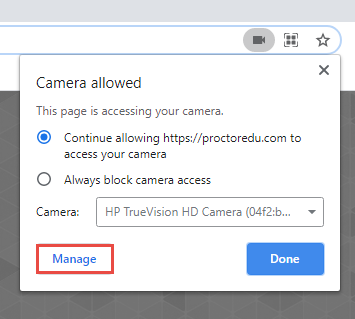
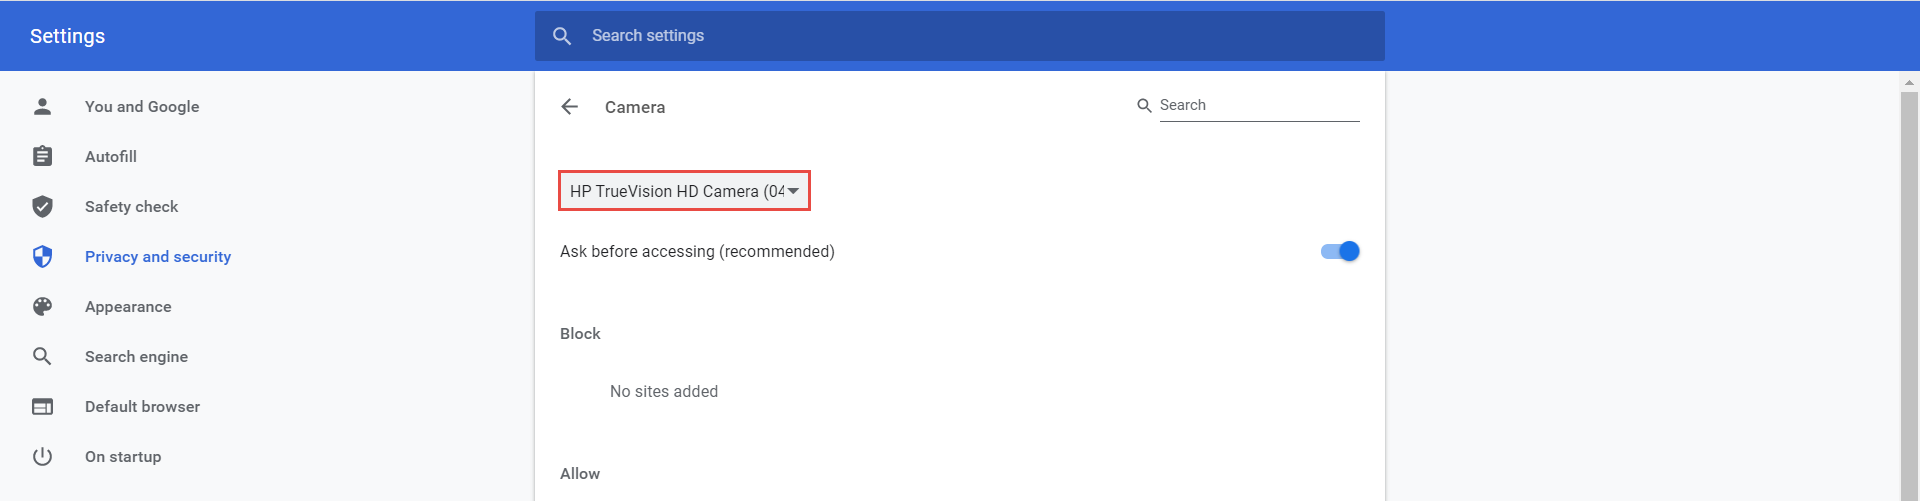
- In the settings, select “Camera”.

- In the drop-down menu, select the desired camera.
After changing the settings, you need to refresh the test page.
Configuring the microphone
If several microphones are connected, you should follow the same steps for the “Microphone” item.
In Mozilla Firefox Browser
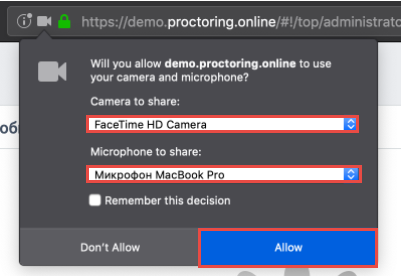
When starting a proctored test, you need to allow using a camera and microphone. Before you allow to use them, you can choose the desired one from several in the dropdown menu.
Once you choose the desired ones, click the “Allow” button.
Please watch the video for more information on how the test-taking process looks from the candidate’s perspective.
To see frequently asked questions about proctored tests, please see the FAQ.


