This article explains how to delete the test permanently from the system.
Enabling the “Allow delete data” option
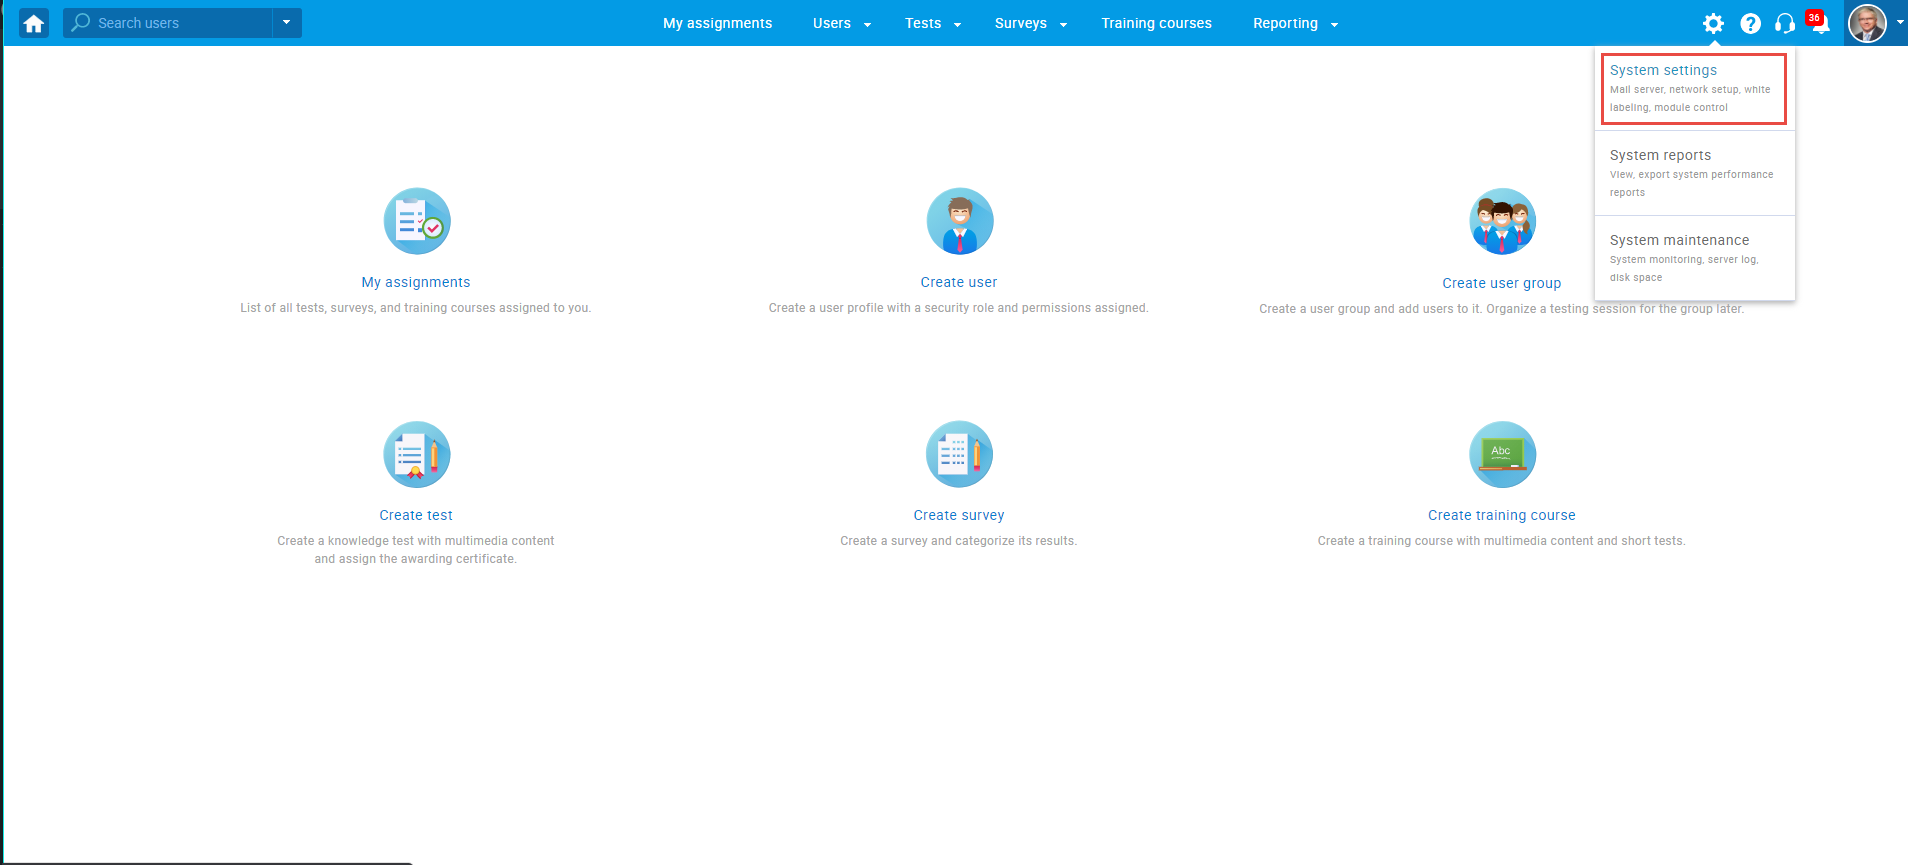
Navigate to the settings, and select the “System settings” option.
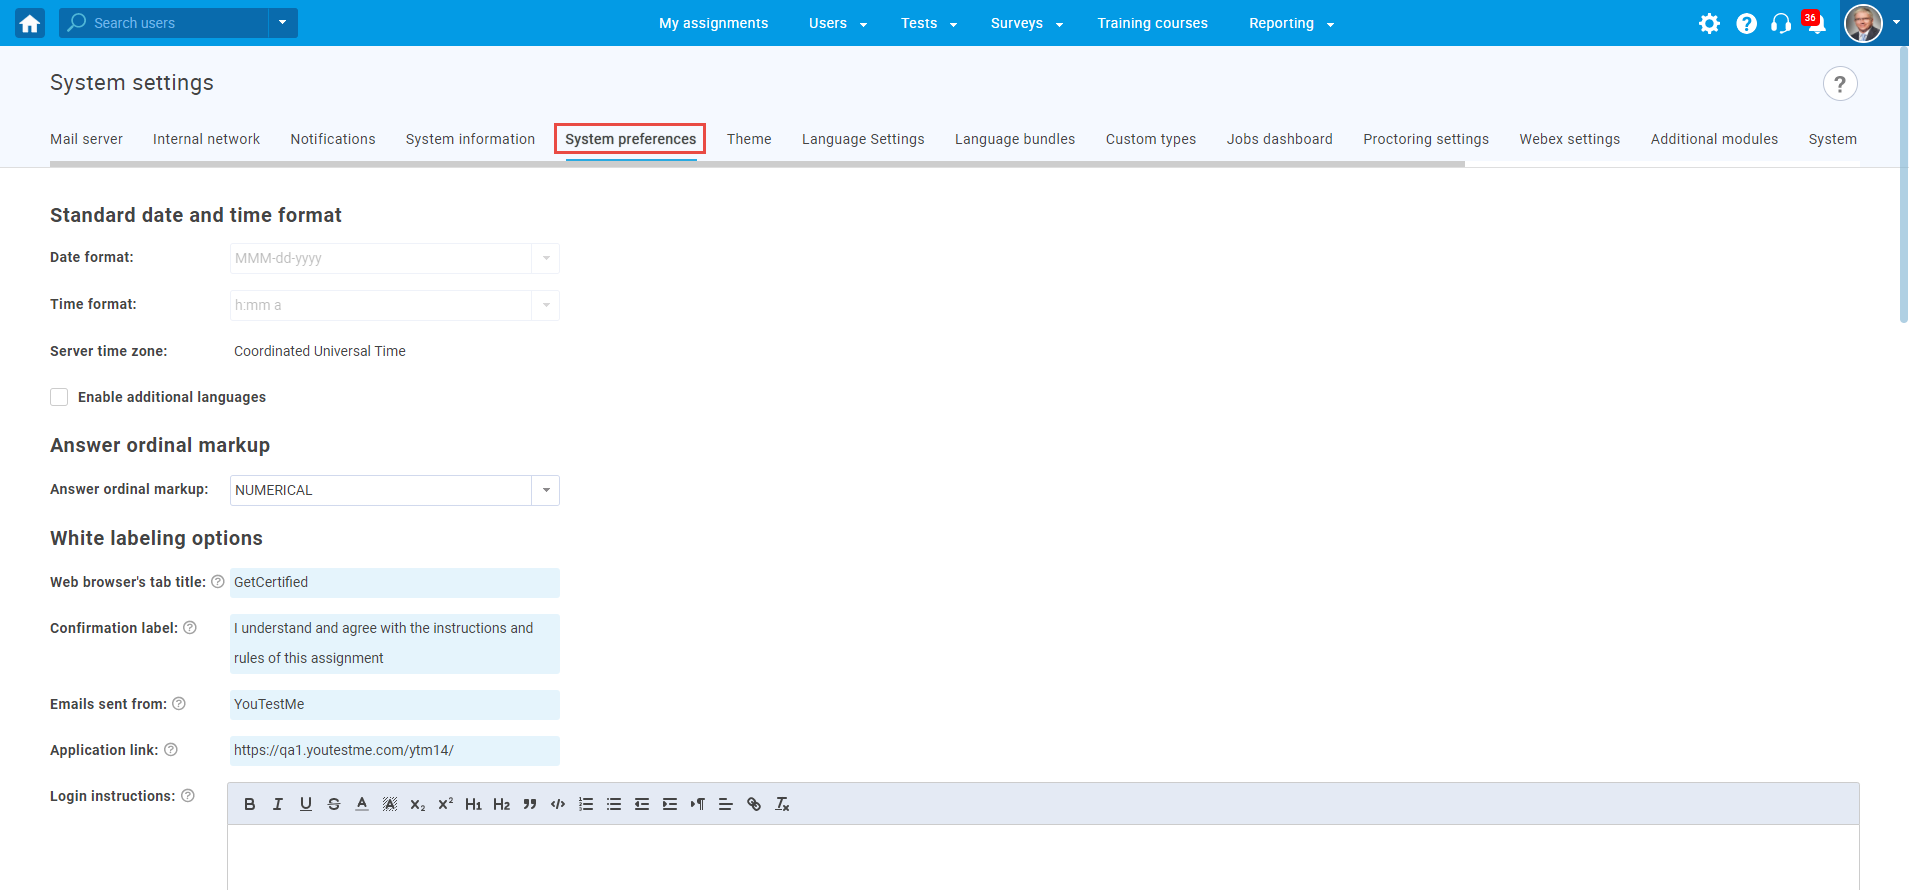
Then, navigate to the “System preferences” tab.
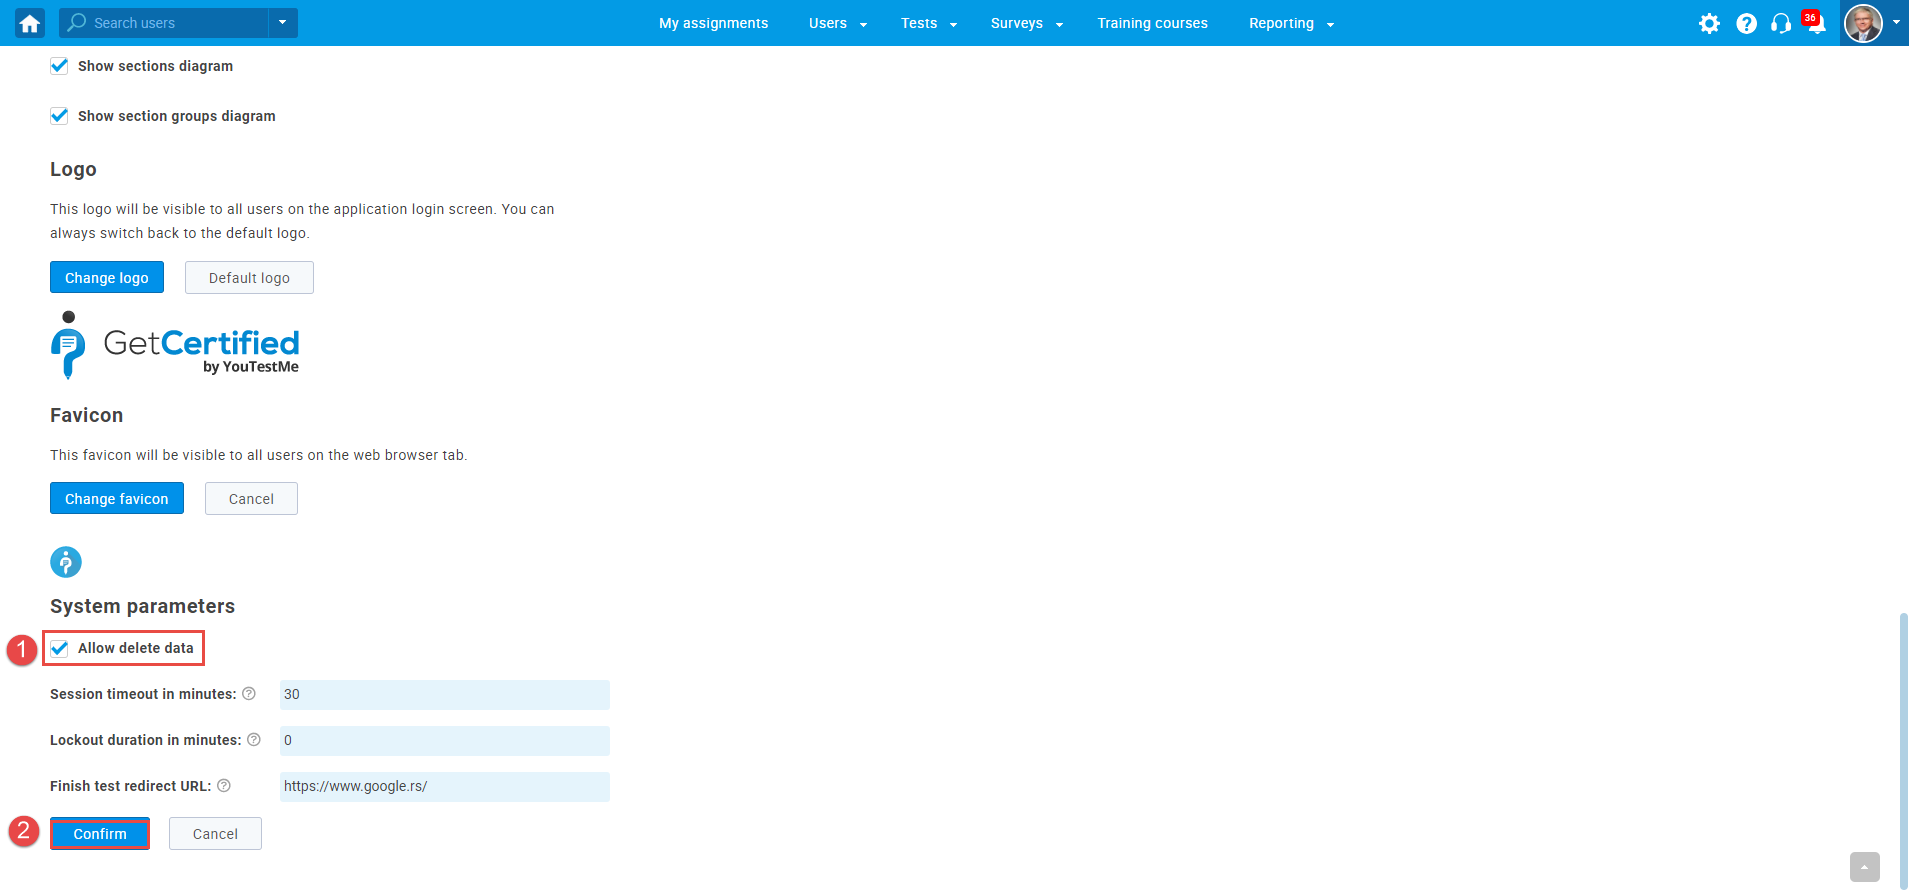
Scroll down to the bottom of the page, enable the “Allow delete data” option, and click the ”Confirm” button to save the changes.
Accessing the test
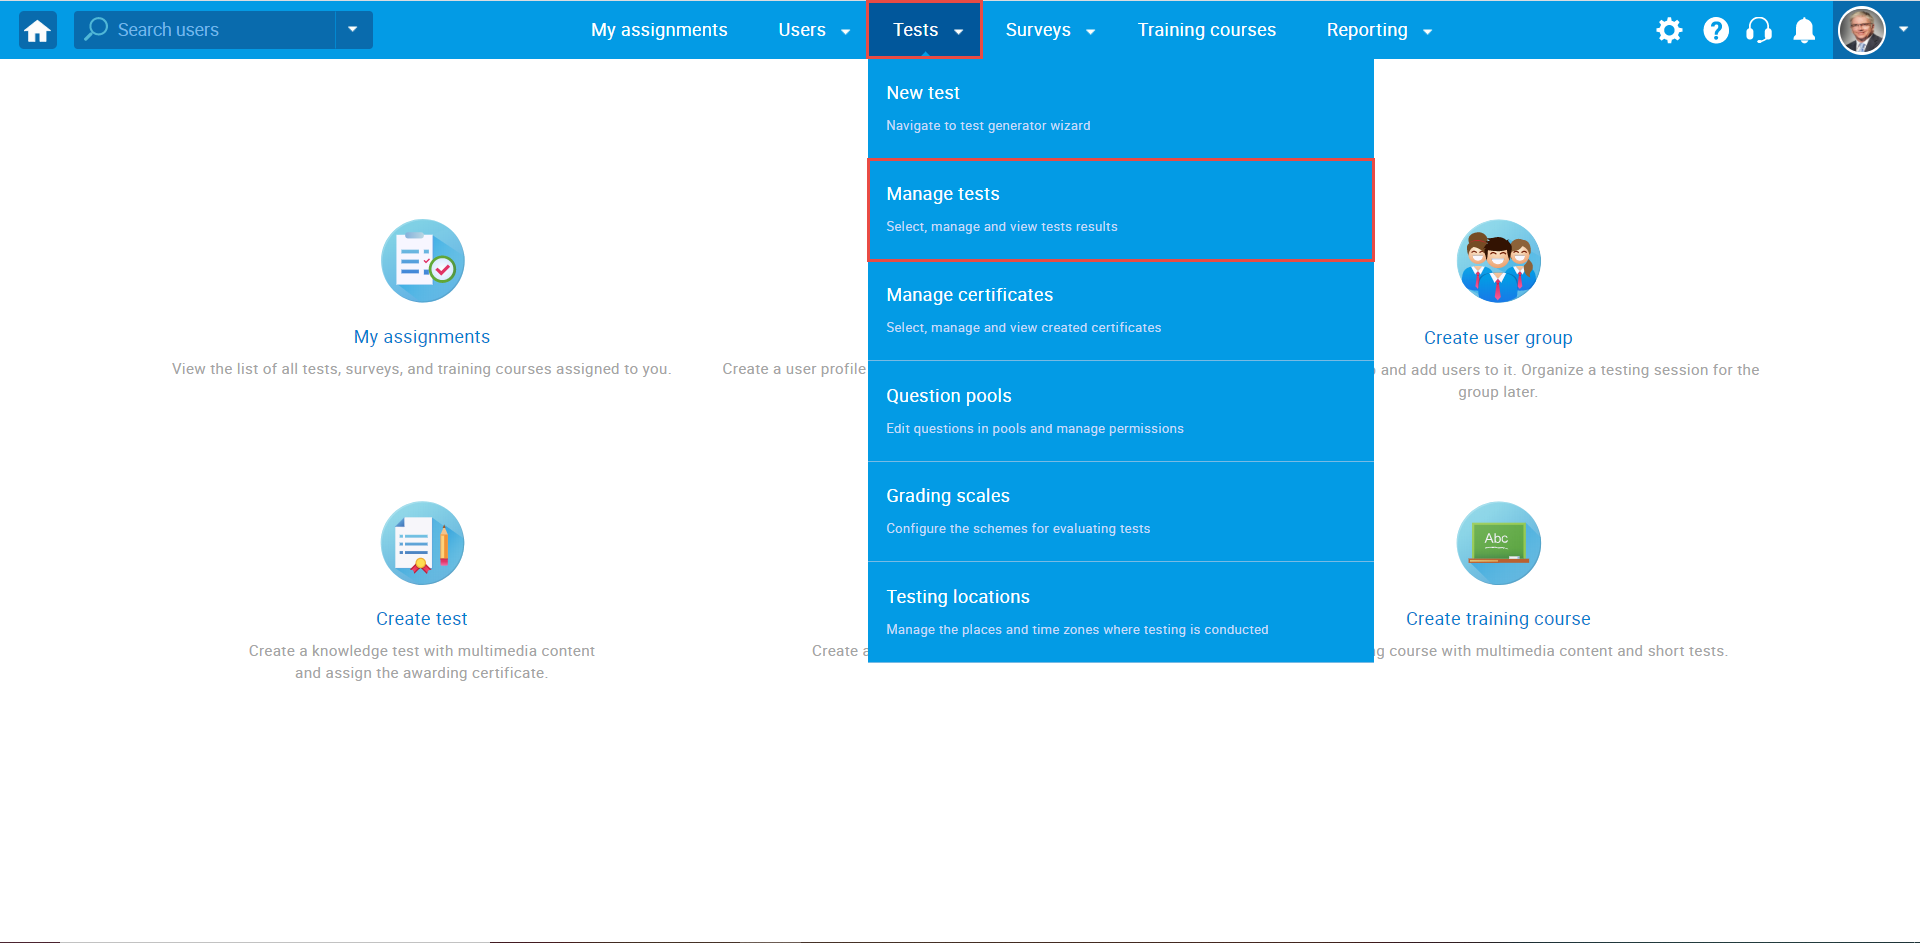
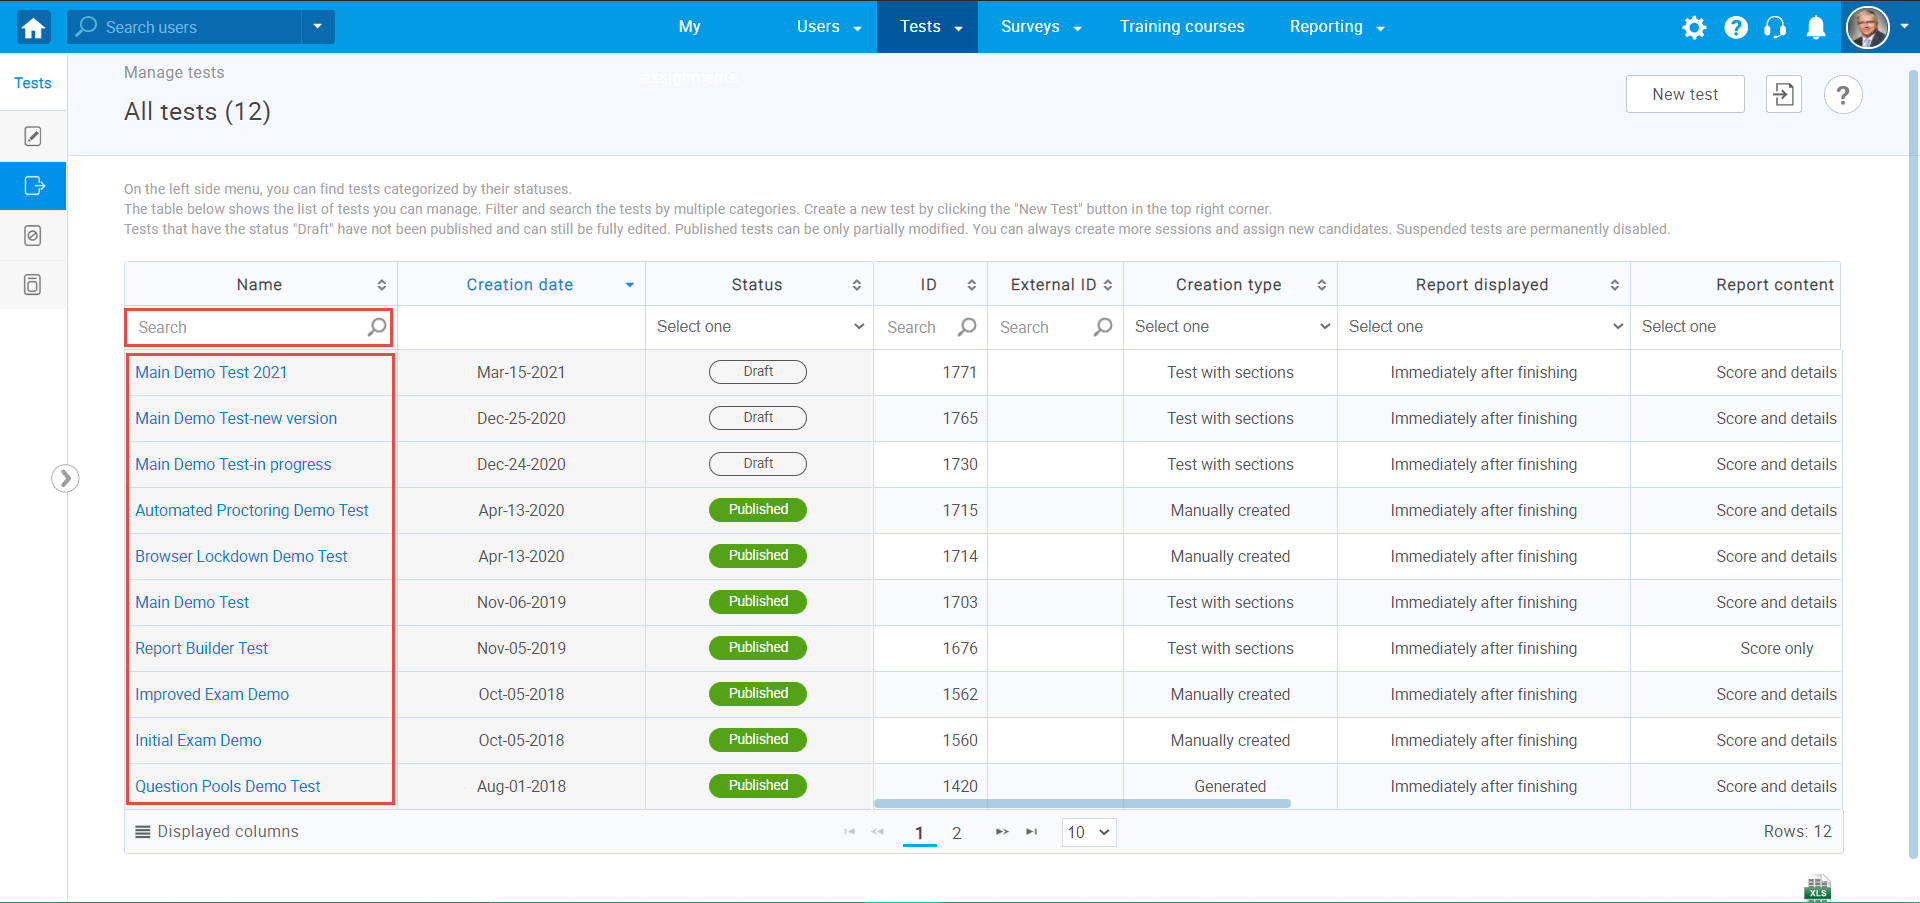
Hover over the “Tests” in the main menu, and select the “Manage tests” option.
On the “Manage tests” page, you will see the list of all tests in the system. Use the search box to find the test you want to delete, and click on its name to open it.
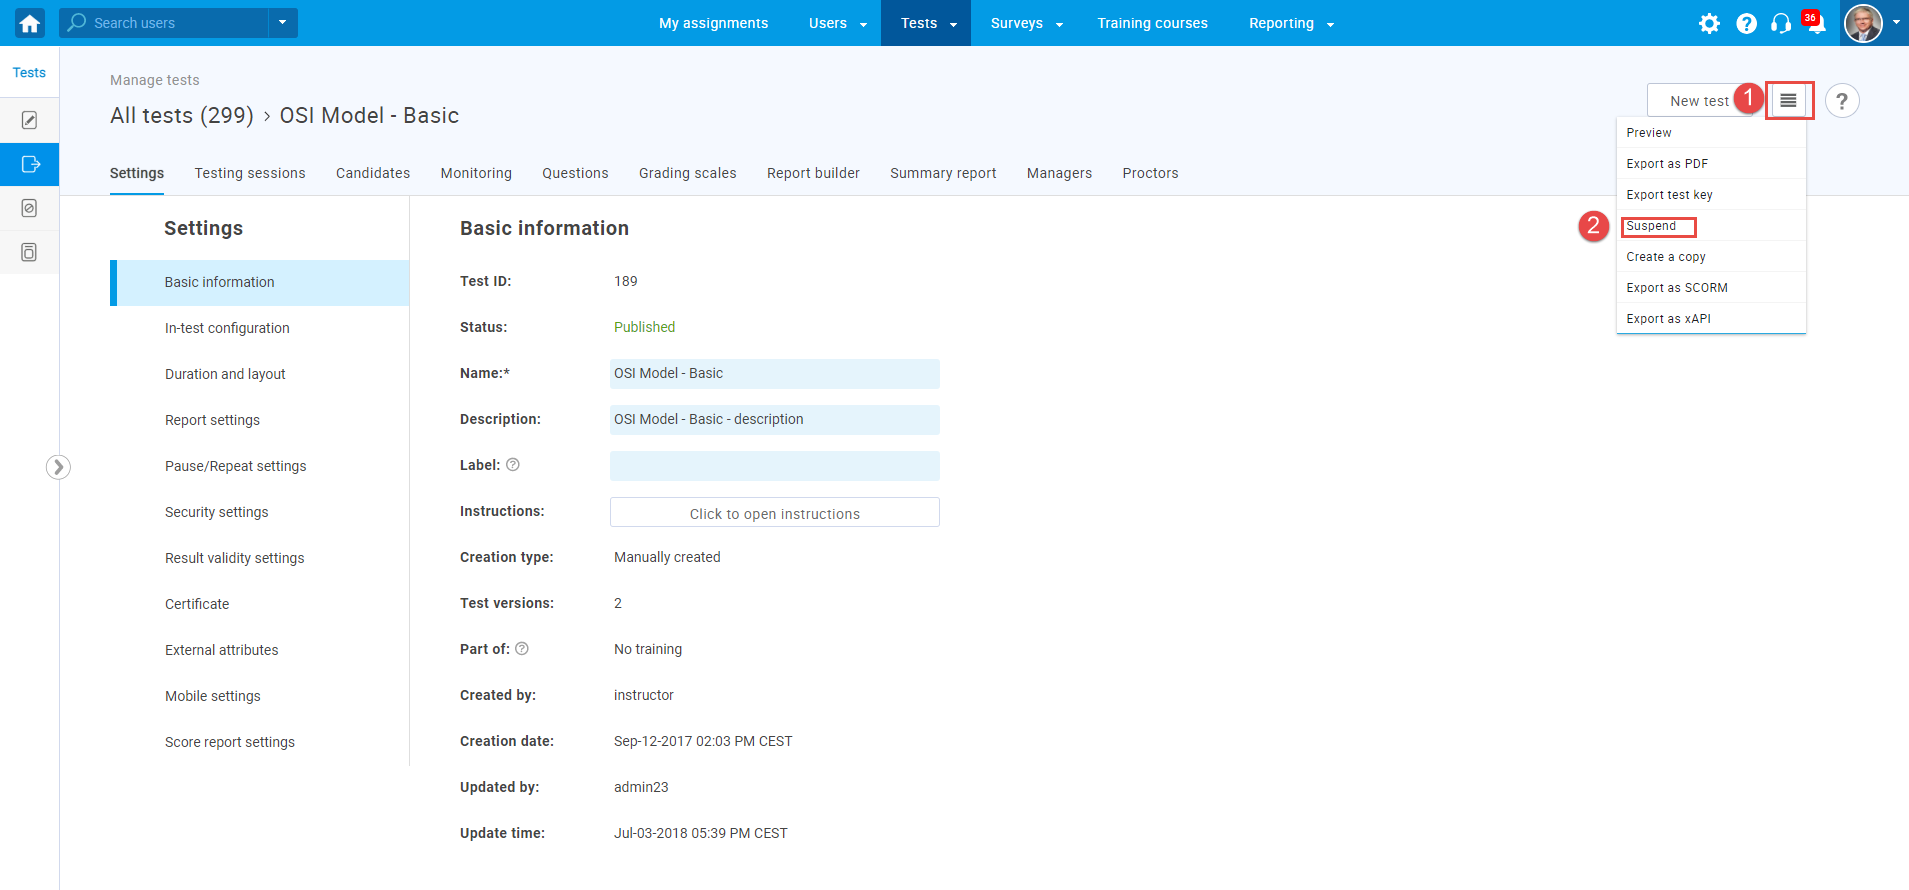
Suspending the test
Before deleting, the test must be suspended. To suspend the desired test, open the “Options” for this test in the upper right corner, and from the drop-down menu choose the “Suspend” option.
Deleting the test
When the test is suspended, you can delete the test by opening “Settings” in the upper right corner, and choosing the “Delete” option.
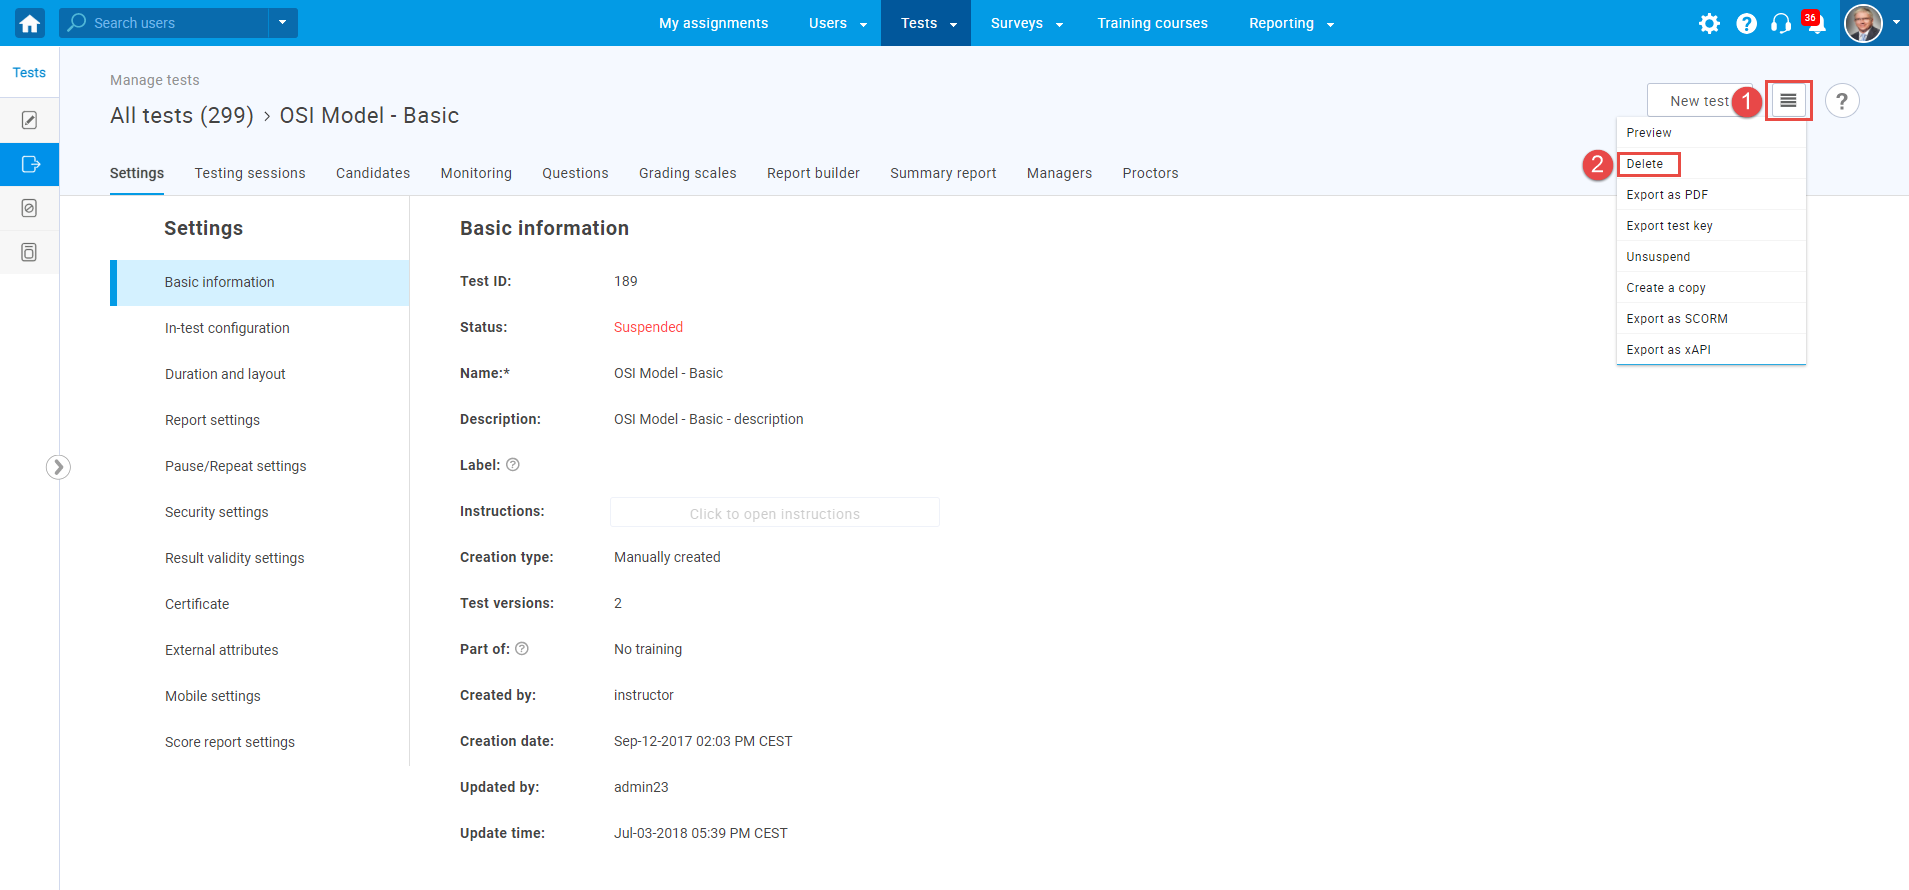
Note: All data associated with the deleted test will be lost (from reports and statistics), and data cannot be retrieved.
For more related instructional materials, please visit:
For a video explanation, please watch this video.


