This article explains how to create custom reports using Report Builder.
It allows creating flexible and unique reports using advanced search filters to obtain detailed insight into test/survey statistics and compare items by creating customized reports.
Accessing Report Builder directly from a test
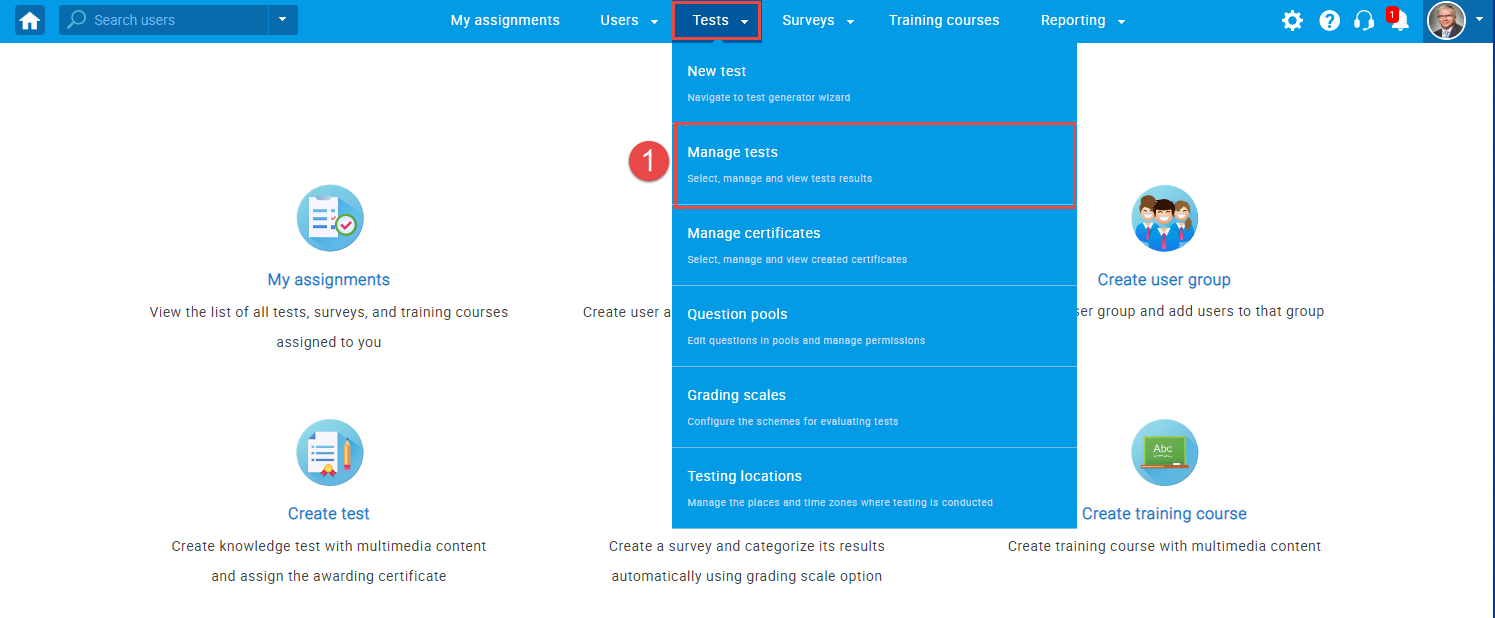
- To open a Report Builder for a specific test, hover over the “Tests” in the main menu and select “Manage tests“.
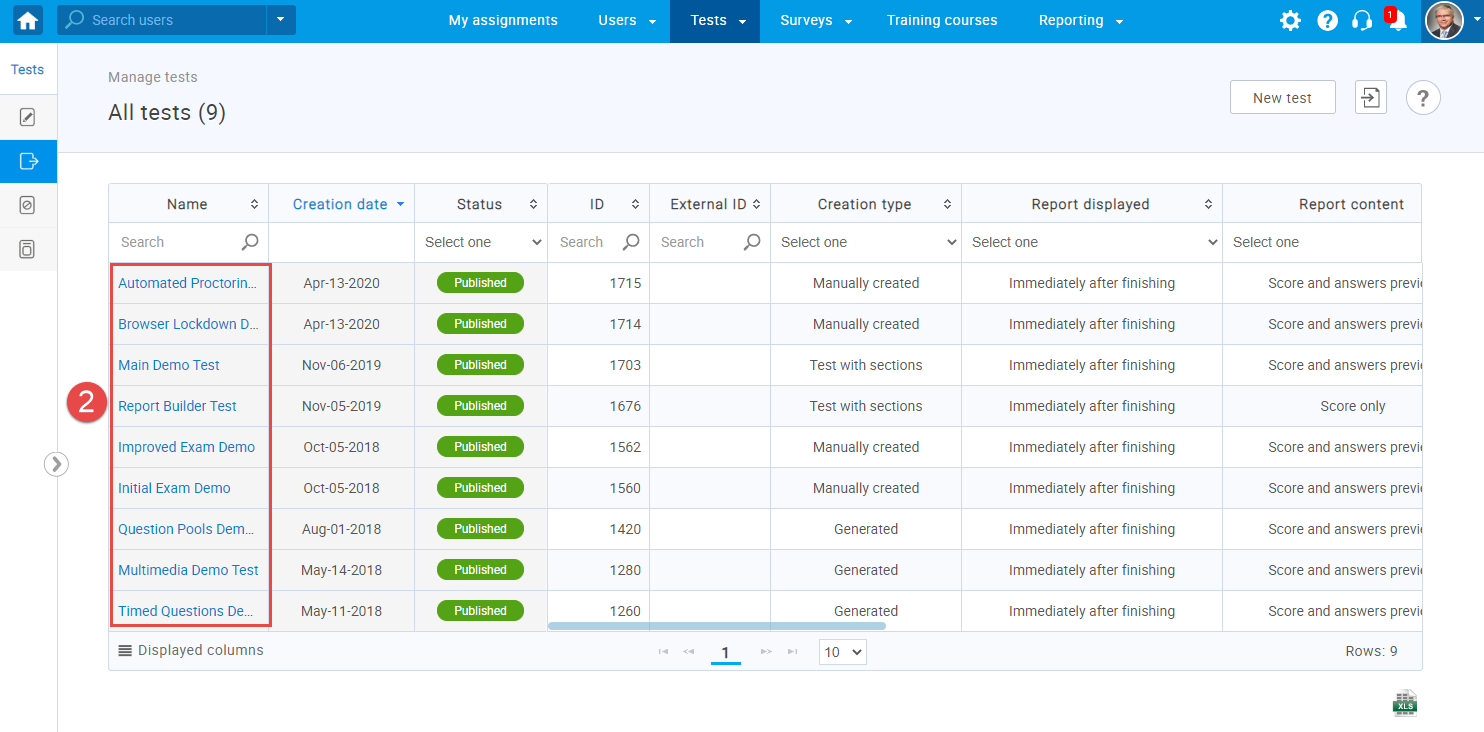
- To display a Report Builder for a specific test, click on the name of the test. You may also use a search box to help you find the test faster.
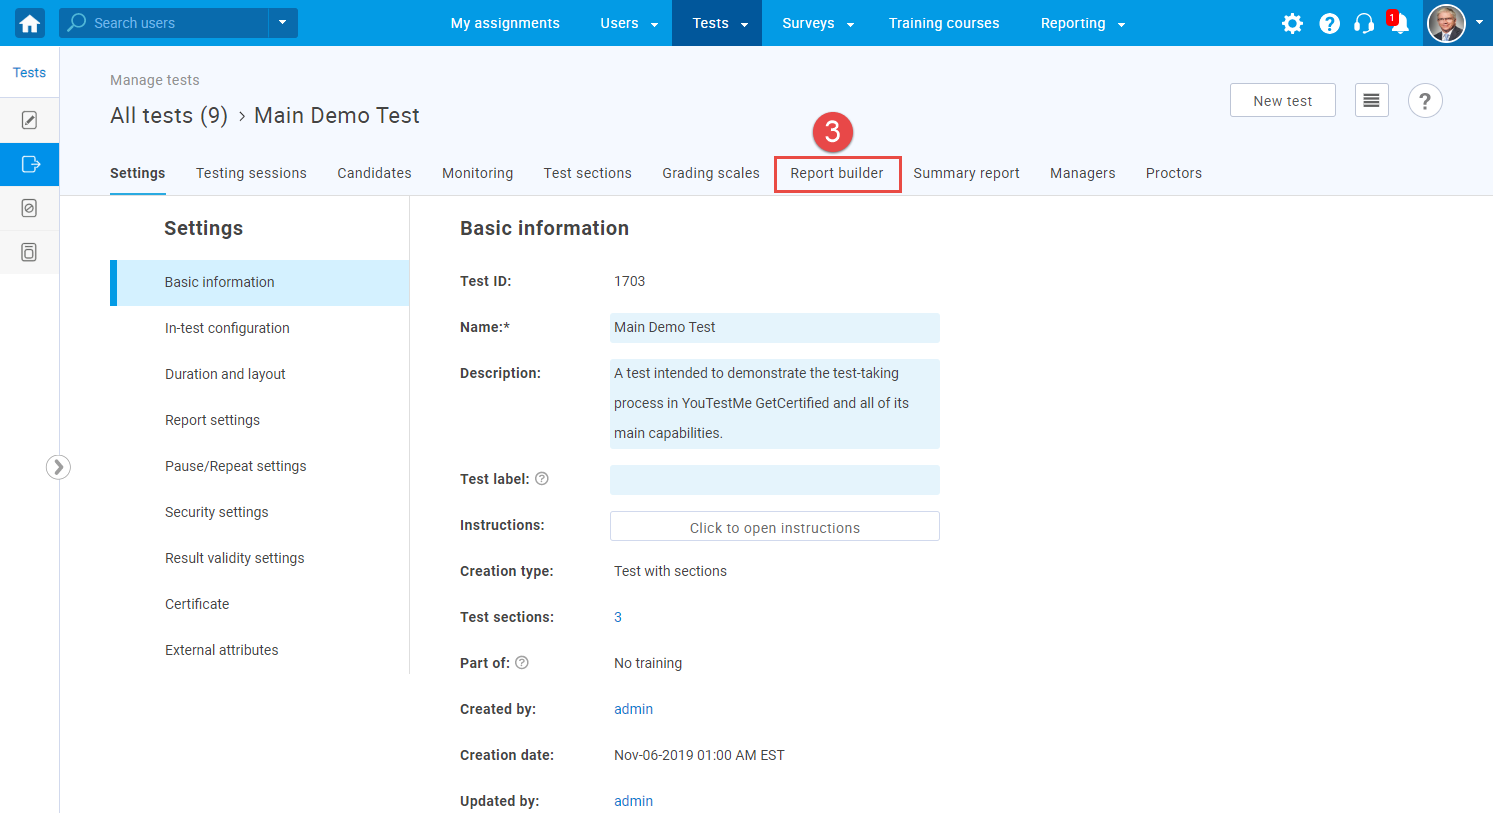
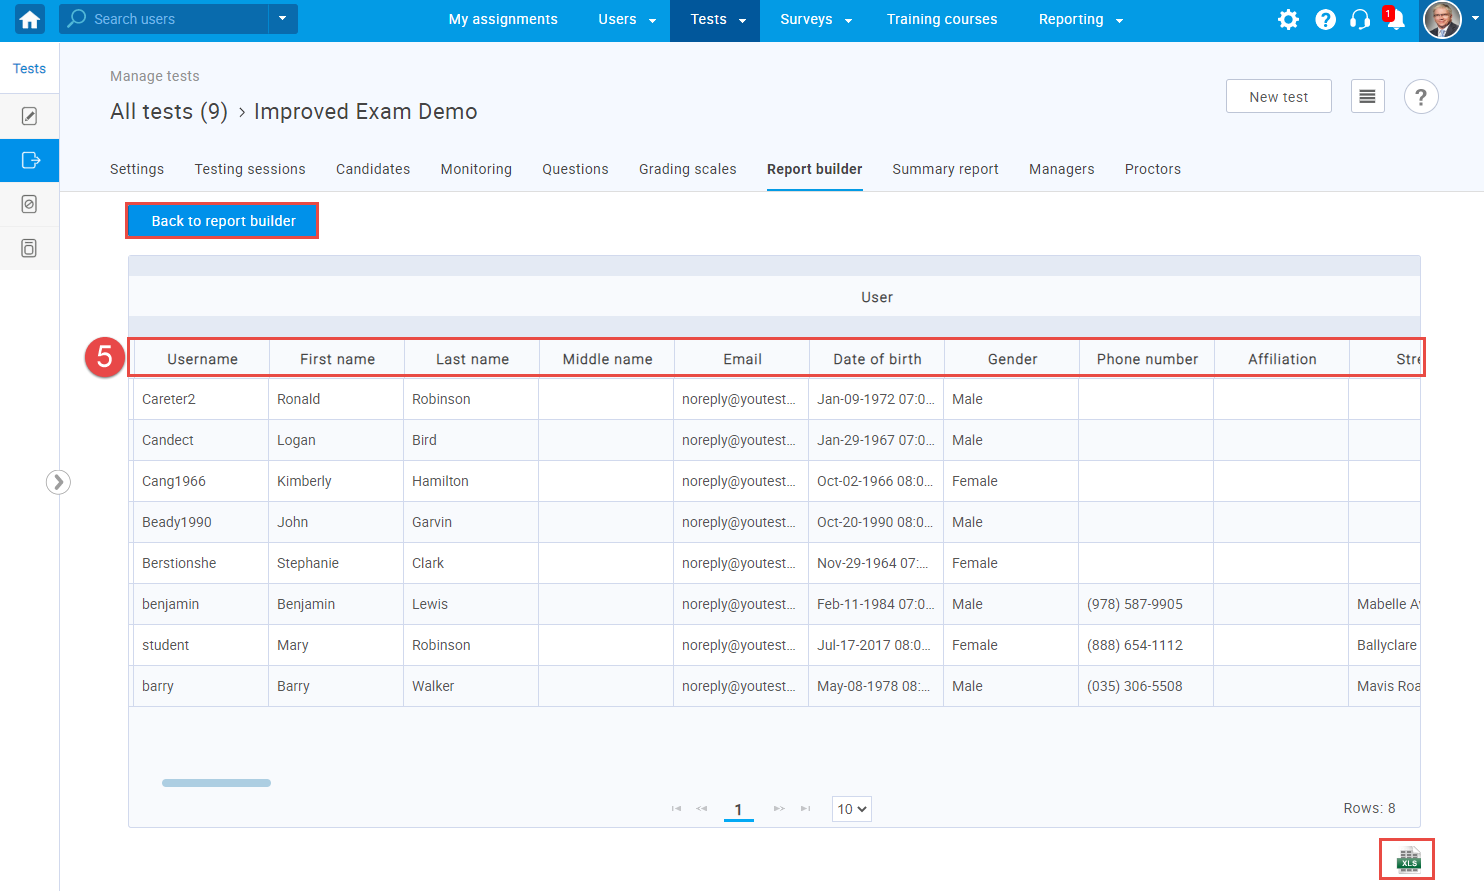
- Once the test is opened, navigate to the “Report Builder” tab.
- Create a new custom report by selecting options from the list and then click the “Display report” button. You can save a specific report builder as a template and load the report configuration from one of the saved templates.
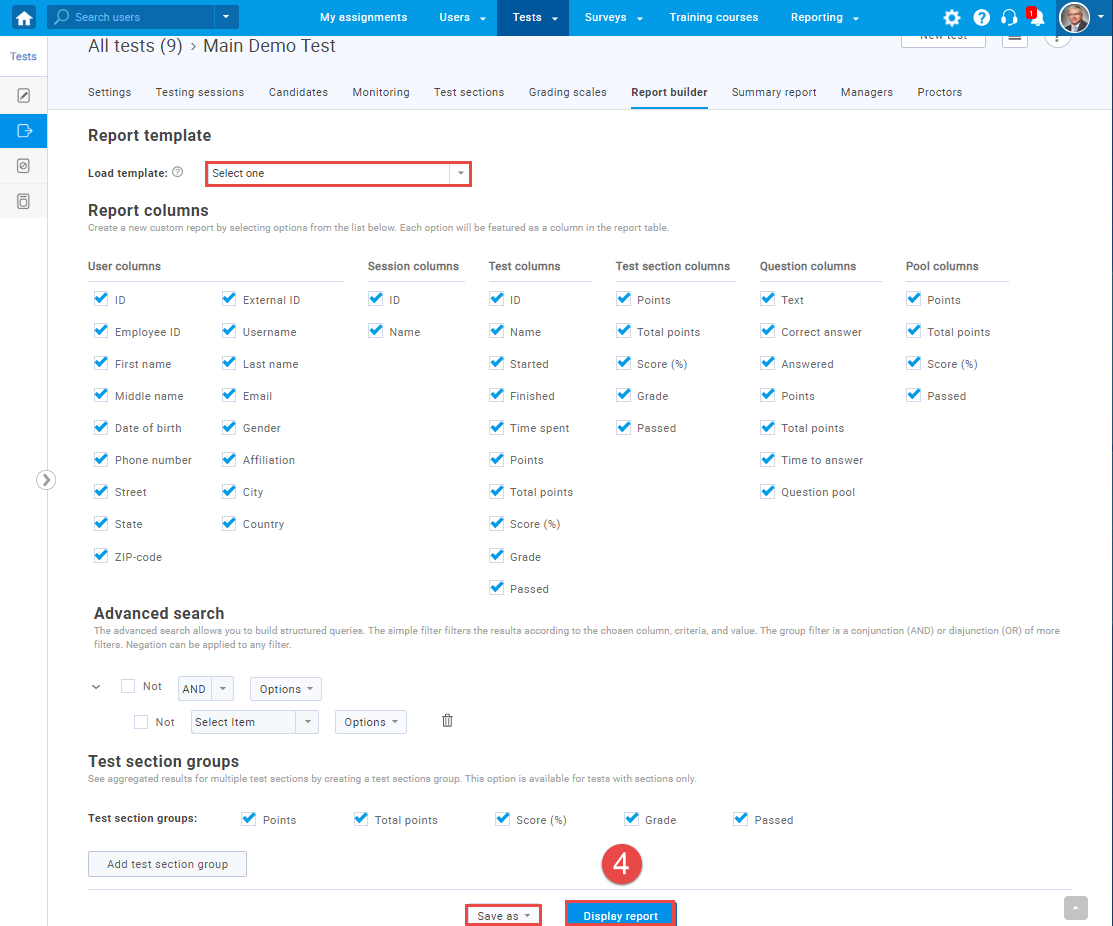
- Each selected option will be featured as a column in the report table when you display the report.
- You can always go back to the Report Builder and change the option filters that you want to display.
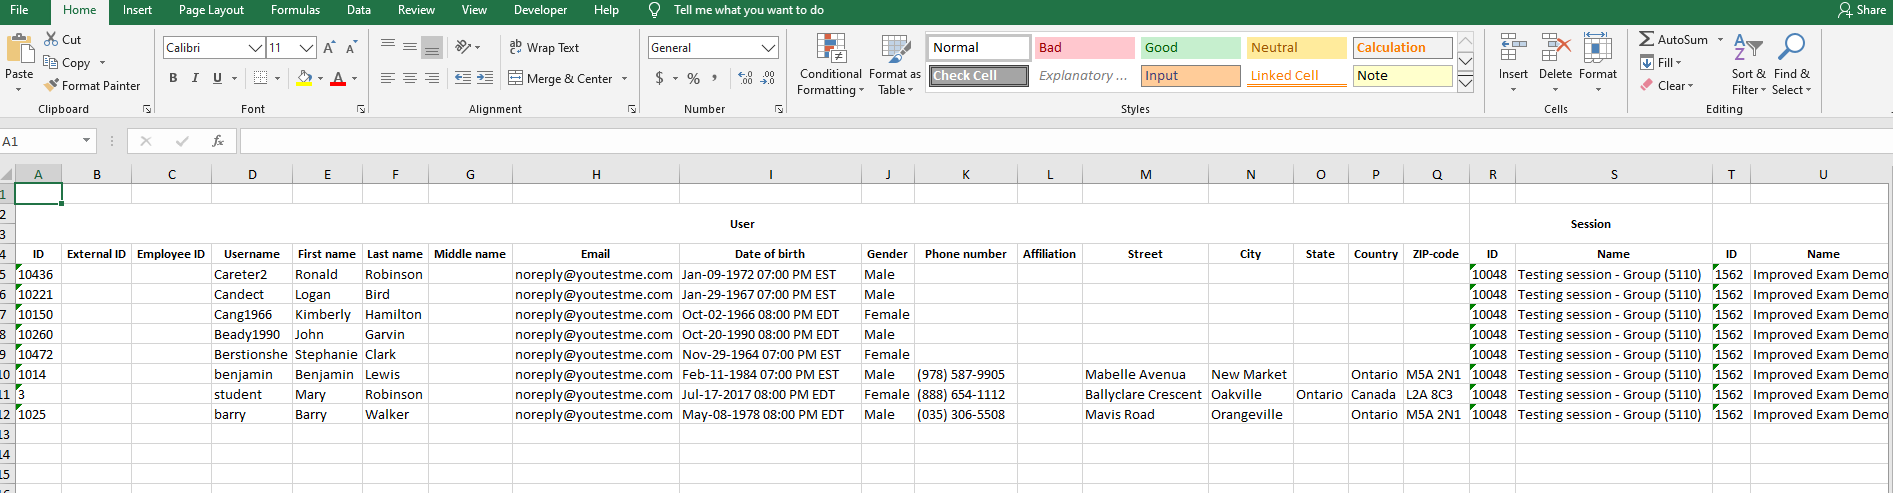
- There is an option to export the report as an Excel file by clicking on the “Export as Excel” icon.
- Exporting a report as Excel is a great option that helps you save reports to your computers, and also gives you a better overview of data.
Accessing Report Builder directly from the main menu
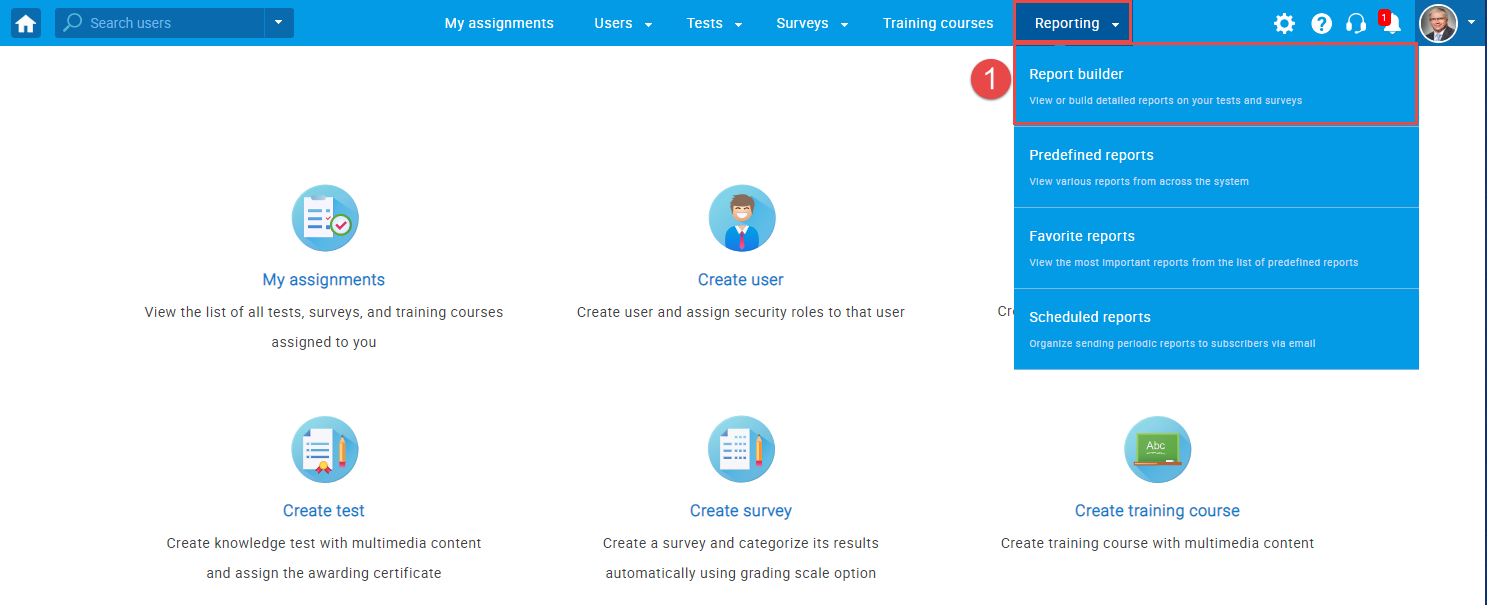
- To access a Report Builder from the application main menu, hover over the “Reporting” and select “Report builder“.
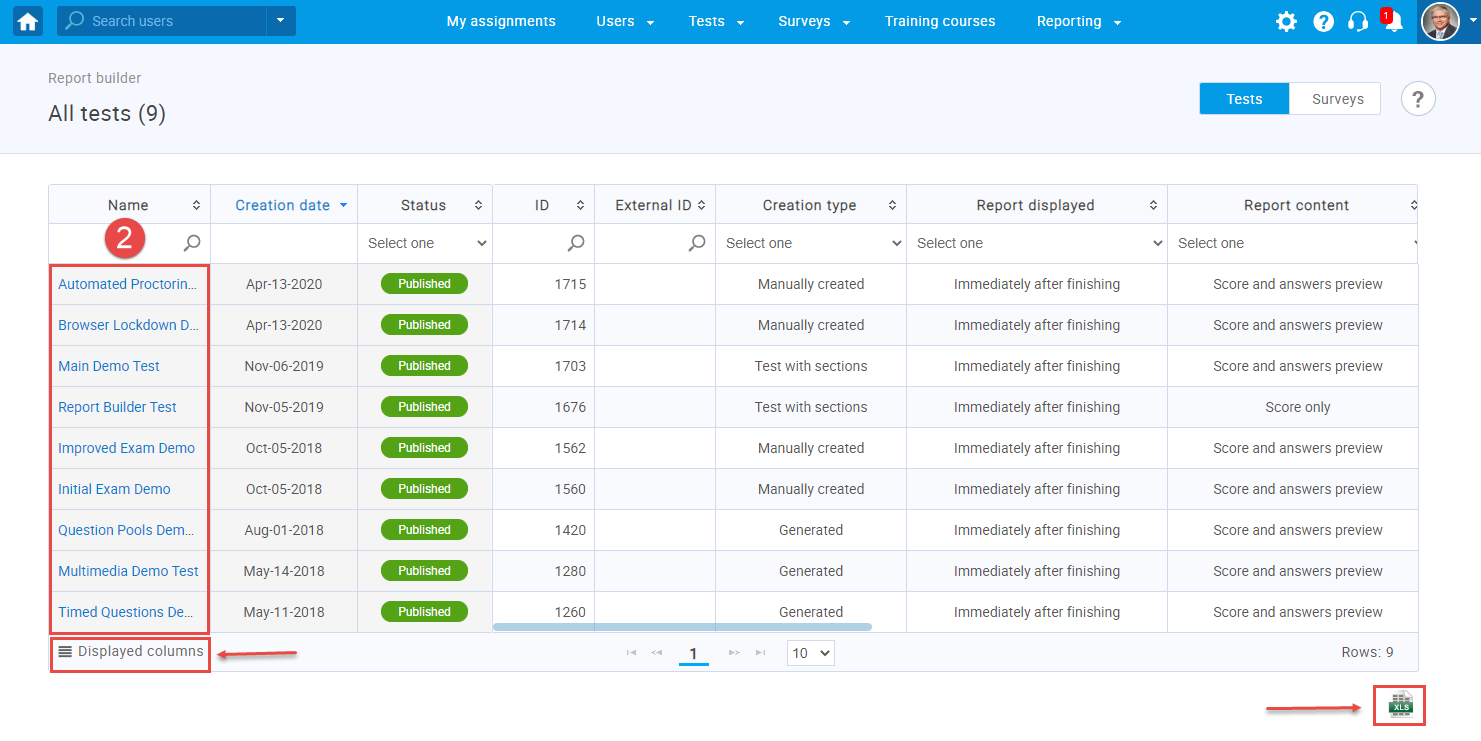
- To display a Report Builder for a specific test, select the test name from the “Name” column.
- To find the test you need faster, you can search for it using the ID and name of a specific test.
- The “Displayed Columns” option allows you to show the following options for all tests:
- ID
- Name
- Date of creation
- Status
- Creation type
- Report displayed
- Report content
- Page format
- Question randomization
- Answer randomization
- Network access
- Pass mark
- Pausing allowed
- Retaking enabled
- Browser lockdown
- Answer feedback
-
- You can also export the list of all tests as an Excel file by clicking the “Export as Excel” icon.
- You can also export the list of all tests as an Excel file by clicking the “Export as Excel” icon.
Follow the instructions for steps 4 and 5 from the second section (Accessing Report Builder directly from a test).
For video instructions on how to use report builder, please see this video.
For more useful material, please see:


