This article explains how to create a user group and assign users to it. User groups allow you to easily assign multiple users to testing or survey sessions and training courses and examine group members’ statistics.
Creating user group
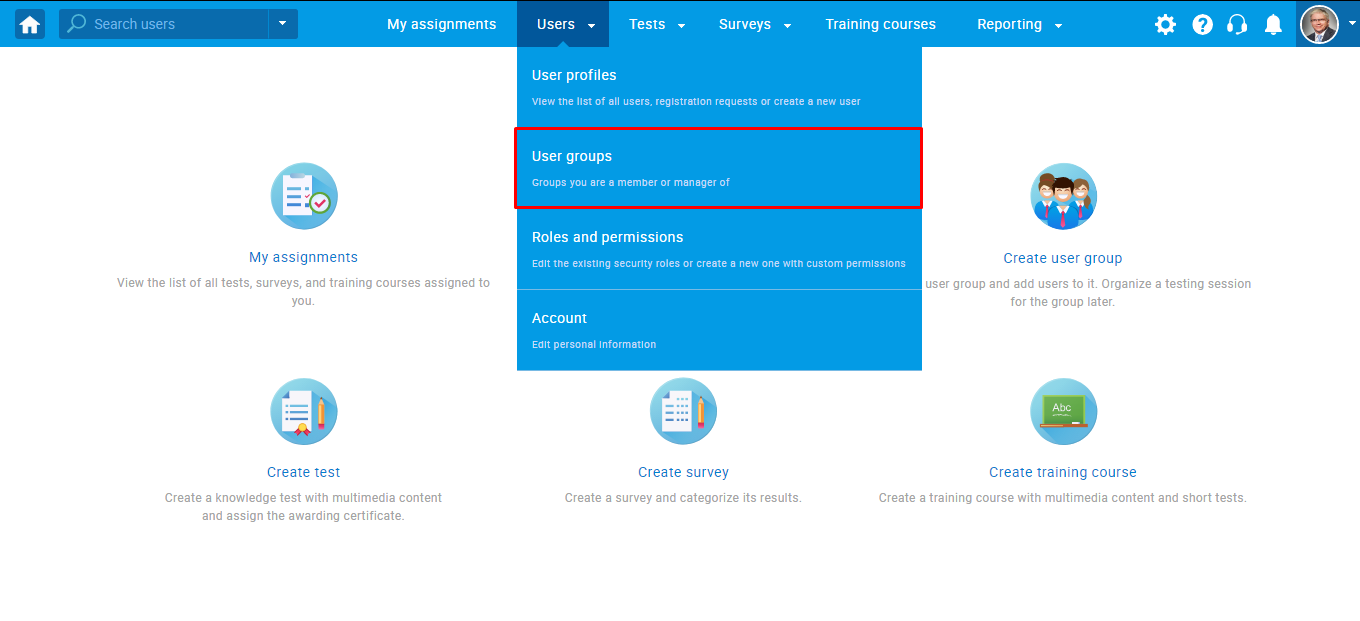
To create a user group hover over the “Users” tab in the main menu and select “User groups”.
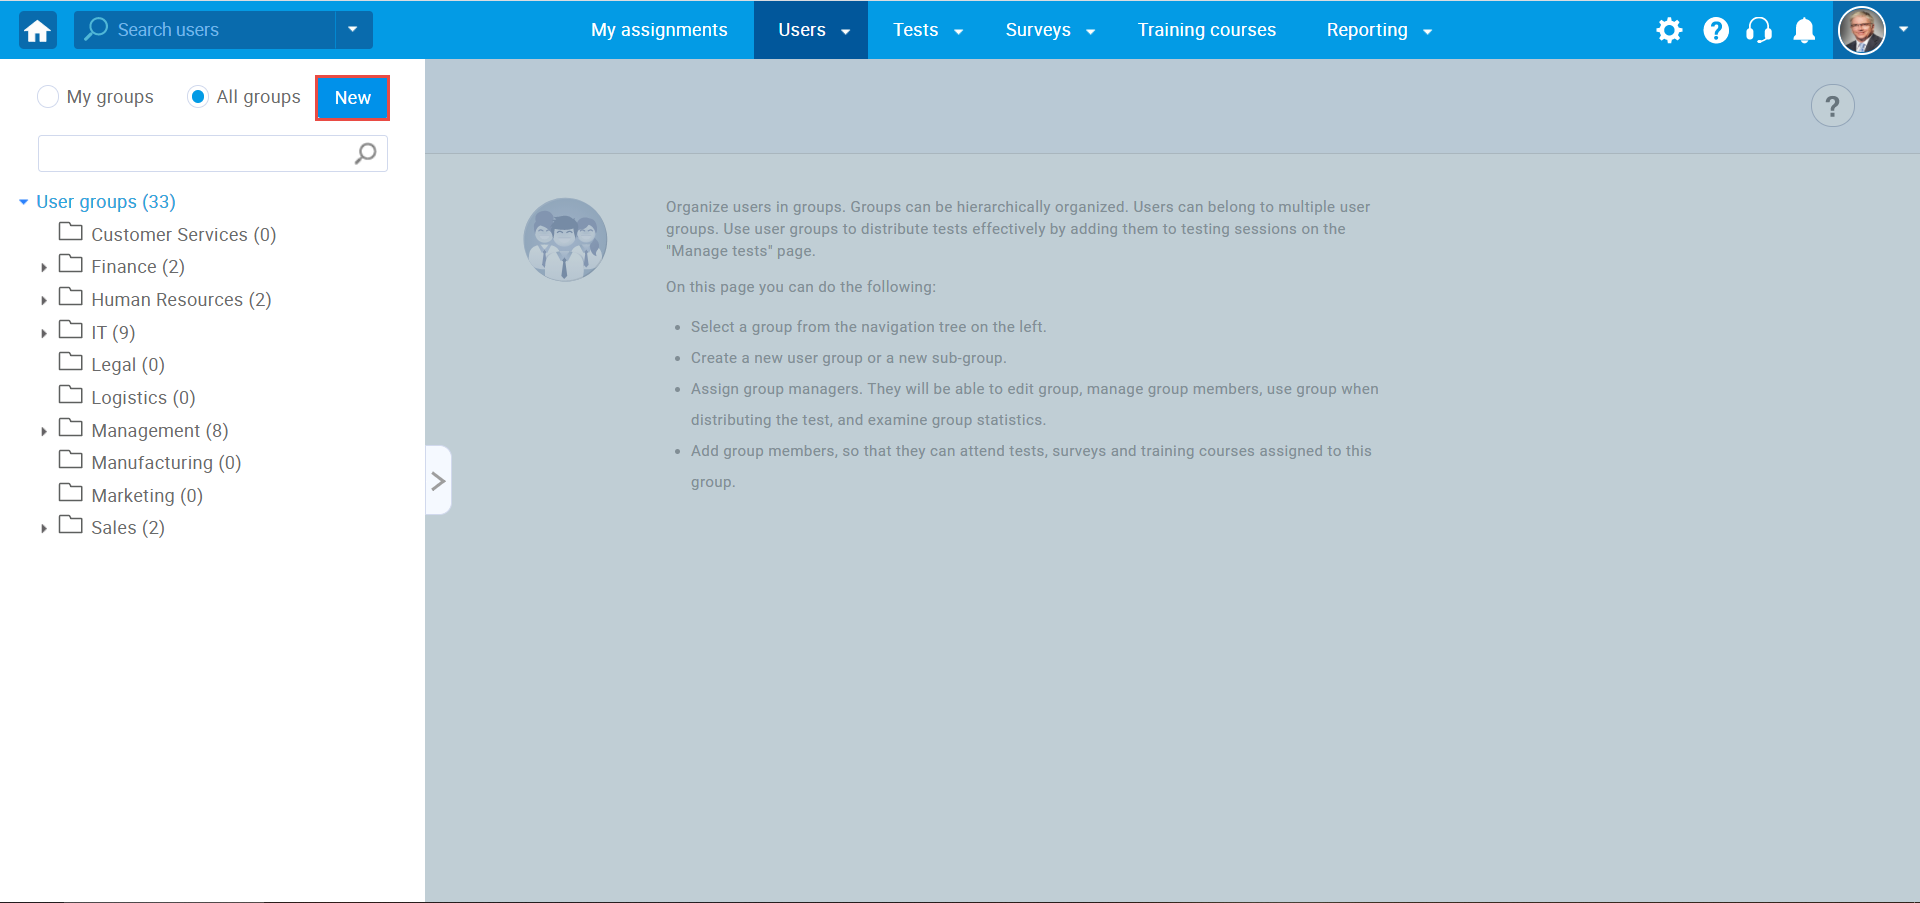
Click the “New” button to create a new user group.
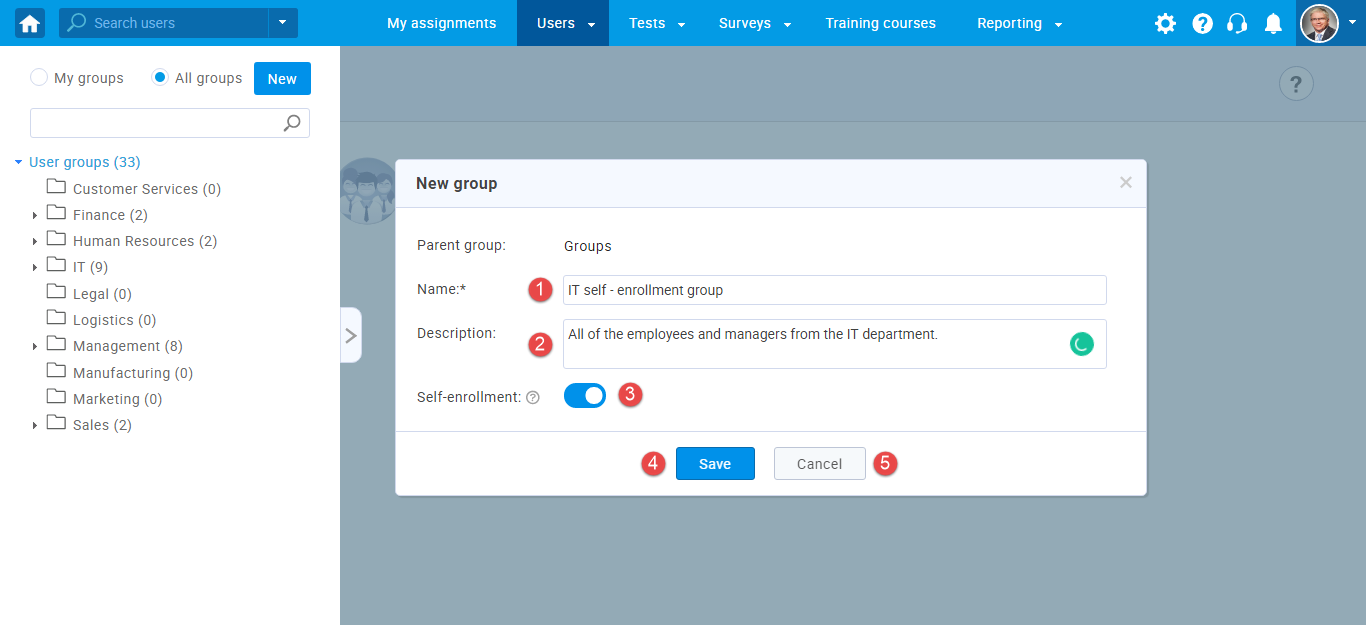
Then:
- Enter the group name.
- Enter a description (optionally).
- Click the toggle button to enable self-enrollment. Self-enrollment allows users to enroll themselves into user groups without a need for the group manager’s approval.
- Click the “Save” button to create a user group.
- Click the “Cancel” button to discard the user group creation.
Creating sub-group
A user group can have as many sub-groups as you require, and these sub-groups can have their sub-groups. Any user in the system can be a member of multiple groups at the same time.
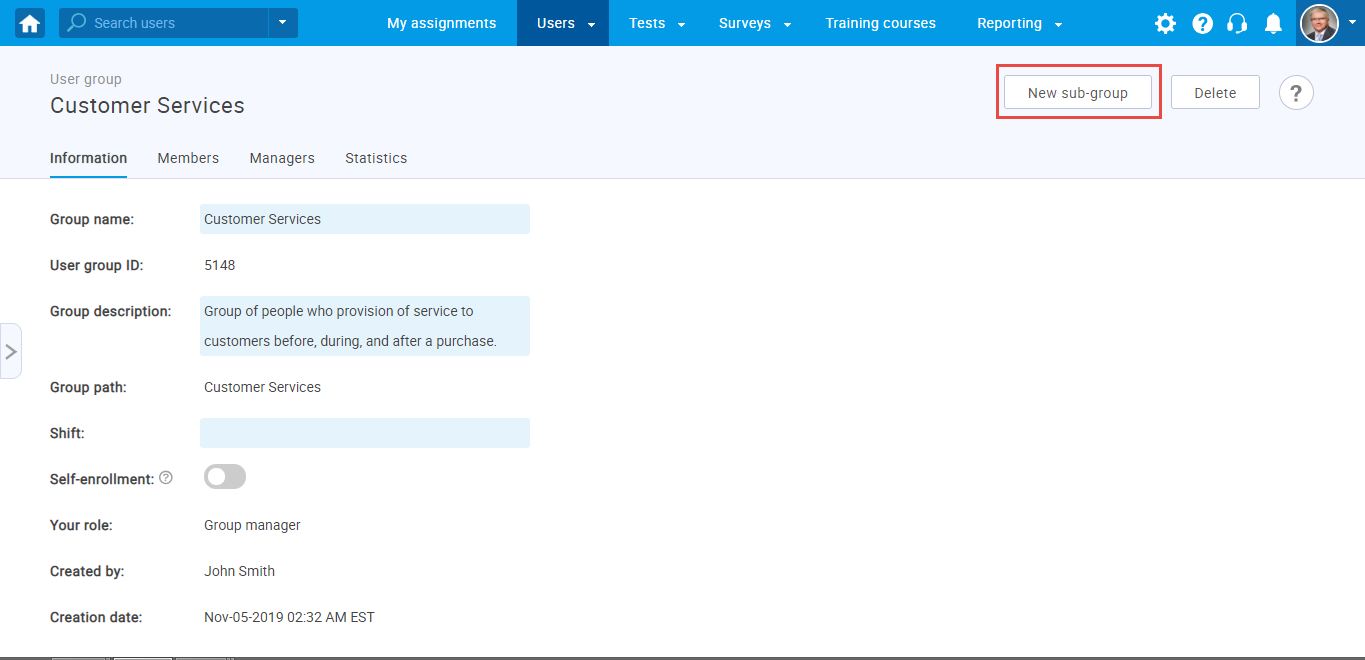
To create a sub-group for the selected group, click the „New sub-group“ button.
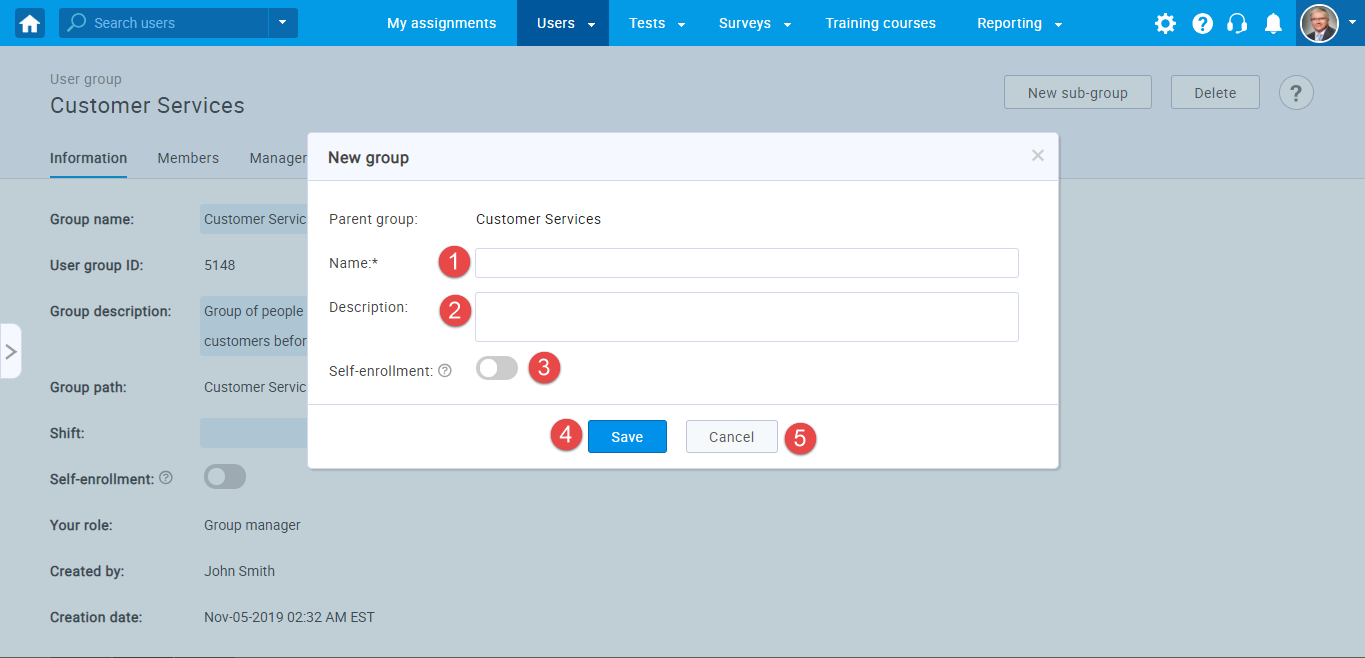
Then:
- Enter the sub-group name.
- Enter a description (optionally).
- Click the toggle button to enable self-enrollment. Self-enrollment allows users to enroll themselves into user groups without a need for the group manager’s approval.
- Click the “Save” button to create a sub-group.
- Click the “Cancel” button to discard sub-group creation.
Note: To be a member of a sub-group, a user must be a member of the parent group.
For the video tutorial on How to create a user group, please watch the video.
For more related useful material, you may see:


