This article explains how to configure the content of the report that is displayed to candidates after they finish the test. The report can contain only the final score or a detailed score broken down by questions and sections.
How to set up report content
This option can be configured in the test settings, either in the test creation wizard, during the test creation process, or after the test is published.
To configure the report content during test creation, hover over the “Tests” in the main menu, select the “New test“, and start the test creation wizard.
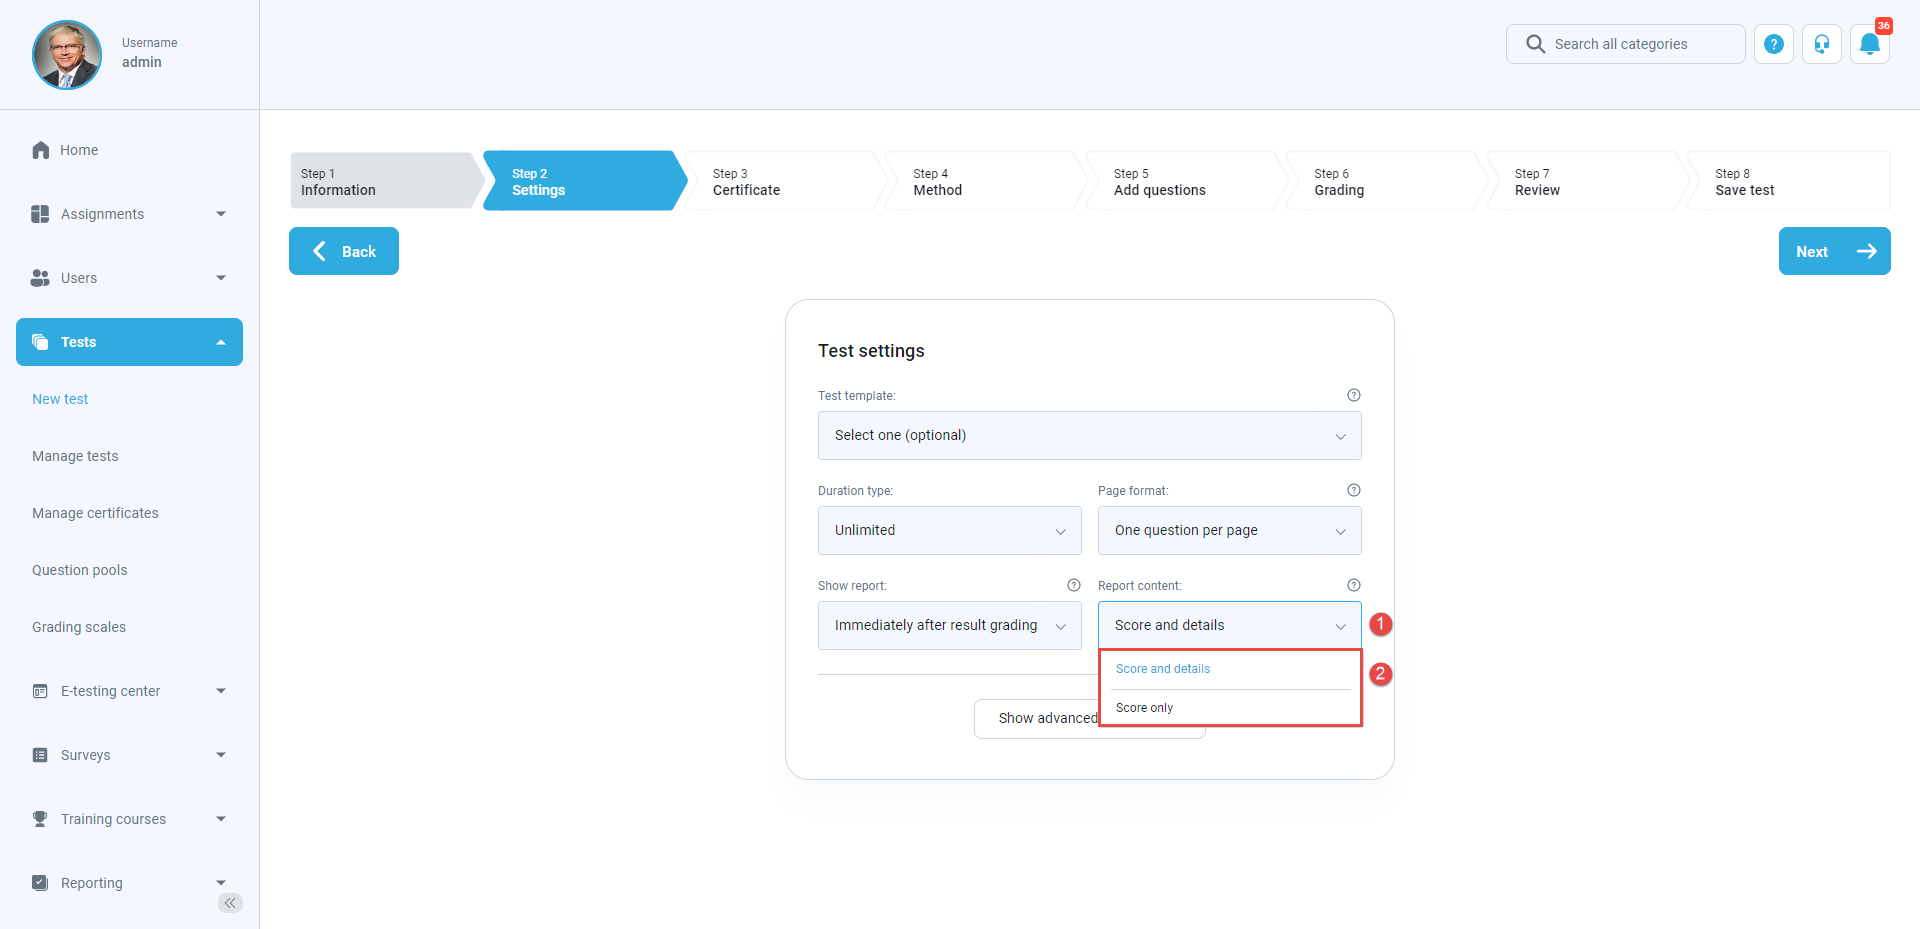
Then, in the second step of the test creation wizard:
- Navigate to the “Report content” setting.
- Select the “Score and details” or the “Score only” option from the drop-down menu.

If you select the “Score and details” option, a report will provide the candidate’s score broken down by questions, including all the possible answers, the chosen and the correct ones.
Otherwise, if you select the “Score only” option, the candidate’s report will display only the final score.
Note: The test manager will always see both the score and details. Report content option refers to the candidate’s perspective, i.e., defines what candidates will see in the test’s report.
How to update report content
Once you finish the test wizard, create a testing session, and publish the test. You can still edit the „Report content“ option.
To change report content settings:
- Navigate the “Tests“/”Manage Test“.
- Select the test for which you want to configure this option.
- Navigate the “Settings” tab.
- Click on “Report settings” from the left-side menu.
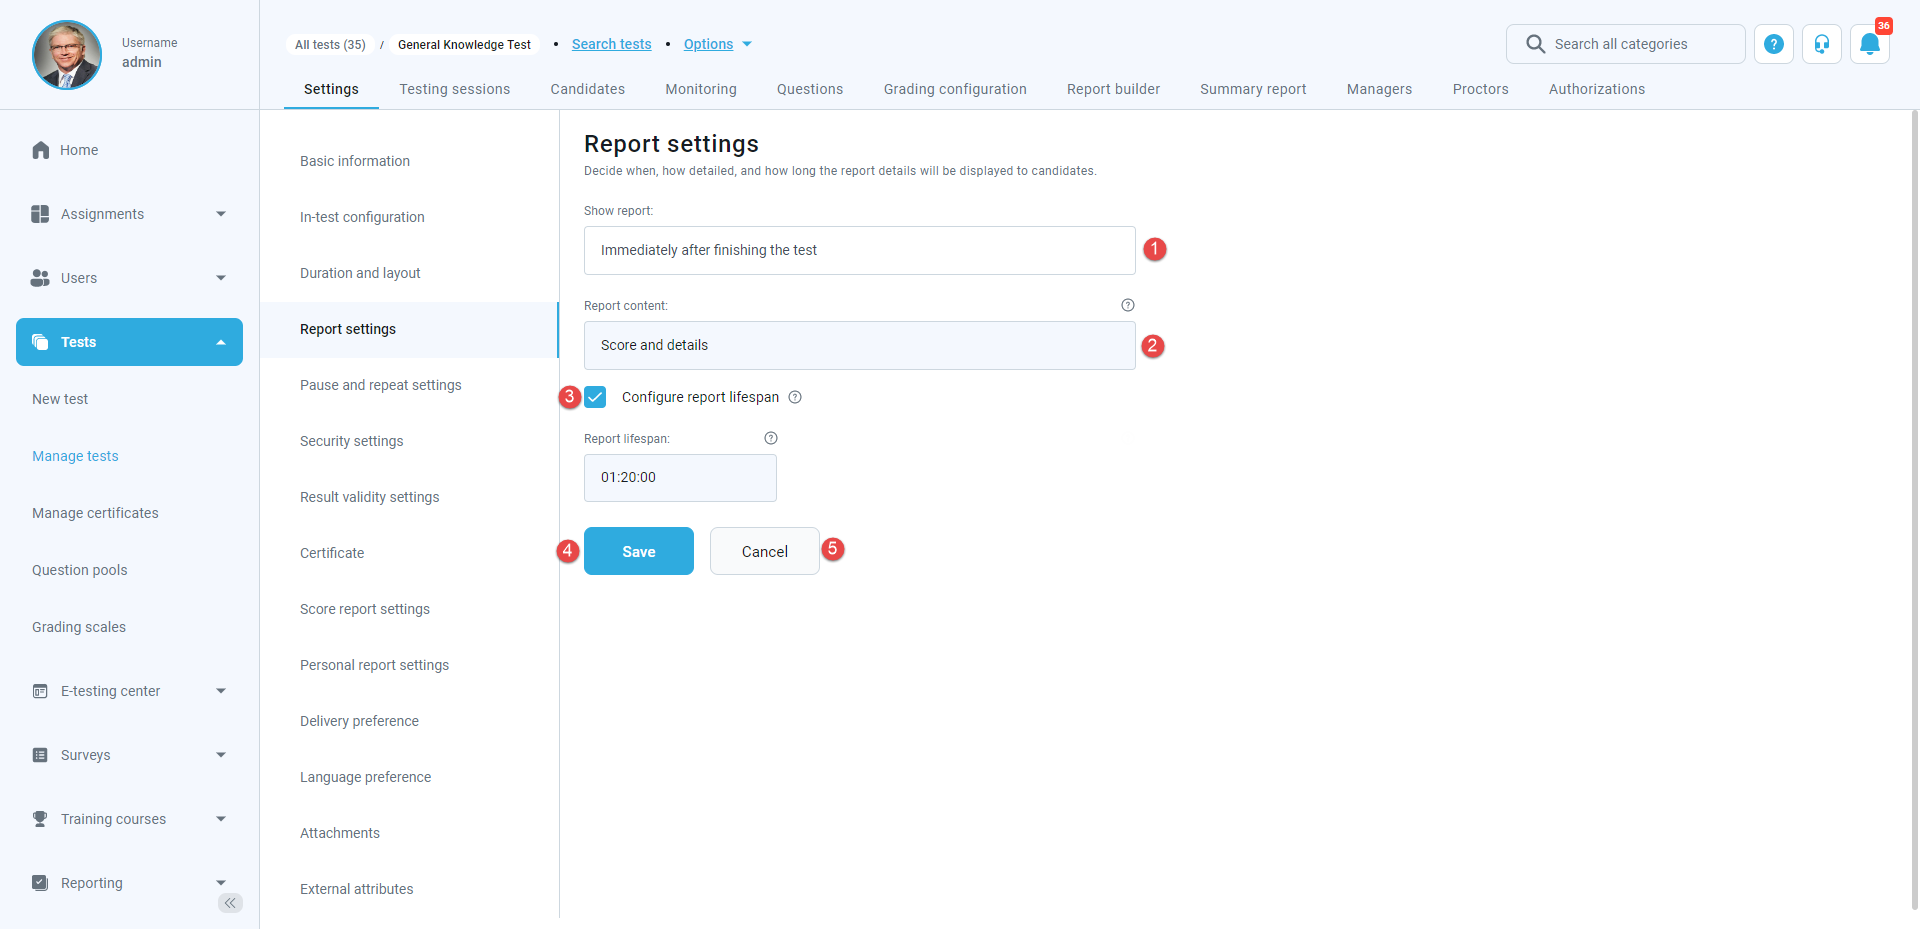
- Change report content settings from the drop-down list (“Score and details” or “Score only”).

If you choose the “Score and details”, the additional option “Configure report lifespan“ will appear. This option defines how long the question details are visible to the users after opening their report for the first time. To define report lifespan:
Check the “Configure report lifespan” option.
- Define the personal report lifespan in hours, minutes, and seconds.
- Click the “Save” button to save the changes.
- Click the “Cancel” button to discard the changes.
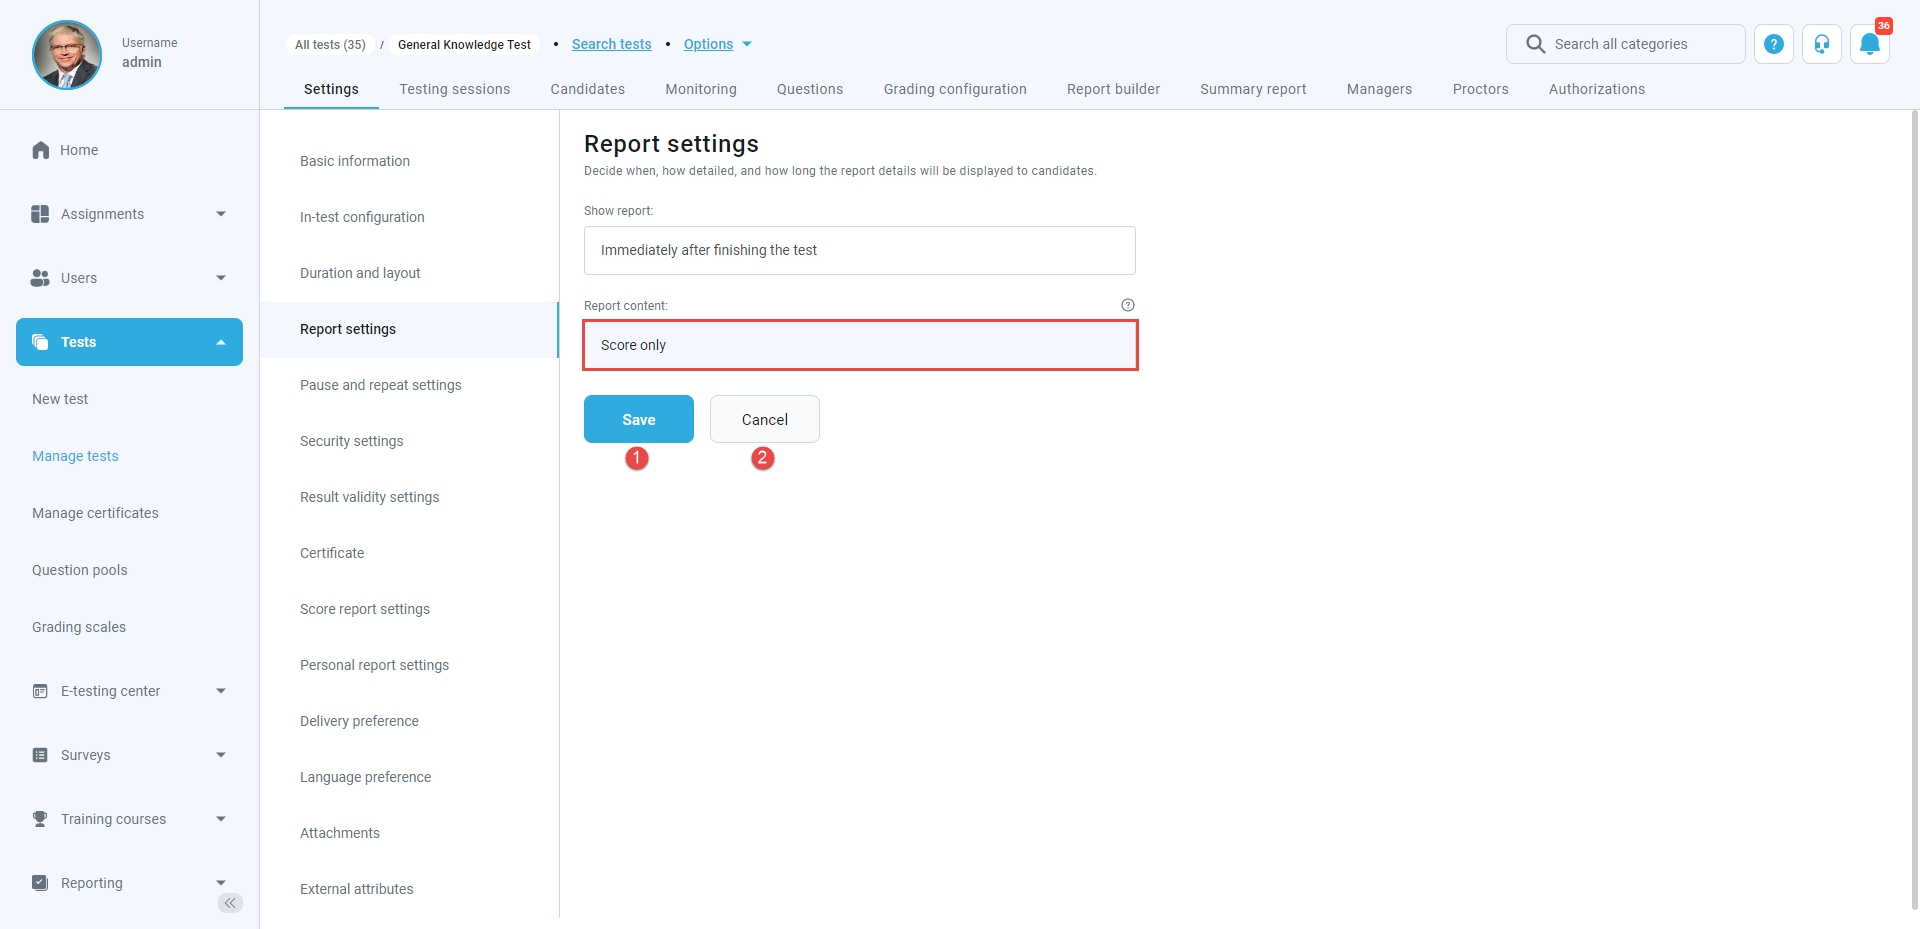
If you choose the “Score only“, follow the steps:
- Click the “Save” button to save the changes.
- Click the “Cancel” button to discard the changes.
The report containing details and score information from the candidate’s perspective
In this case, the candidates will see their score, preview all questions broken down by question pools, the chosen answers, and the correct ones.
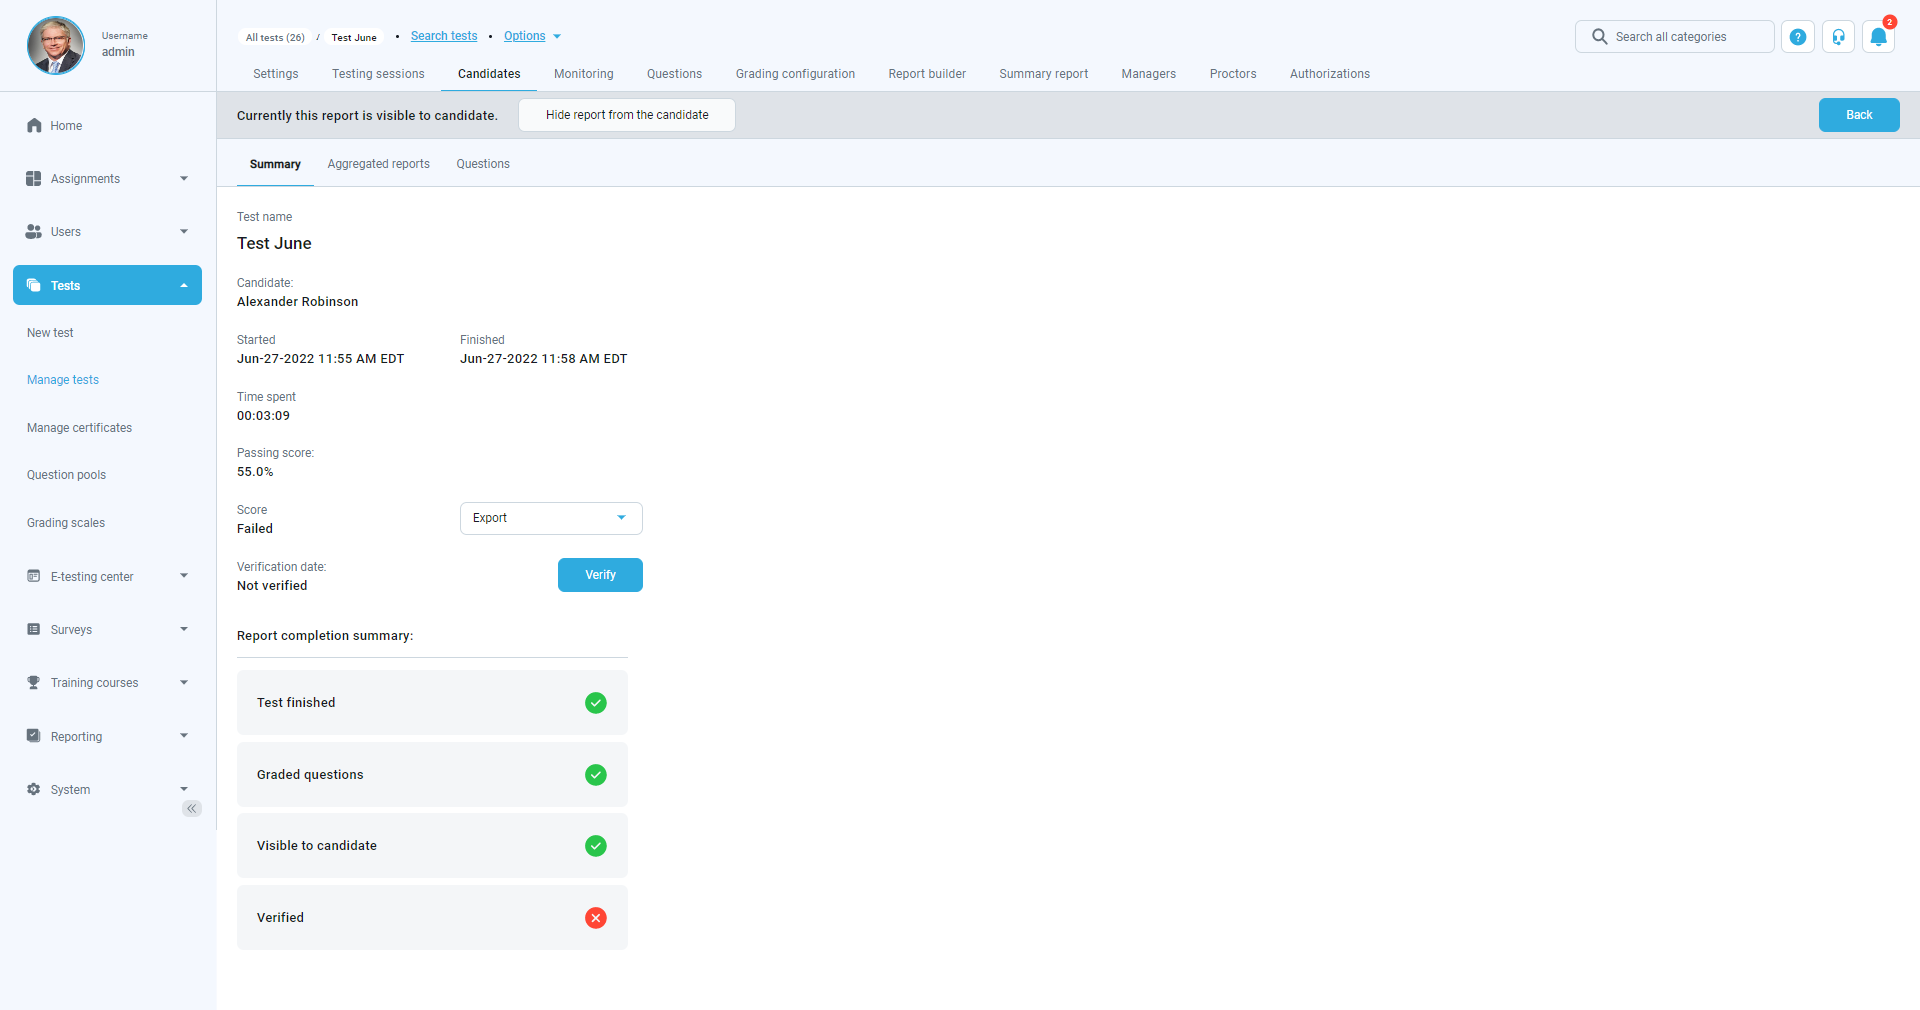
The report containing score only from the candidate’s perspective
In this case, the user will see only his score.
Note: By downloading the report, users can see detailed statistics – their score, the average grade of candidates’ who passed and did not pass the test, as well as certain messages (feedback, instructions) left for each part of the test.


