This article explains how to configure email and application notifications.
Accesing Notificatoion page
The “Notification” tab contains email and in-application notification templates. They are automatically sent when a particular action is made inside the application.
Notification templates are predefined but editable. To manage and edit notifications, follow the instructions below:
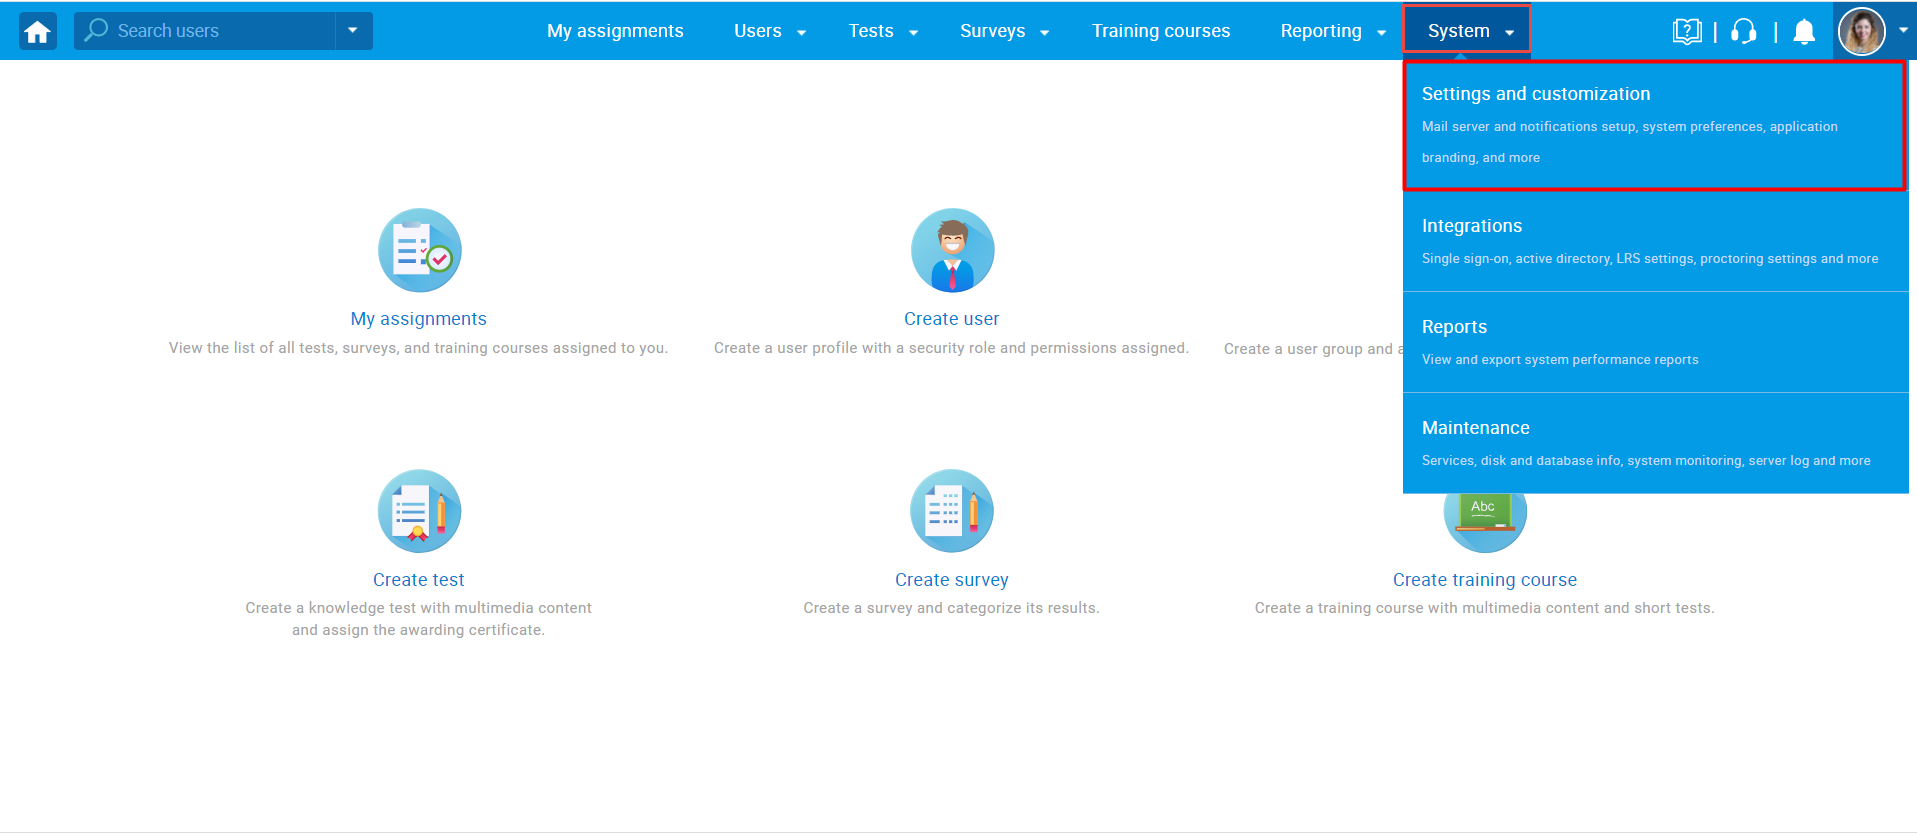
Hover over the “System” in the main menu and choose the “Settings and customization” option from the drop-down menu.
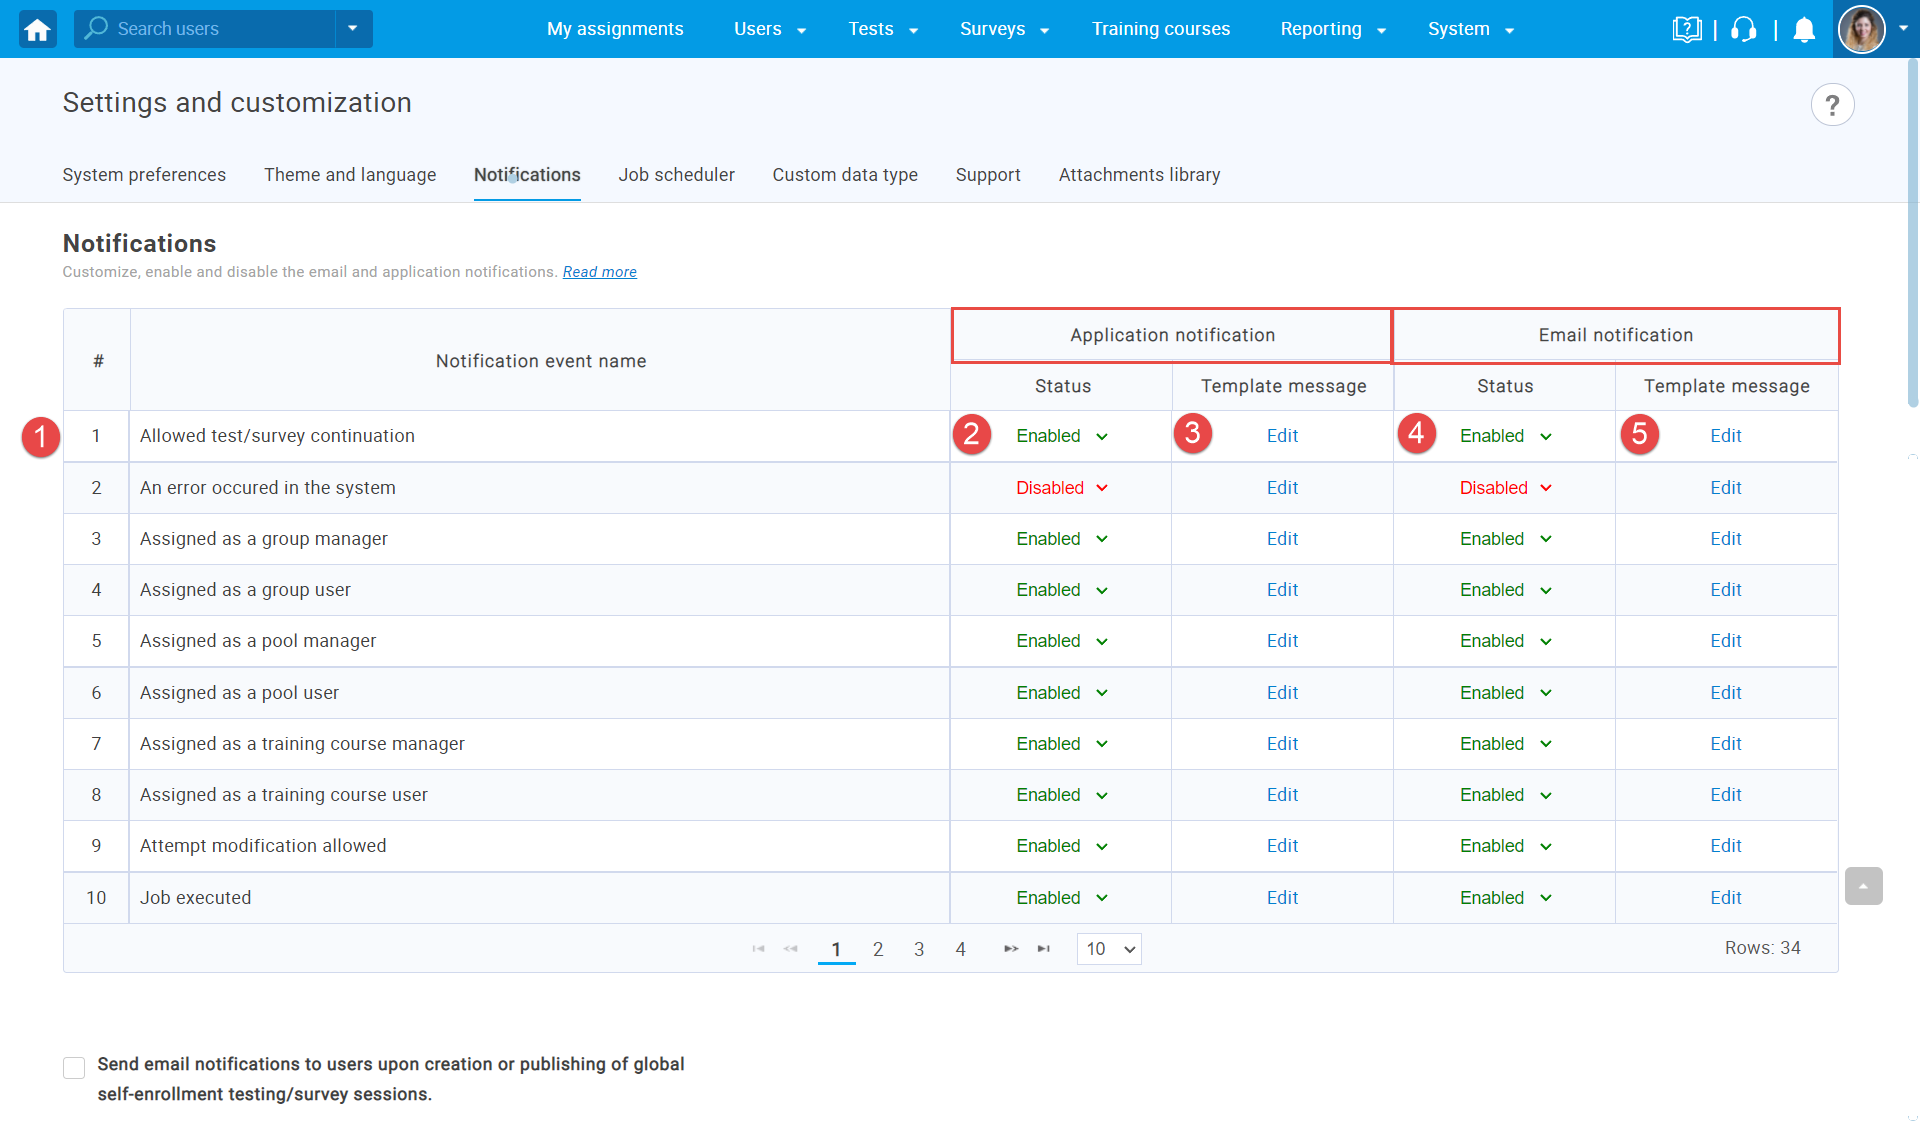
Navigate to the “Notifications” tab.
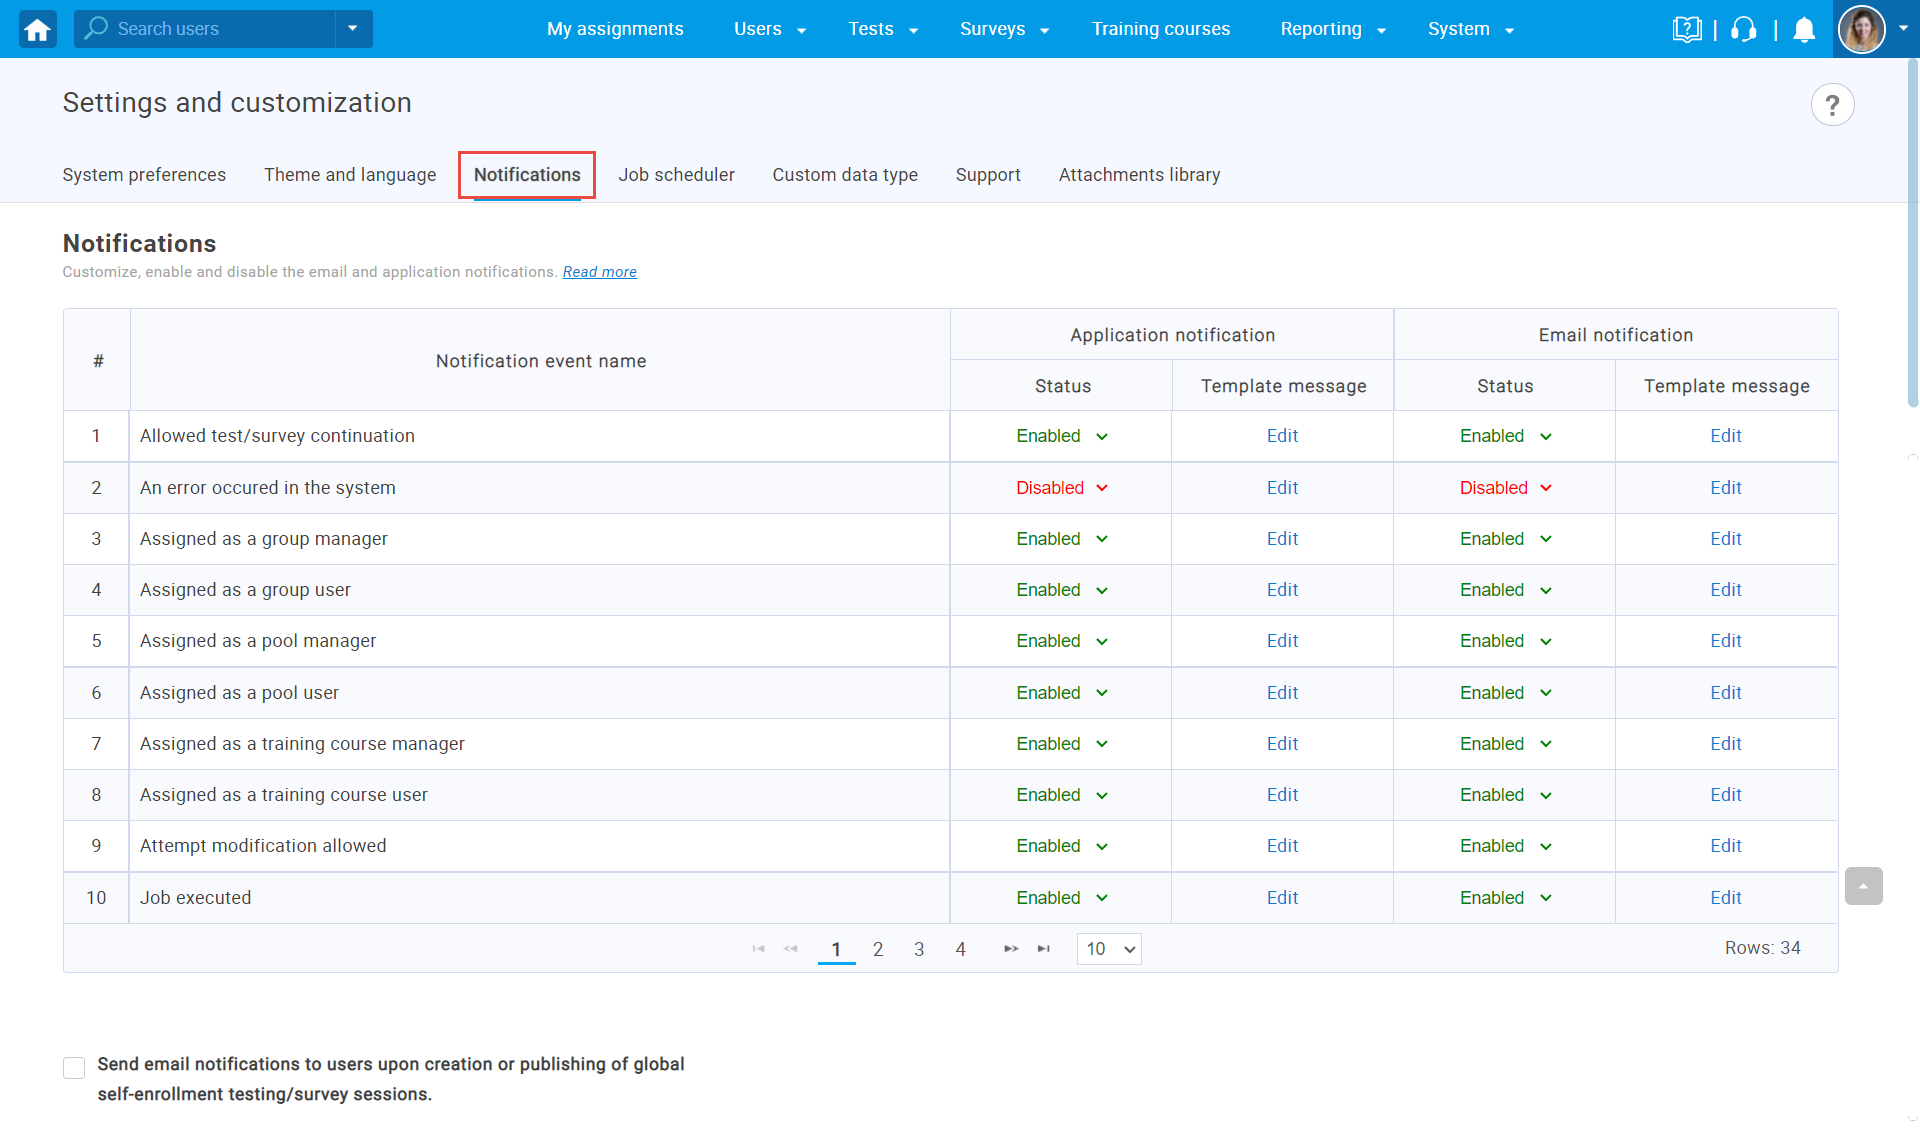
- Find the notification you want to edit – search the list of all events for which there are notifications, and find the one you want to configure.
- Enable or disable “Application notification” – enable or disable application notifications for any listed notification event name.
- Click on “Edit” to customize “Application notification” – edit the template message shown in the application after the specific action is made.
- Enable or disable the “Email notification” – enable or disable email notifications for any listed notification event name.
- Click on “Edit” to customize “Email notification” – edit the template message sent to users’ email after the specific action is made.
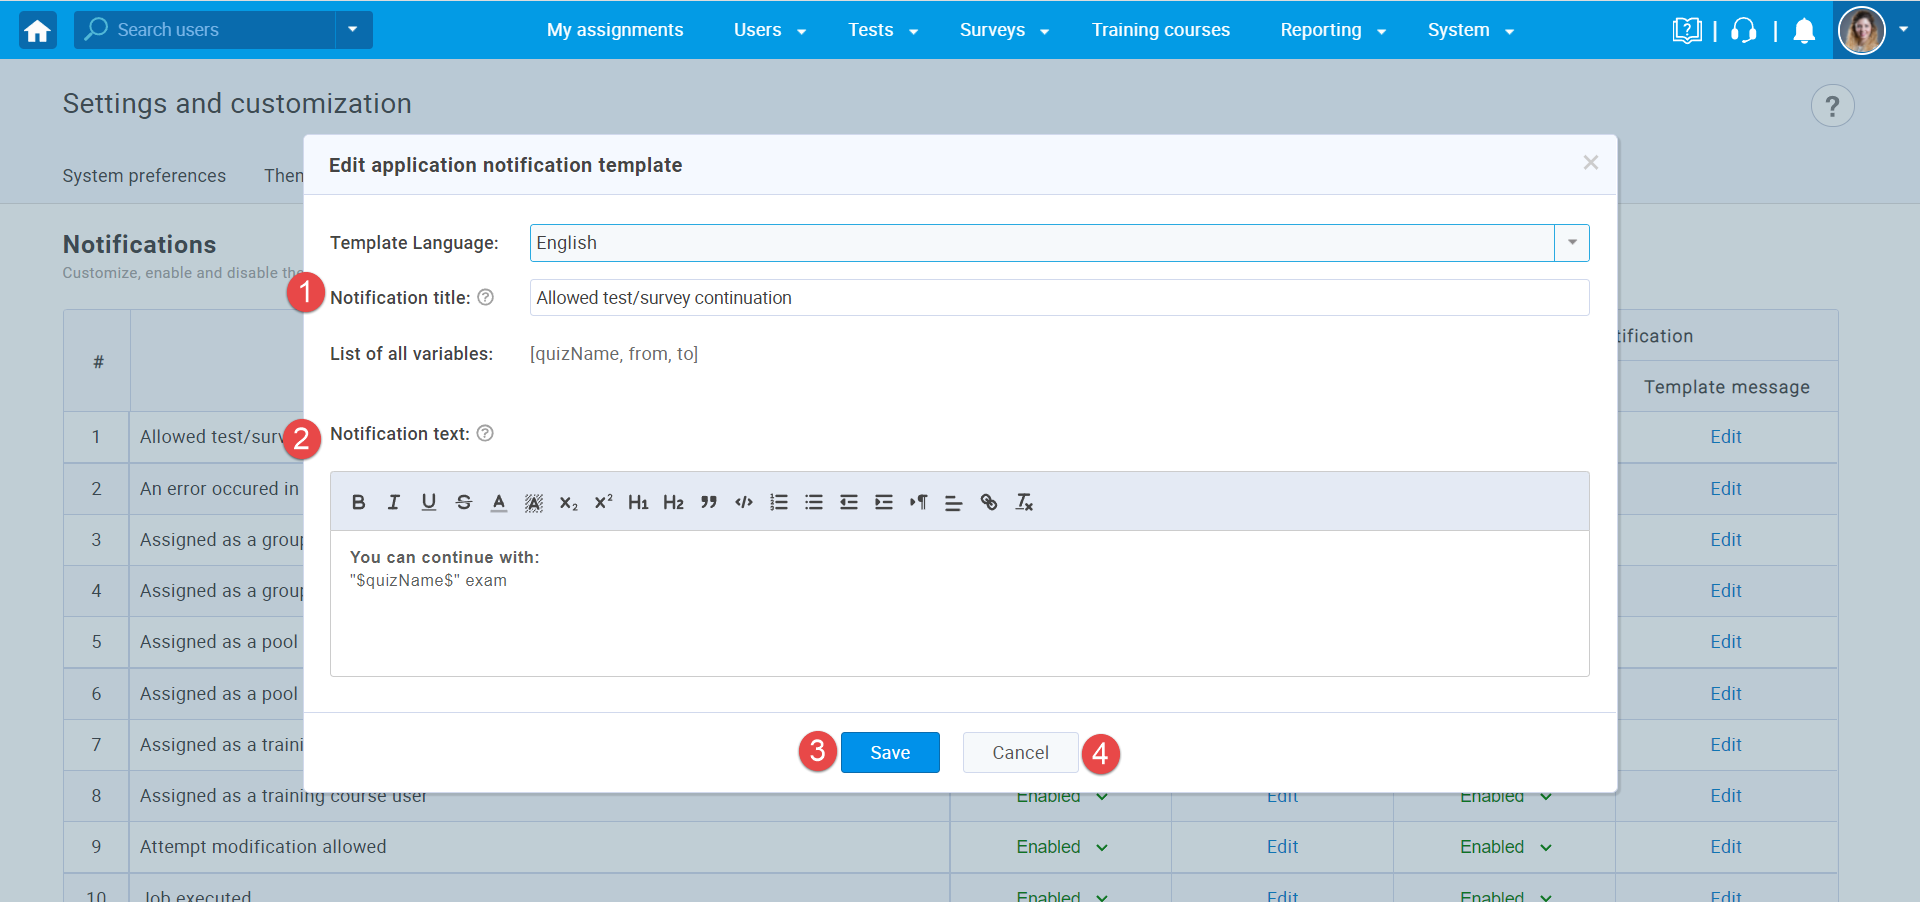
Once you click the “Edit”, the pop-up window will appear where you can:
- Change the “Notification title”. This text will be displayed as a notification title.
- Change the “Notification text (body)”. You can customize the text except the between the $ signs. This part of the text cannot be modified as the system uses variables to insert user-related data.
- Click the “Save” button to save the template.
- Click the “Cancel” button to discard the template changes.
Note: Particular actions trigger specific notifications to be sent automatically. It is essential to understand the events in the application that trigger notifications.
The available notifications triggered on the events performed by a user are:
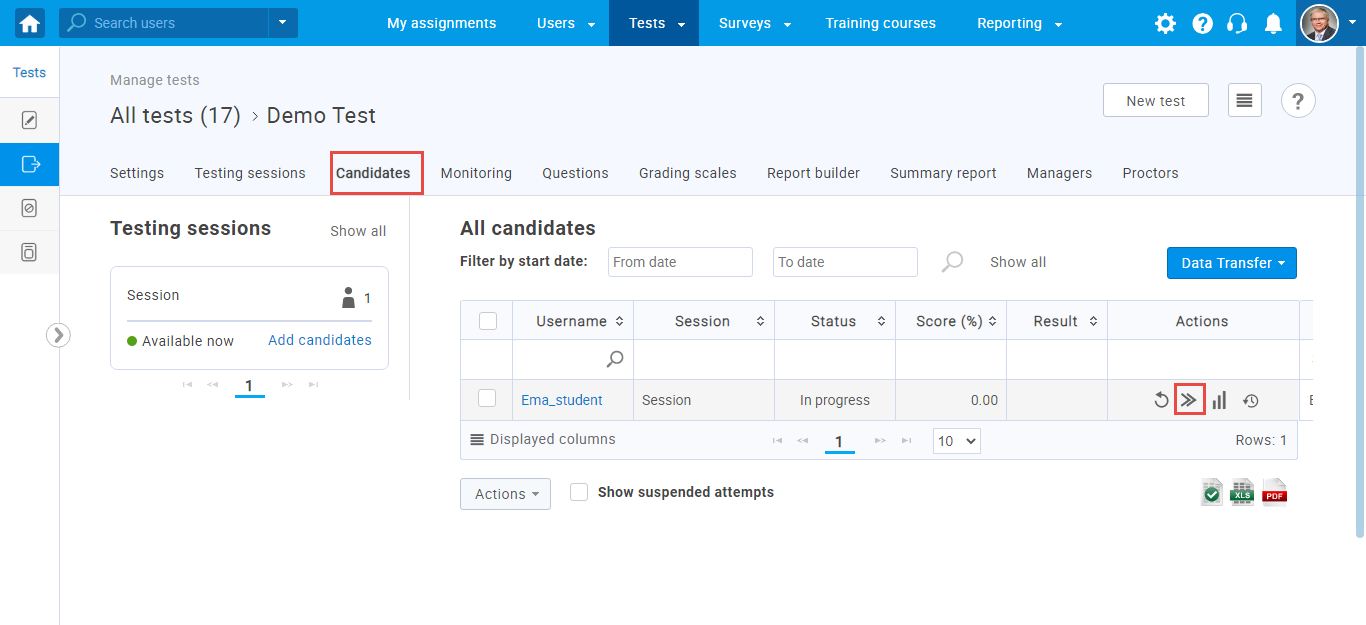
- Allowed test/survey continuation – The notification triggers when the user suddenly leaves the test or survey before completing it. The test or survey manager needs to navigate to the test/survey settings, then to the “Candidates” tab, and allow the candidate to continue the test or survey attempt. After the manager allows the continuation, an email and in-app notification will be sent to the candidate.
- An error occurred in the system – The notification triggers when any error occurs in the system.
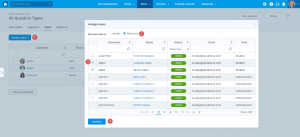
 Assigned as a group manager – The notification triggers when you are assigned as a user group manager. To assign a manager to the group, navigate to the “Managers” tab of the user group, click the “Assign managers” button, select the user you will assign as a group manager, and click the “Confirm” button. After the action is completed, the user is assigned as a group manager, and he will receive the email and application notification with the name of a group you manage.

- Assigned as a pool manager –
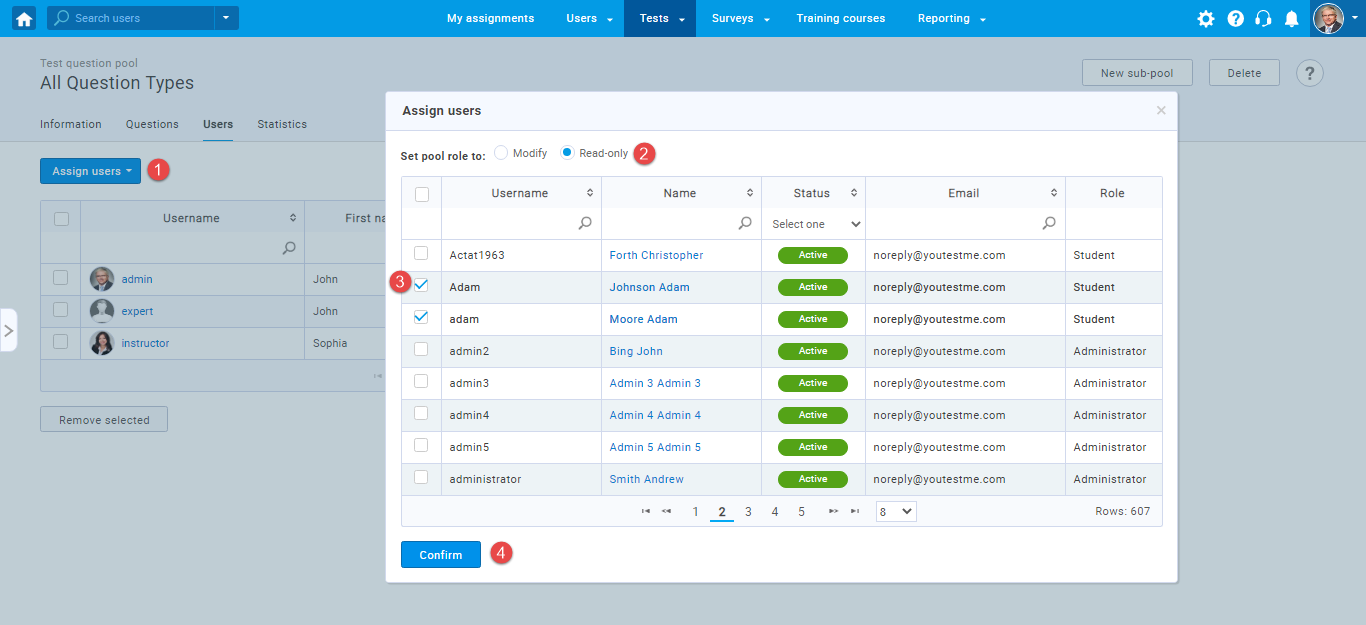
 The notification triggers when you are assigned as a pool manager. Action that will trigger this notification is: Navigate to the created pool, then to the “Users” tab, click the “Assign users” button, and select the option “From all users” or “From my groups”. Select the users and for pool role – “Manage”. Now you are assigned as a pool manager, and you will receive the email and application notification. The notification contains the name of a pool you manage.
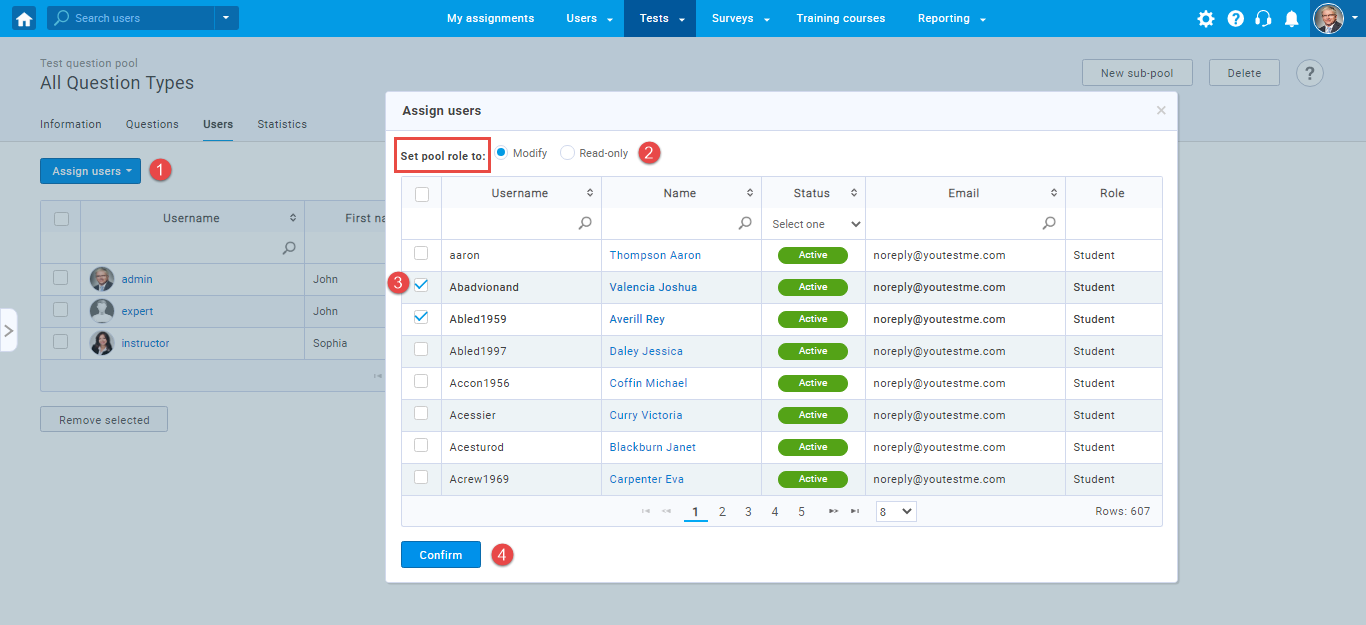
 Assigned as a pool user – The notification triggers when you are assigned as a pool user. The procedure of assigning the pool user is similar to the procedure of assigning the group manager. The only difference is that you need to select a Read-only group role and click the “Confirm” button to assign a pool user. After the action is done, you will receive the email and application notification. The notification text contains the name of a pool you are a member of.
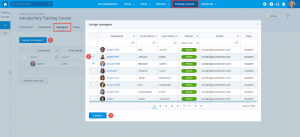 Assigned as a training course manager – The notification triggers when you are assigned as a training course manager. Visit the “Training courses” page, select the training, move to the “Managers” tab, move to the “Assign managers” tab, select user(s) from the list, and click the “Confirm” button. After the action is performed, the user is assigned as a training course manager, and they will receive the email and in-app notification with the details of a training course you manage.

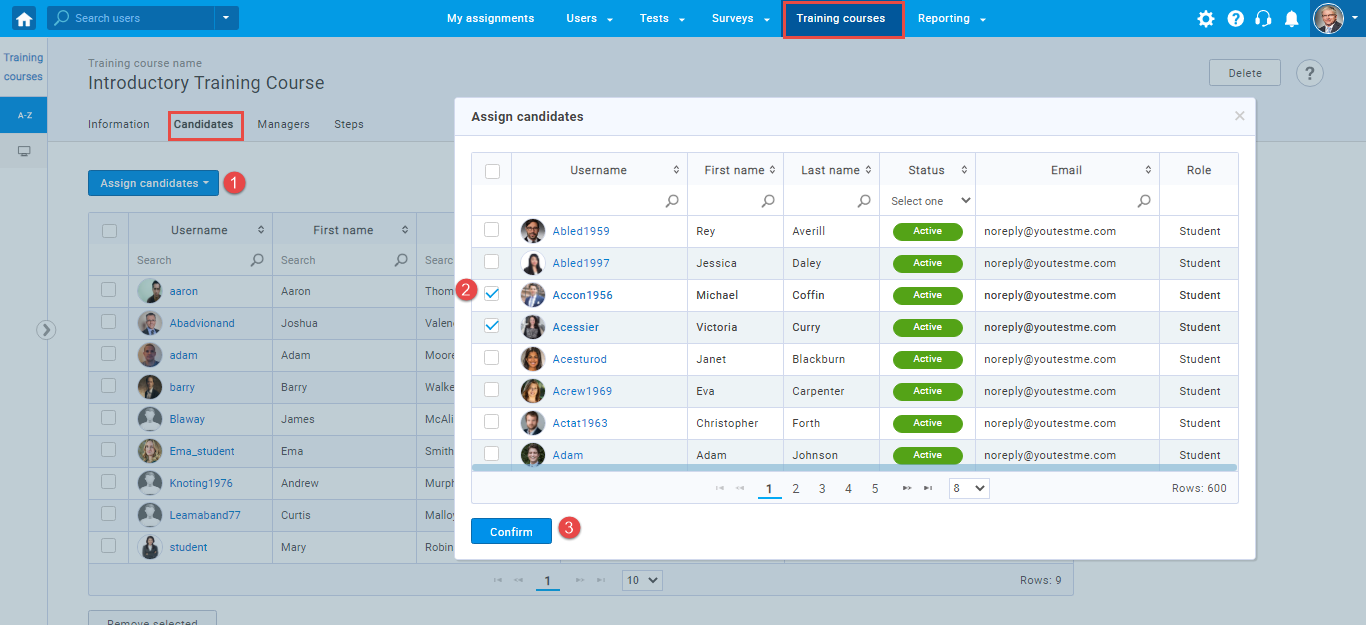
- Assigned as a training course user –
 The notification triggers when you “Training courses” page, select the training, move to the “Candidates” tab, select user(s) from the list and click the “Confirm” button. After the action is performed, you are assigned as a training course user. You will receive an email and in-app notification with the details of a training course.
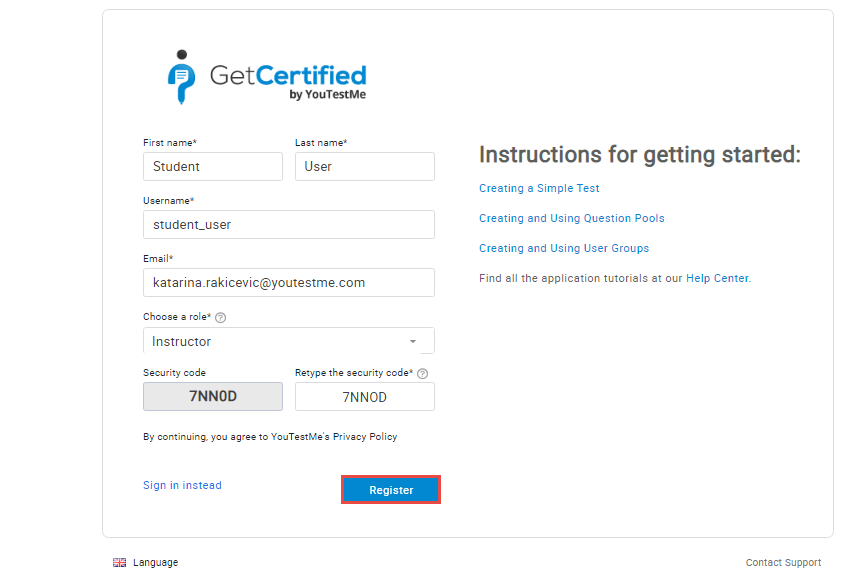
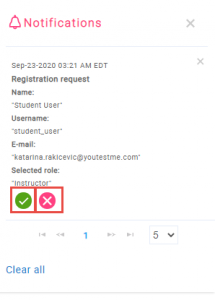
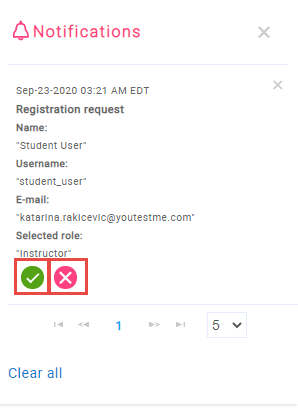
- New registration request – The notification triggers when you fill the registration form with your user credentials, click the “Register” button, and send the registration request to an administrator. The message text you will receive contains only the information you have sent the registration request, without any details that your request is accepted or declined. Another notification is provided in the system, which allows you further information related to registration request status.
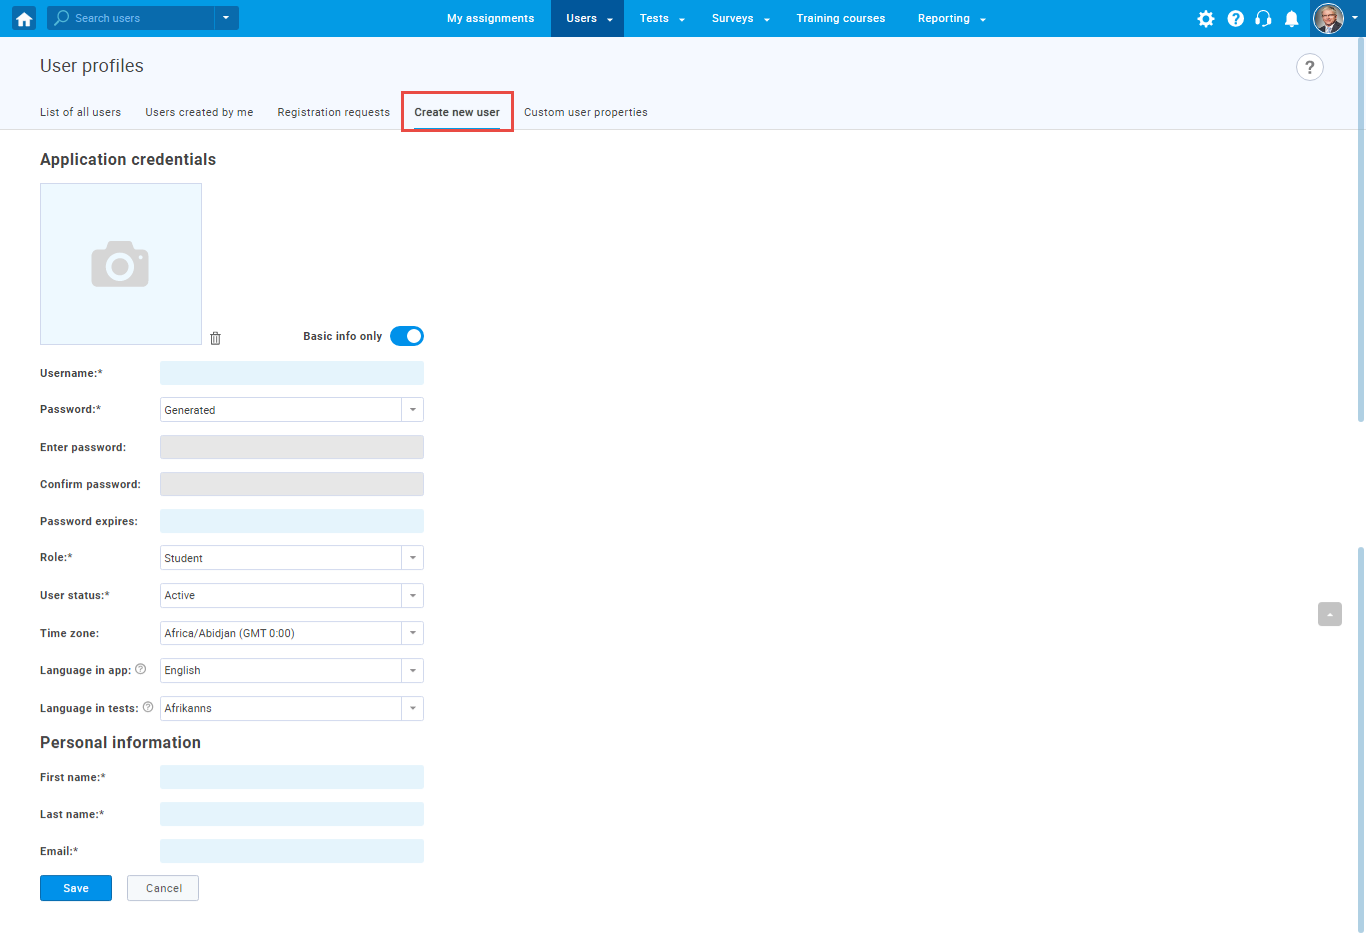
- New user profile created – This notification triggers when a user with the administrator role visits the Users/User profiles page and creates a new user on the “Create new user” tab. Another way the notification triggers is that the administrator on the “List of all users” tab clicks the “Load users” button to upload users from an Excel file. If the notification is enabled, each created user will receive the email notification that contains their profile credentials. After you receive the credentials, you can log in to the system.
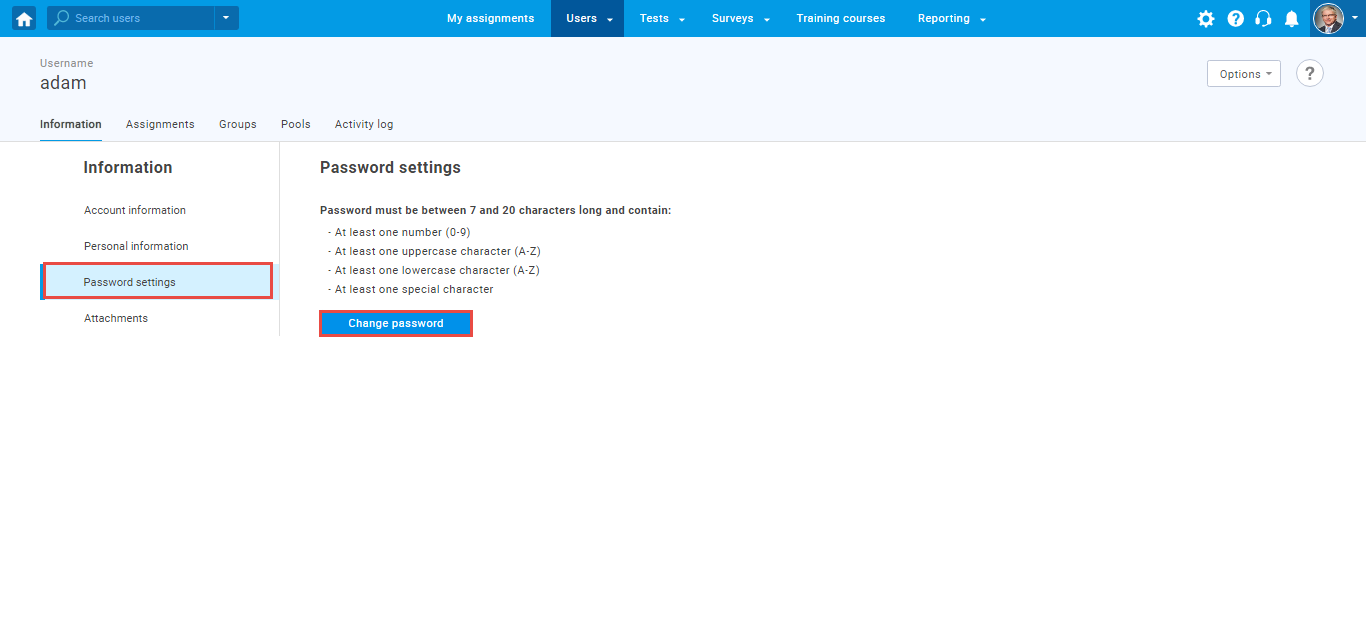
 Password changed – The notification triggers when the user with adequate permission visit the “User profiles” page, select any user from a list, on the “Information” tab select the “Password settings” option, click the “Change password” button, enter the new password and click the “Save” button to change any user’s password. The user whose password is changed will receive the email notification that contains the new password and the in-app notification with information that his password has been changed.
- Product purchased – The notification triggers when the e-commerce module is activated and the client makes a product payment. For example, if the student pays the annual testing or the retest, it is considered a product purchase. In that case, the student will receive the notification.
 Profile information updated – The notification triggers when you visit the Users/ User profiles page, move to the “List of all users” tab, select one user profile from the list, update his profile information if you have the permission to do so. This notification trigger is the other way you move to the “Users/Account” page and update your profile information. When the profile information is updated, the user will receive the email and in-app notification as information that his profile has been changed.

 Registration request approved – The notification triggers when the system administrator accepts the registration request you have sent by filling out the registration form. You will receive an email notification with a message that your registration request is approved, and you are allowed to log in to the system.
- Registration request declined – The notification triggers when the system administrator declines the registration request you have sent by filling out the registration form. You will receive an email notification with a message that your registration request is declined, and you are prohibited from logging in to the system.
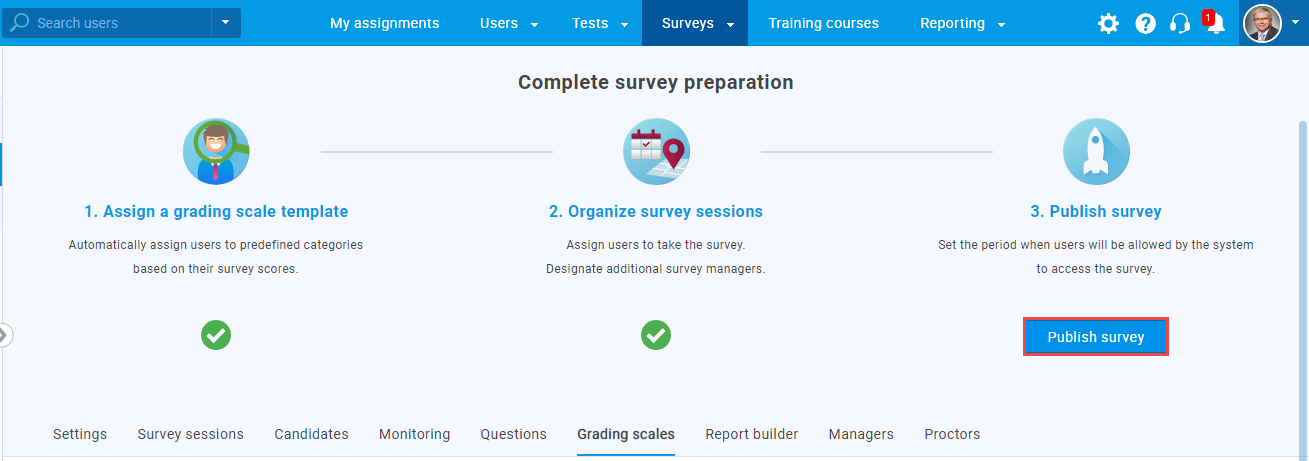
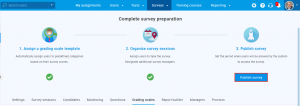 Survey published – The notification triggers when the instructor completes the survey creation process, creates the survey session, and clicks the “Publish survey” button to make the survey visible to the candidates. When the survey manager assigns you to the survey session, you will receive an email and in-app notification containing the survey details.
- Survey results – The notification triggers when you finish the survey, and a manager preview the report containing survey results. Please note that the report is available immediately after you finish the survey. Still, you will receive the email and in-app notification containing a message that the survey results are available only after the manager preview the report.
 Survey suspended – The notification triggers when the survey manager visits the Surveys/Manage surveys page, selects the survey, and chooses the “Suspend” option, suspending the survey. After suspending the survey user assigned to a currently active survey session, it will receive the email and in-app notification containing the message that the survey has been suspended.

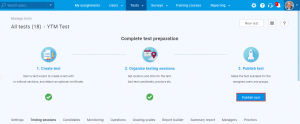 Test published – The notification triggers when the instructor completes the test creation process, creates the testing session, and clicks the “Publish test” button to make the test visible to the candidates. When the test manager assigns you to the testing session, you will receive an email and in-app notification containing the test details.

- Test results – The notification triggers when you finish the test, and a manager preview the report containing test results. Please note that the report is available immediately after you finish the test. But you will receive the email and in-app notification containing a message that the survey results are available only after the manager preview the report.
- Test results on the manager’s approval – The notification trigger when you finish the test-taking process, and a manager approves your test results. You will receive the email and in-app notification containing a message that the test results are available, and you may view the full report.
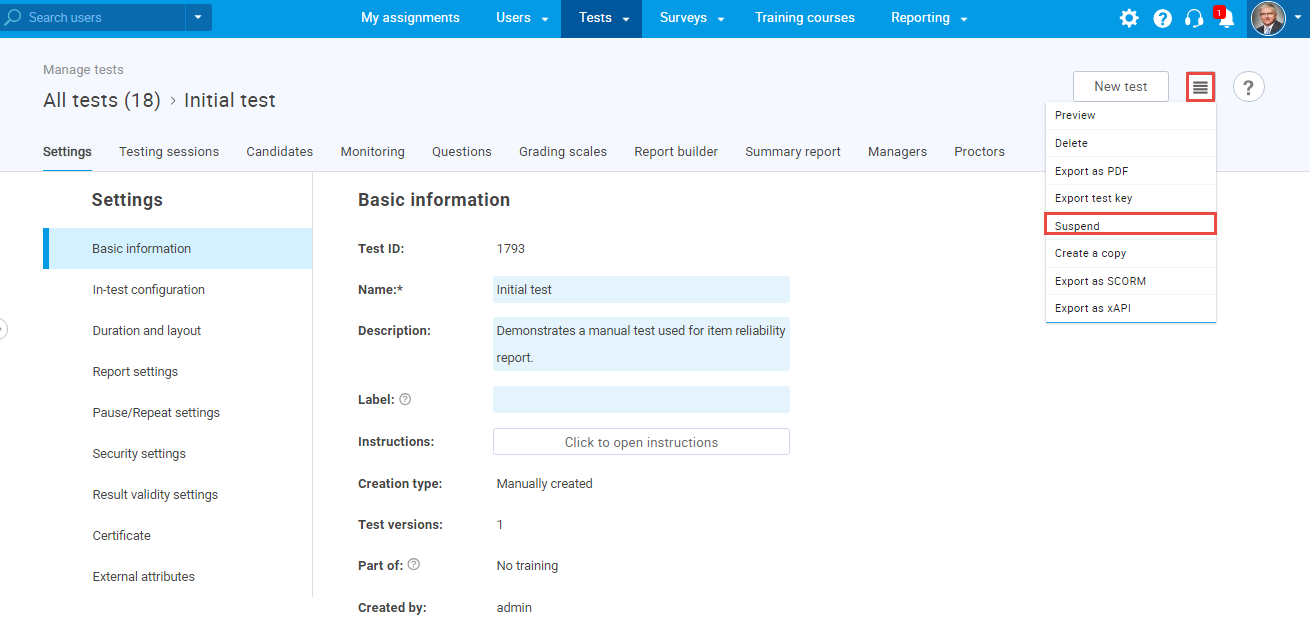
 Test suspended – The notification triggers when the test manager visits the Tests/Manage tests page, selects the test, and suspends the test by choosing the “Suspend” option. After it, the user assigned to a currently active test session will receive the email and in-app notification containing the message that the test has been suspended.
- Tomcat Start – The notification triggers when the application starts.
- Tomcat Stop – The notification triggers when the application stops.
- Unresolved test/survey report – The notification triggers when the test or survey manager has not resolved the report after the test or survey-taking process is done. The candidate will receive an email and in-app notification containing a message that the report is not resolved.
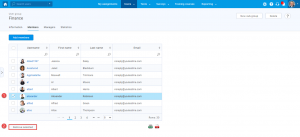 User removed from a group – The notification triggers when the group manager removes the user from a group. If you are assigned as the group user, you will receive an email and in-app notification that you no longer have access to the group and its subgroups.

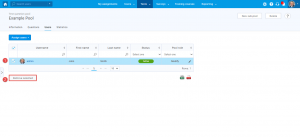 User removed from a pool – The notification triggers when the pool manager removes the pool user. If you are assigned as a pool user, you will receive the email and in-app notification that you no longer have access to the pool.

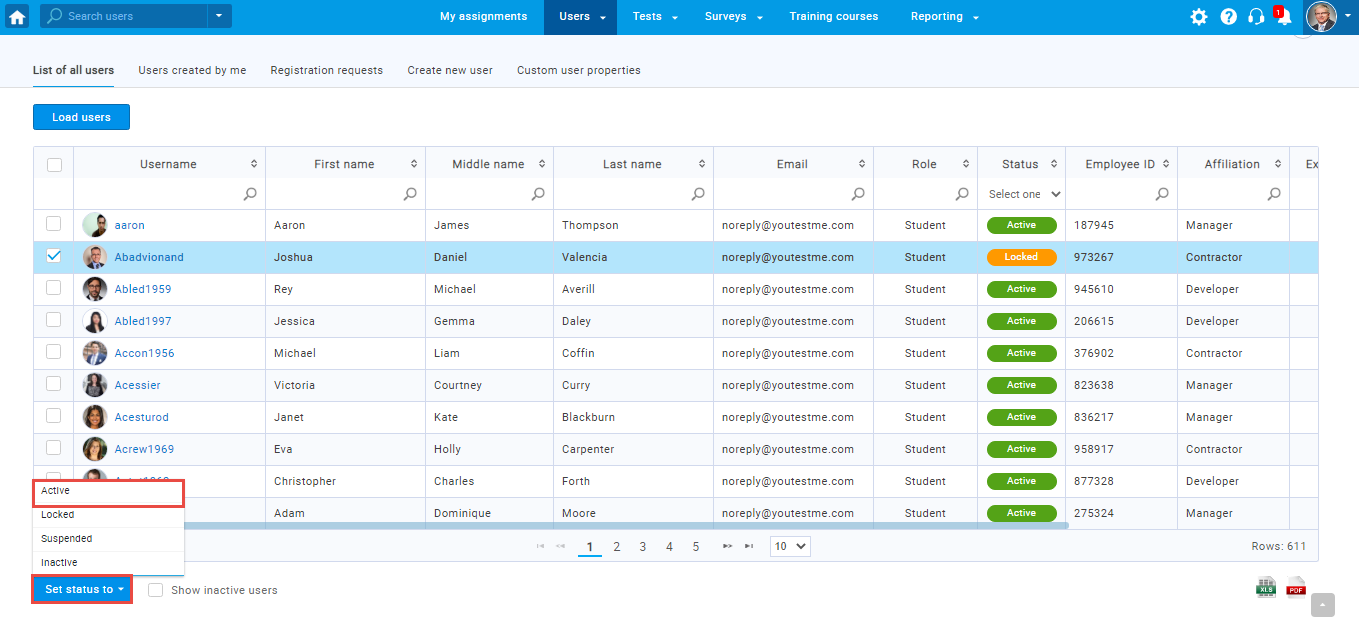
 User’s status changed – The notification triggers when you select one user in the system and change their status in the application to “Suspended”, “Locked”, “Deactivated”, or “Deleted”. The user will receive an email notification that their status has been changed to any of the mentioned statuses.
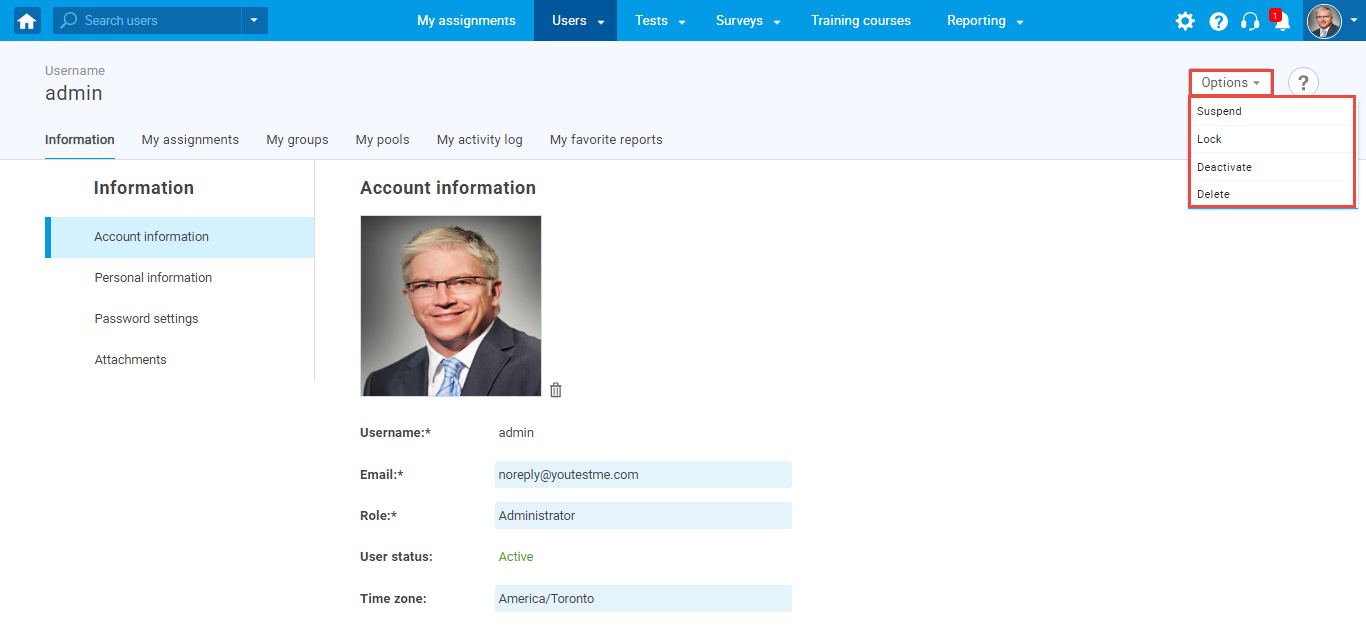
 When the user’s status is changed to active – The notification triggers when the user’s status in the application has been set to “Active” again. You will receive the email notification containing the message that your account is activated, and you can log in with the automatically sent user credentials.
NOTE: For more information, please, watch this video tutorial with detailed instructions on editing in-application and email notifications in the system, notification preview from the user’s perspective, and a quick explanation of necessary notification events.


