This article will explain how to create, edit and assign proctors in a common session.
It is possible to schedule a common session on the specific location that will be created for all tests in the application.
Creating common session
To create a common session, navigate to the “Test” in the main menu and click on the “Testing locations”.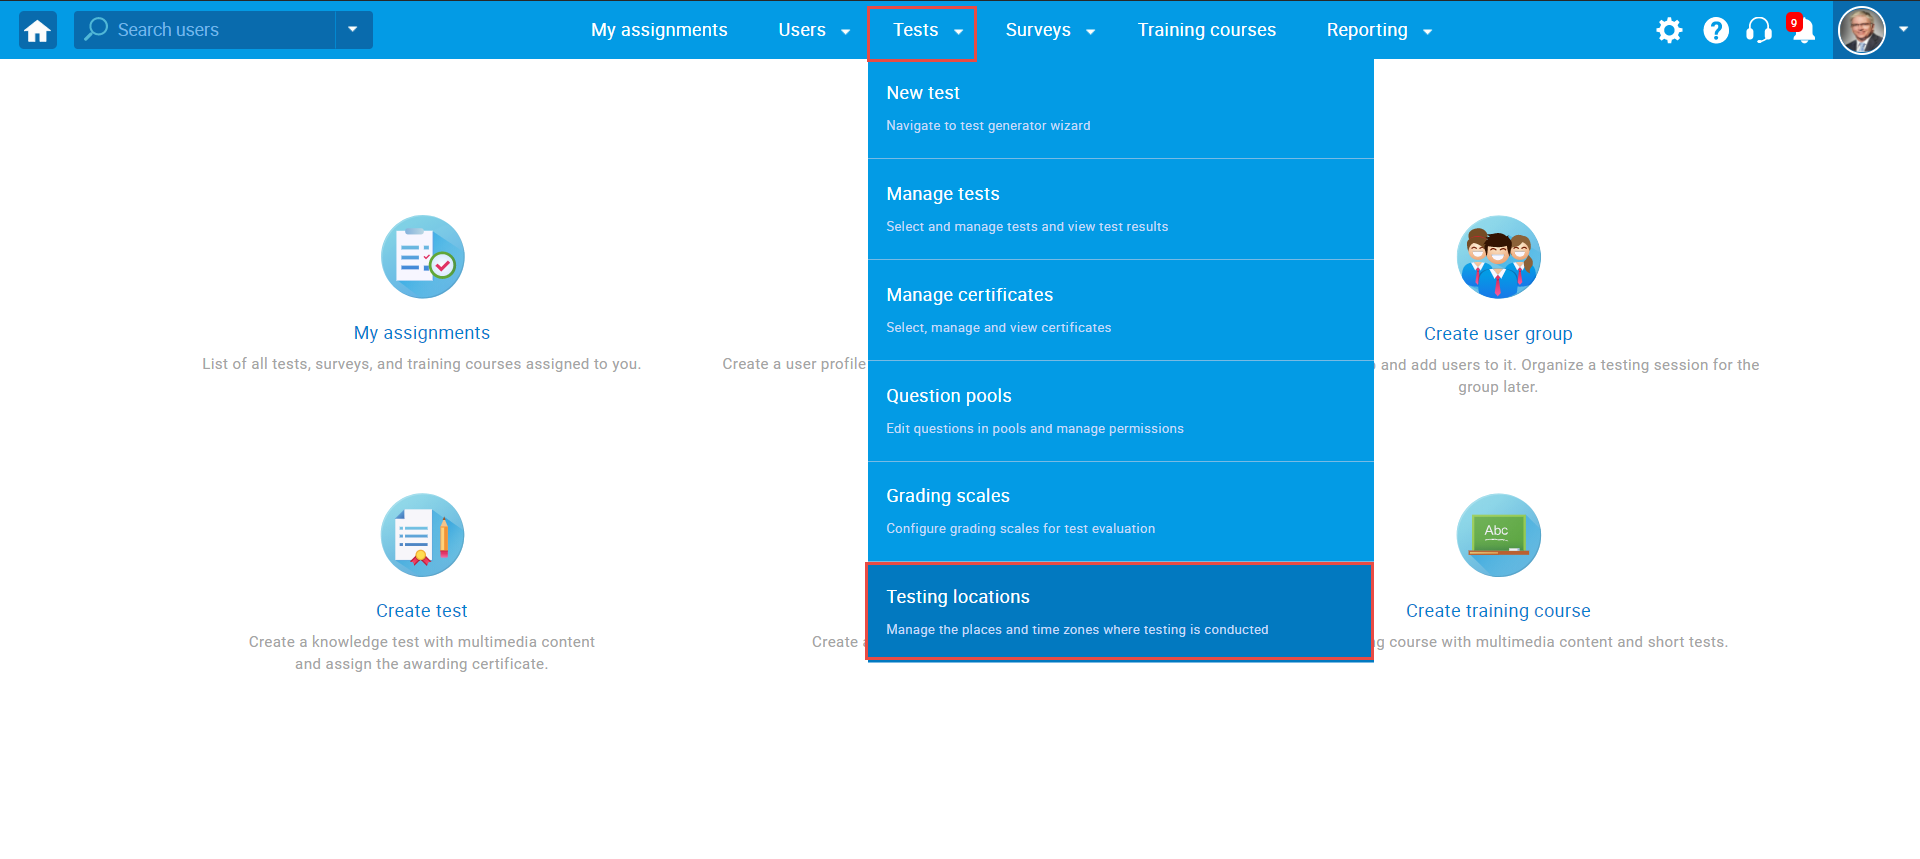 If you want to create a new testing location, please check this article “How to create a new testing location“.
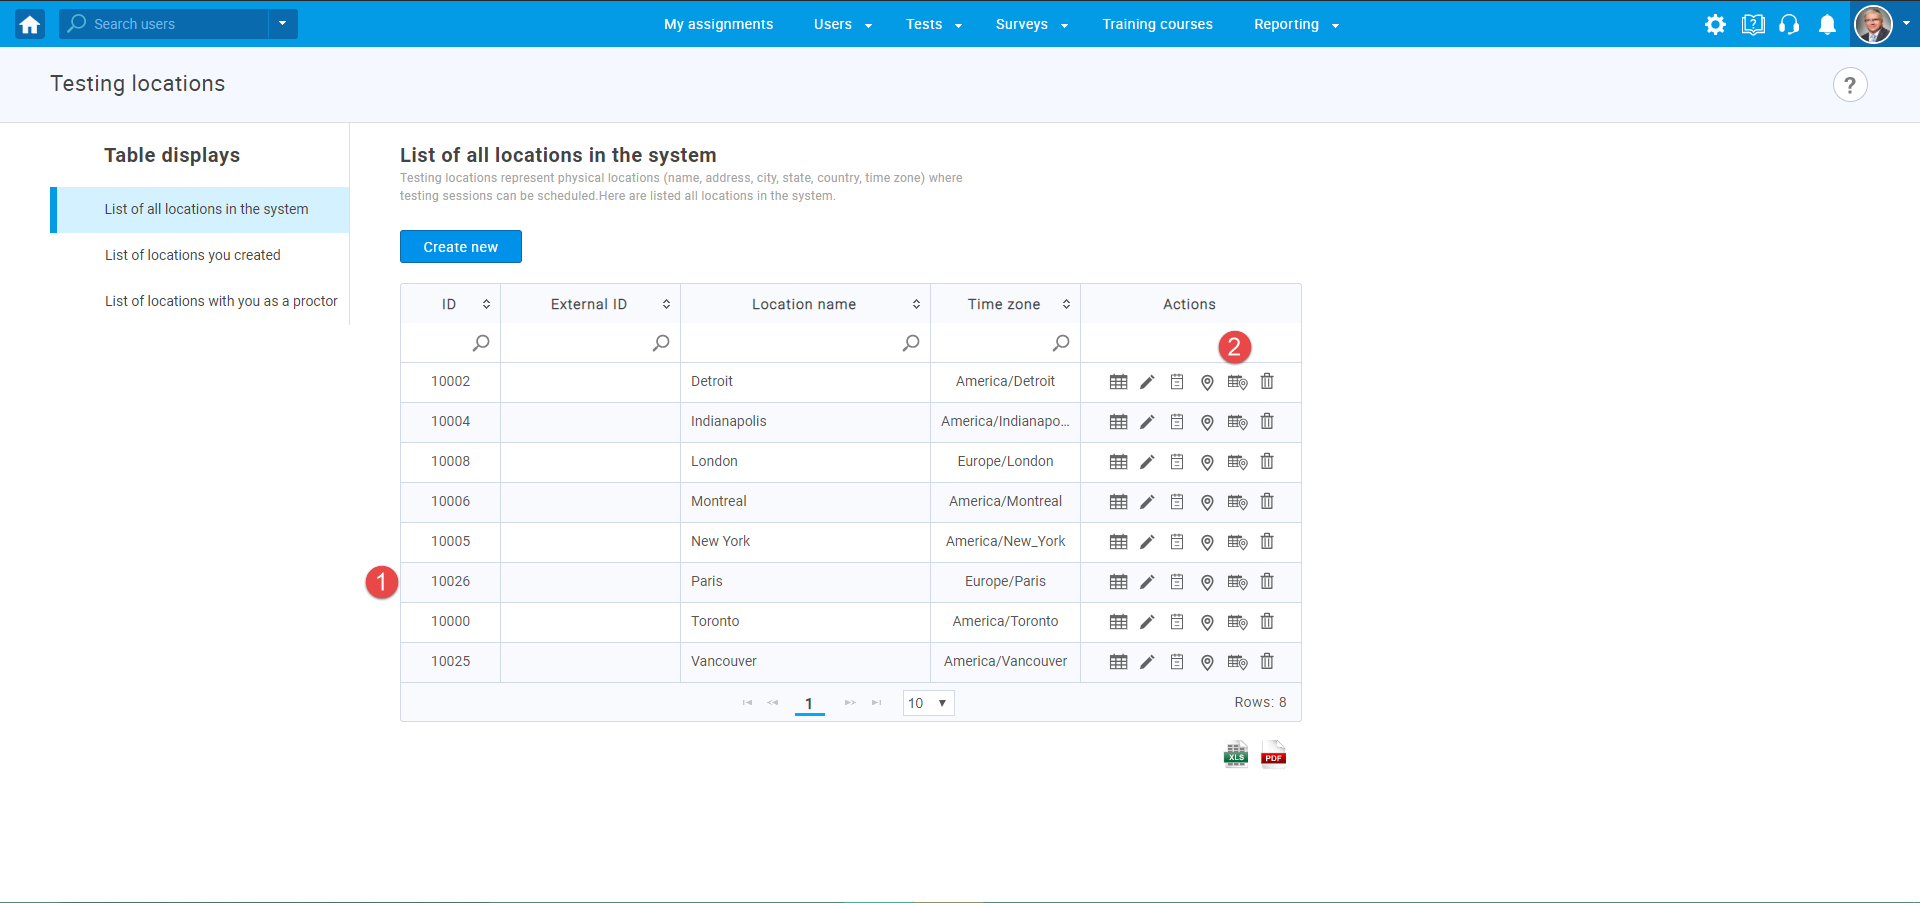
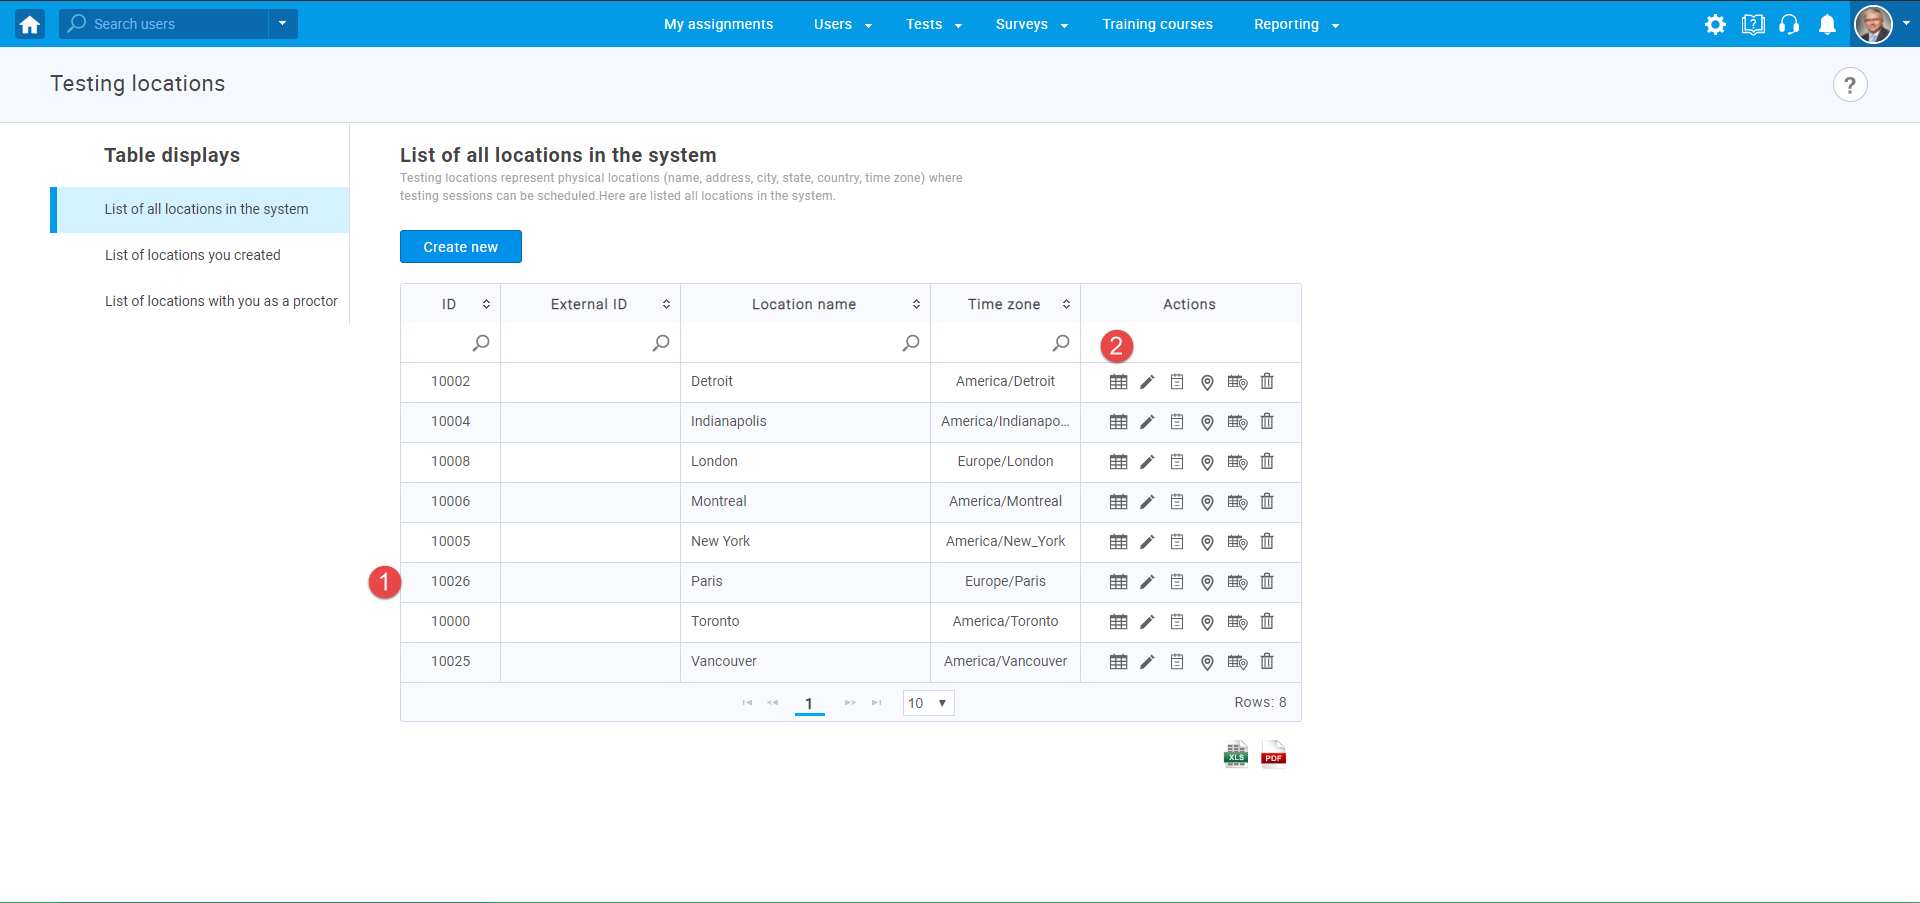
To create a common session:
1. Choose desired testing location.
2. Click on the “Create a common testing session” icon.
The new pop-up window will show up, where you should :
1. Enter the session name.
2. Enter the additional instructions.
3. Enter the start date.
4. Enter the end date.
5. Enter the booking deadline – Define until the candidates can book the test.
6. Enter the cancelation deadline – Define until the candidates can cancel the test.
7. Set the capacity – Define the number of candidates that can be in the testing session.
8. Click on the “Save” button to create a session.
9.Click on the “Cancel” button to cancel the action.
Editing common session
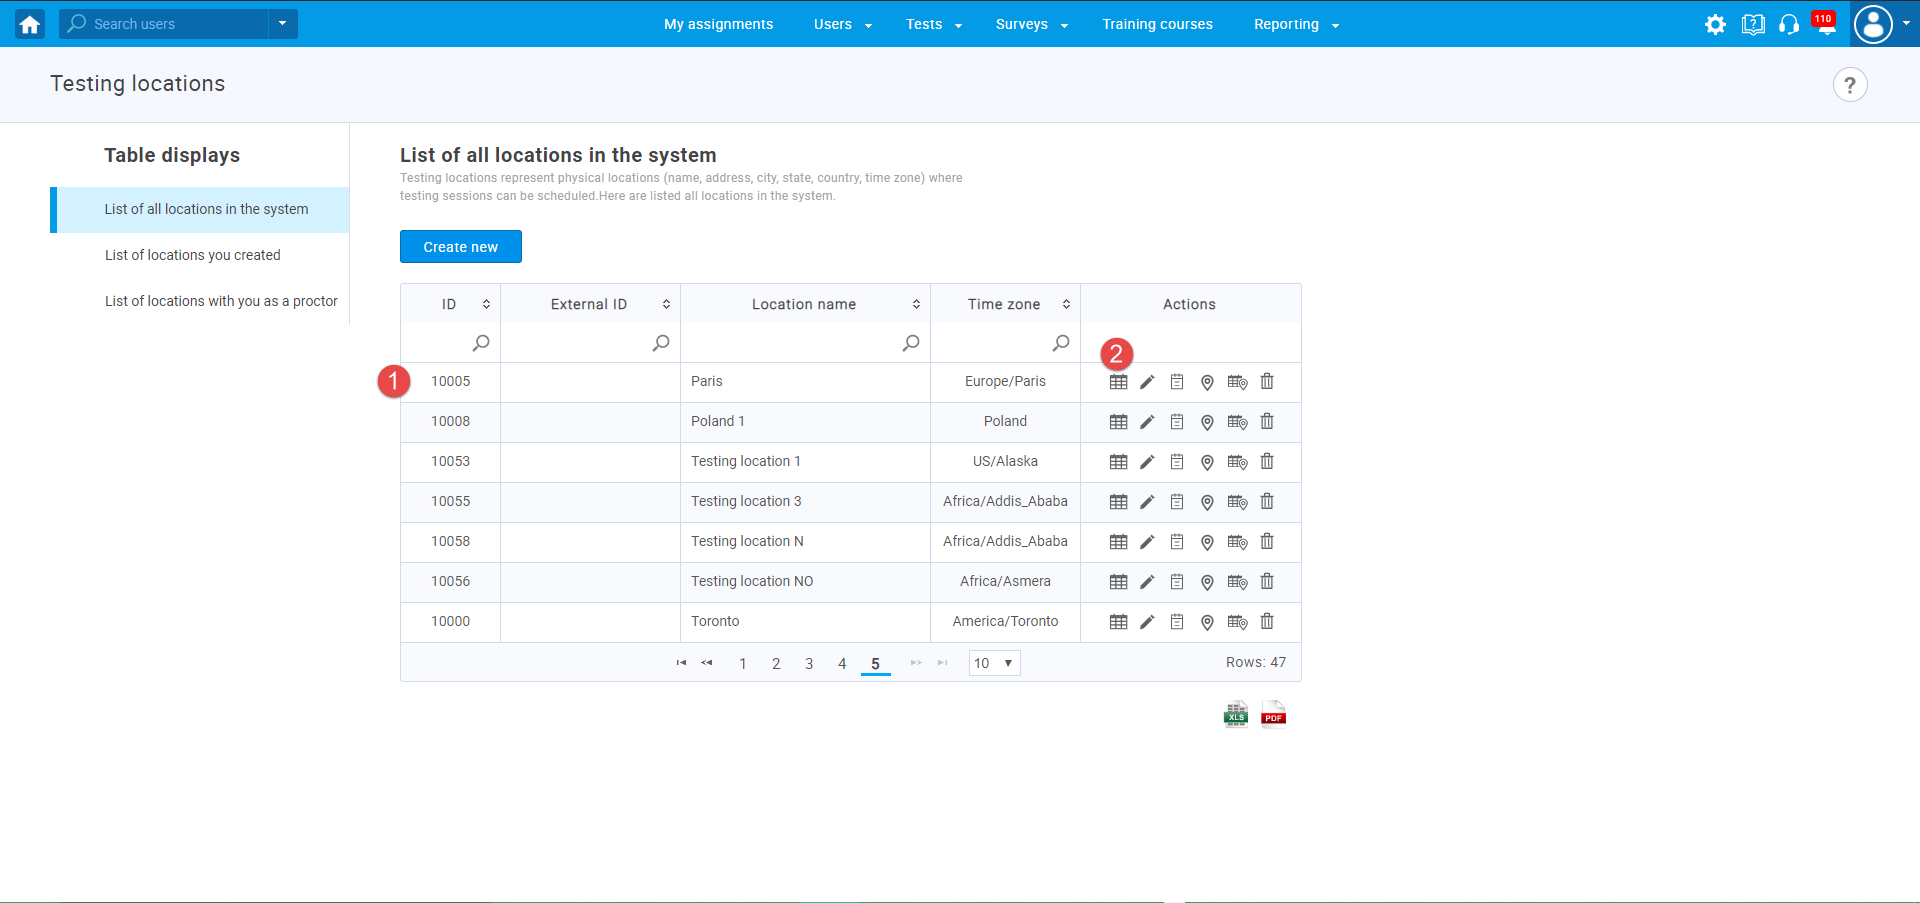
To access and preview a common session:
1. Choose desired testing location.
2. Click on the “Calendar” icon.
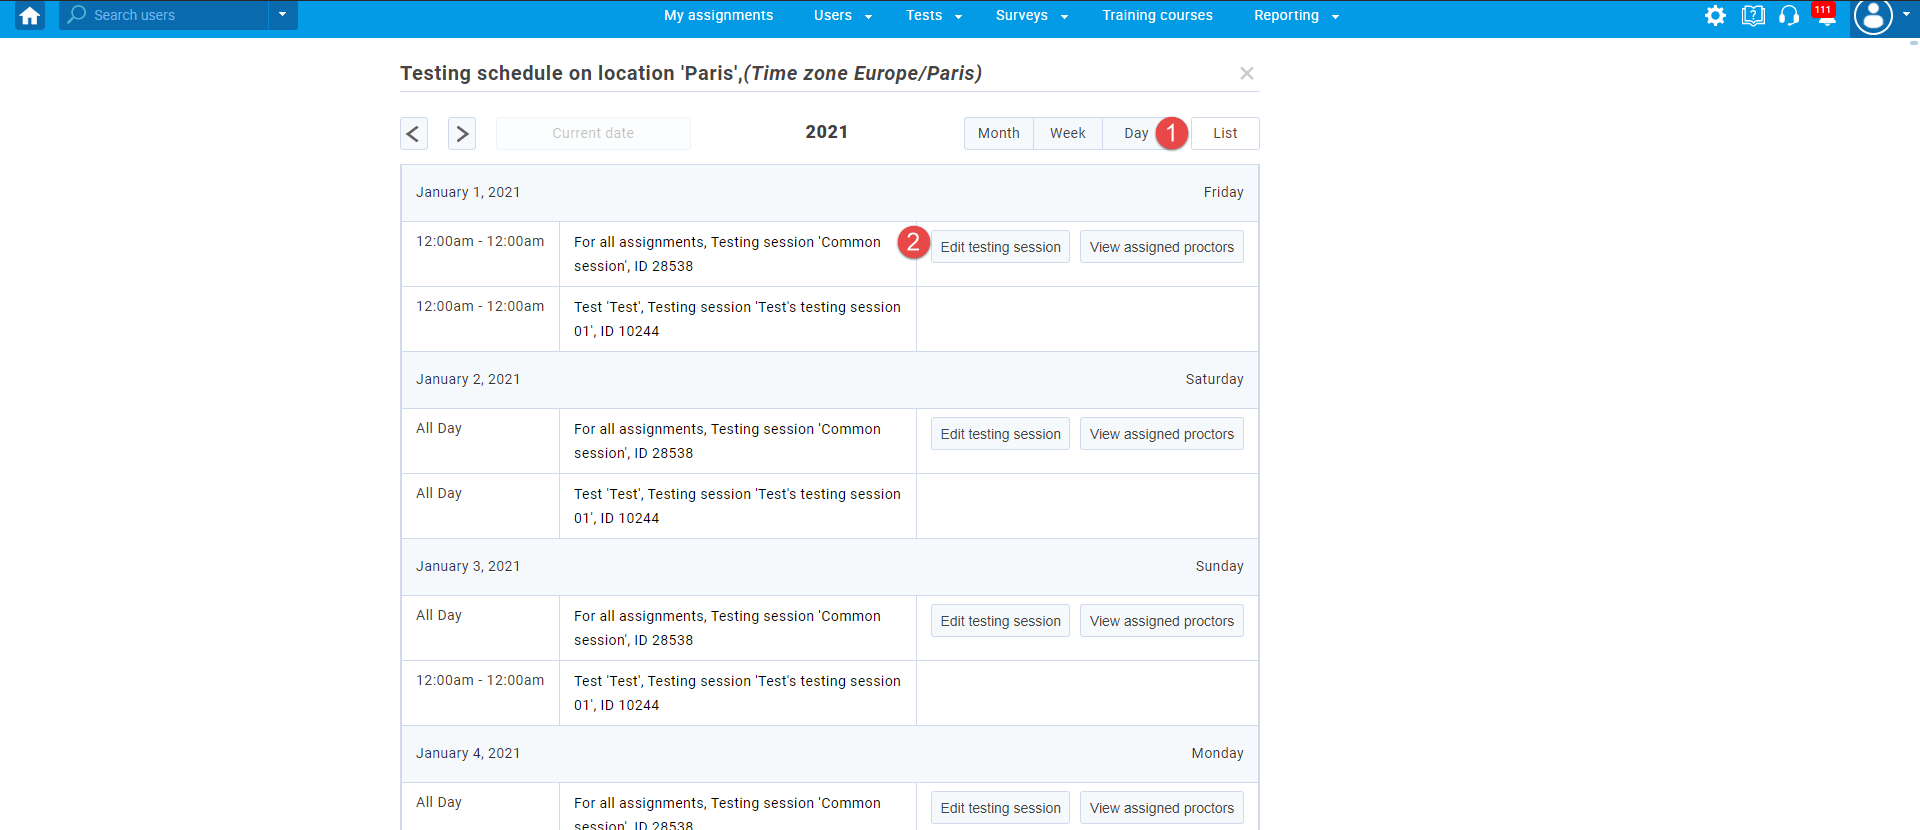
A new table will appear below and you can preview the testing schedule for the desired location by months, weeks, and days.
To edit common session:
1. Click on the “List” button.
2. Then click on “Edit Testing location”.
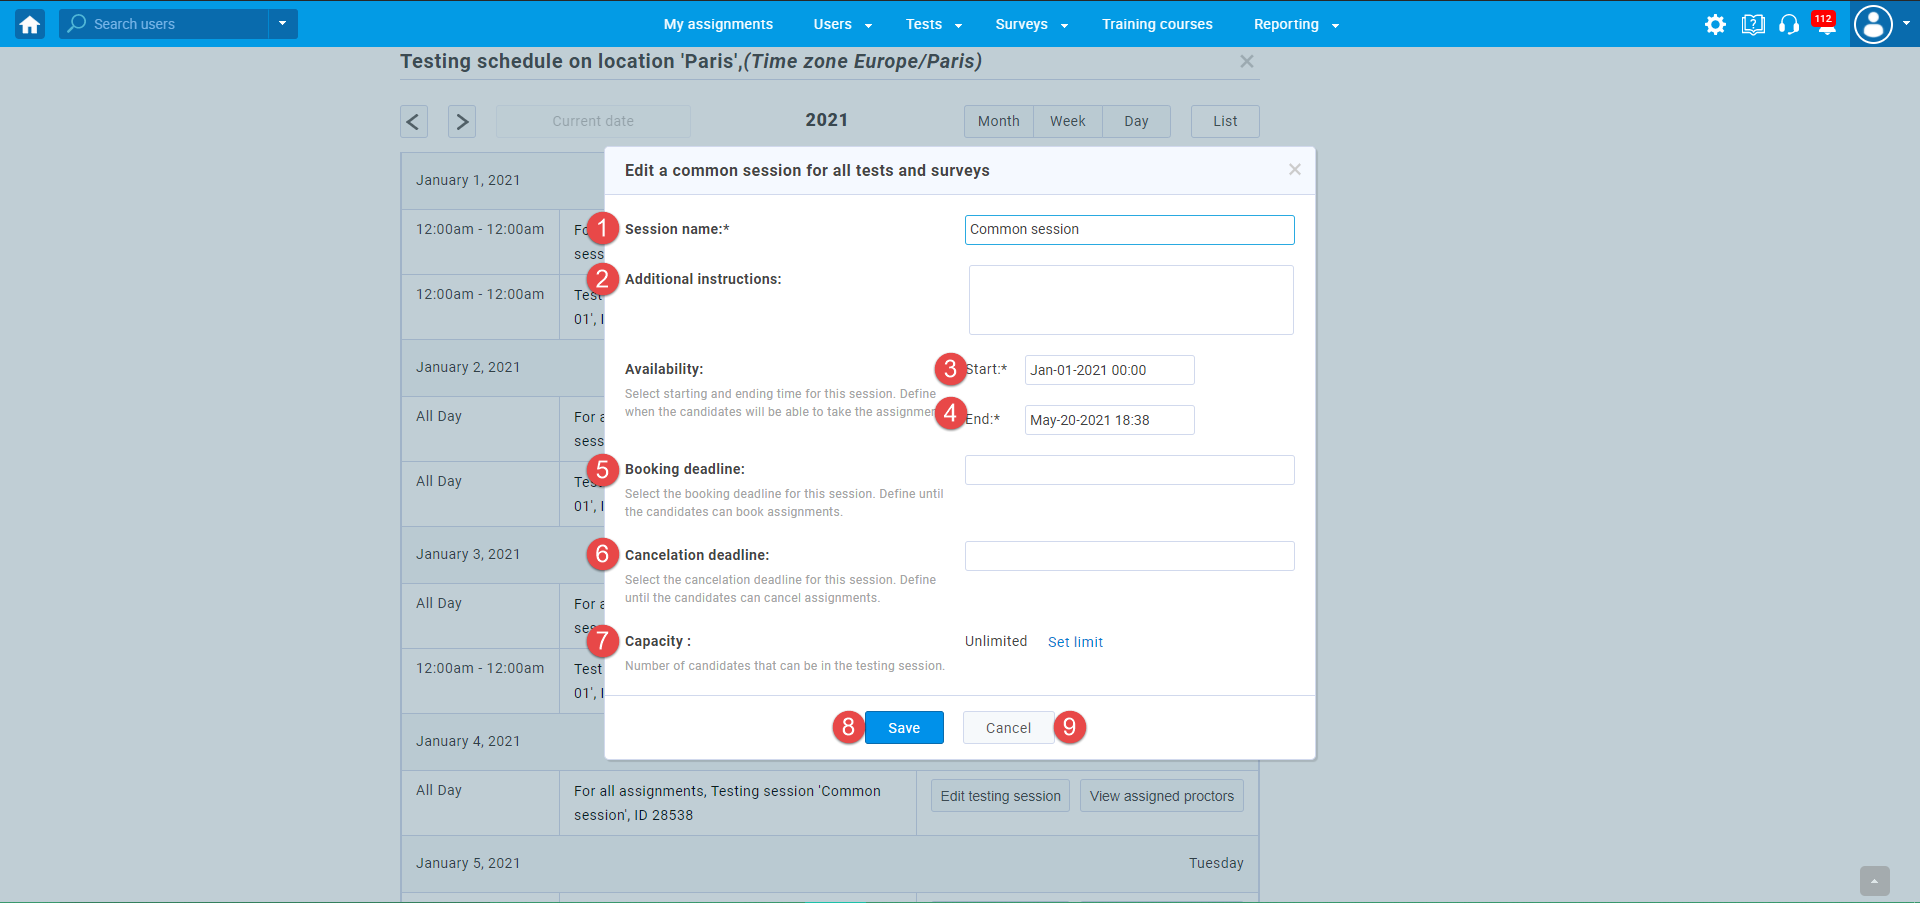
The new pop-up window will show up, where you should :
- Edit the session name.
- Edit the additional instructions.
- Edit the start date.
- Edit the end date.
- Edit the booking deadline.
- Edit the cancelation deadline.
- Edit the capacity.
- Click on the “Save” button to create a session.
- Click on the “Cancel” button to cancel the action.
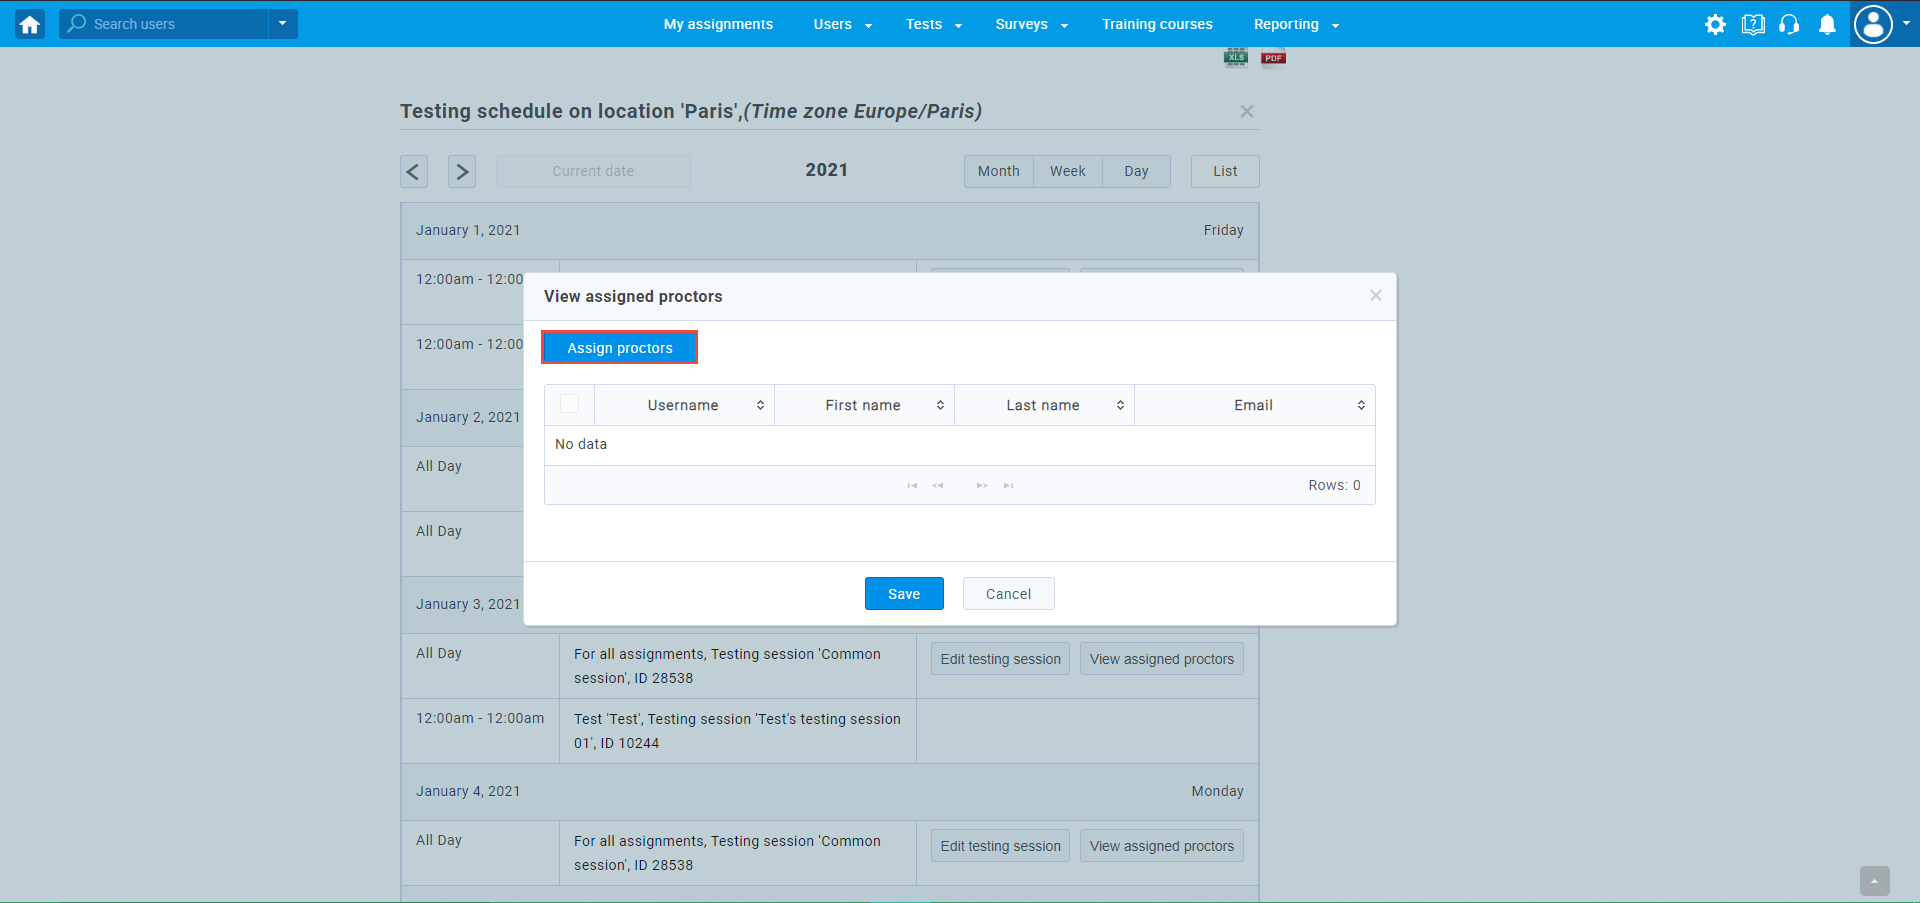
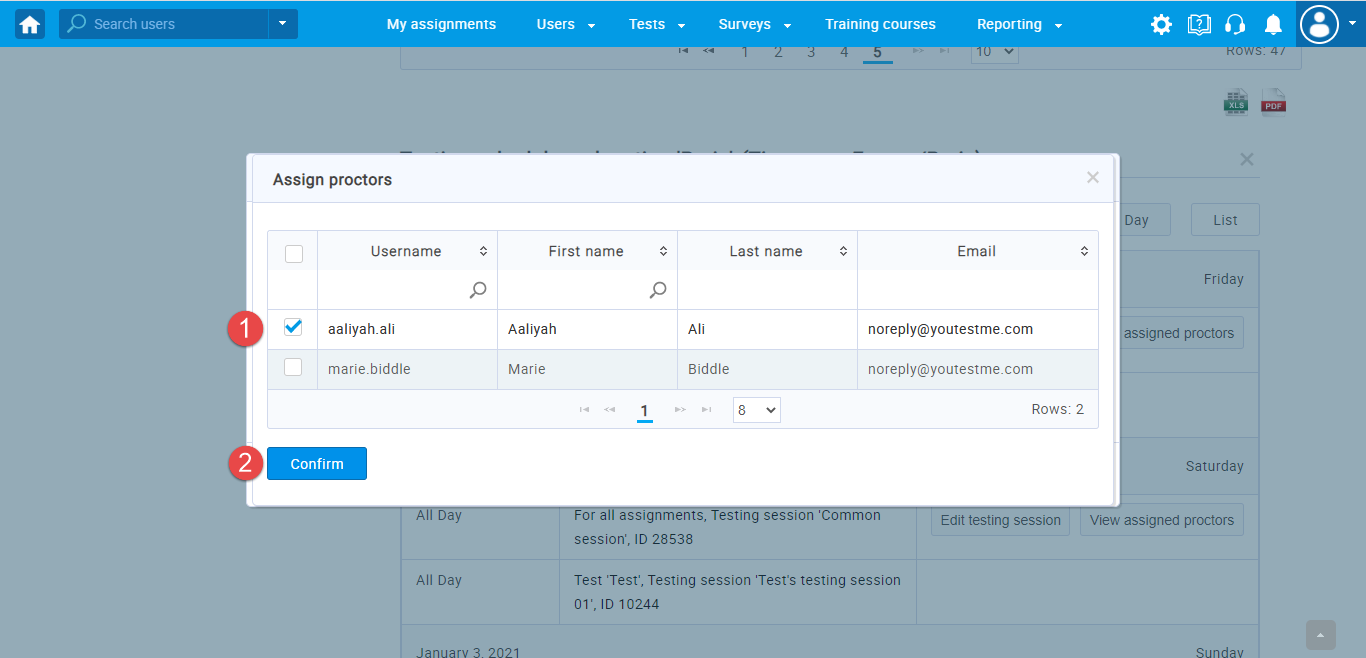
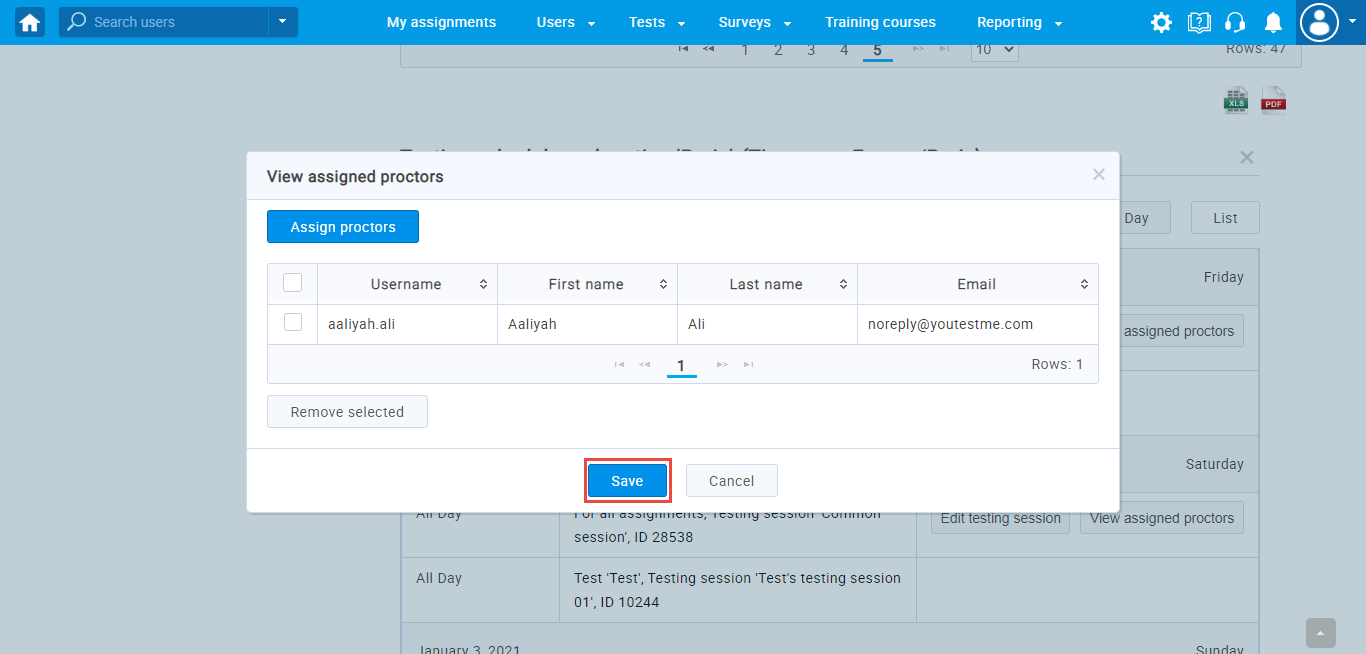
Assigning proctors
To assign proctors for a common session, please follow these steps:
- Click on the “List” option to see a list of scheduled testing sessions for the chosen location.
- Click on the “View assigned proctors” button.