This article will explain how to create a Stripe account, set up prices, and check payment reports.
Creating a Stripe account
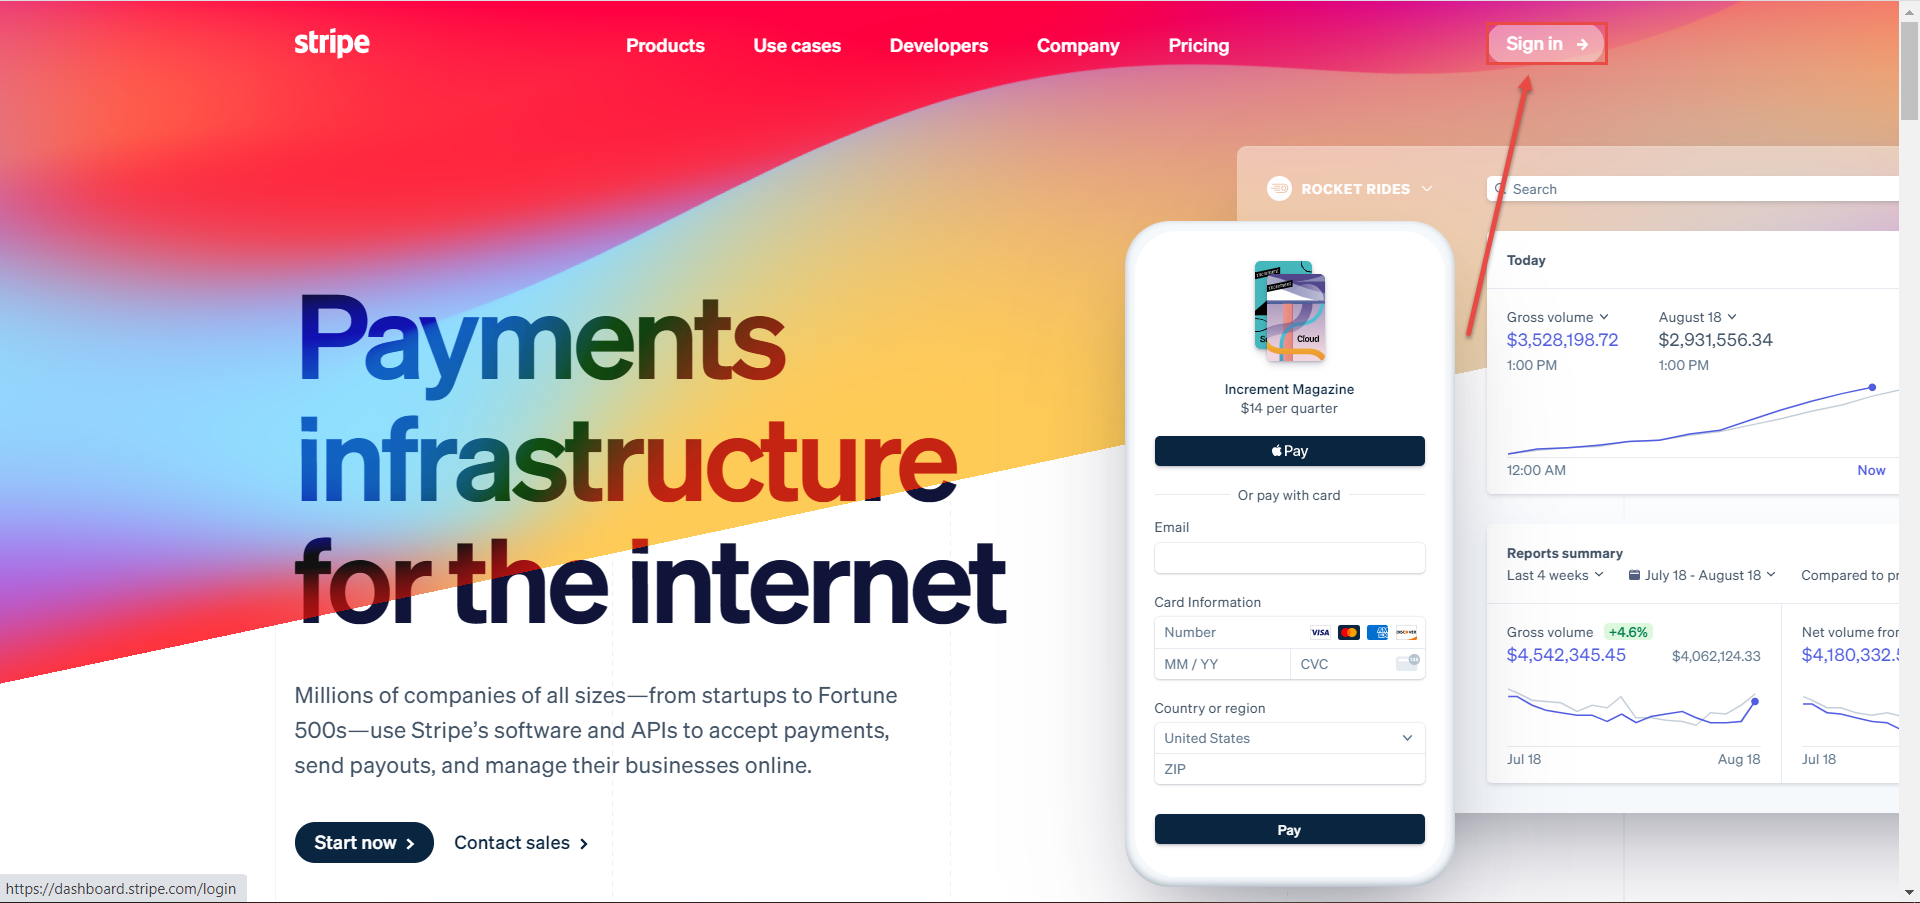
To create a Stripe account, visit www.stripe.com, then click the “Sign in” button in the top right corner.
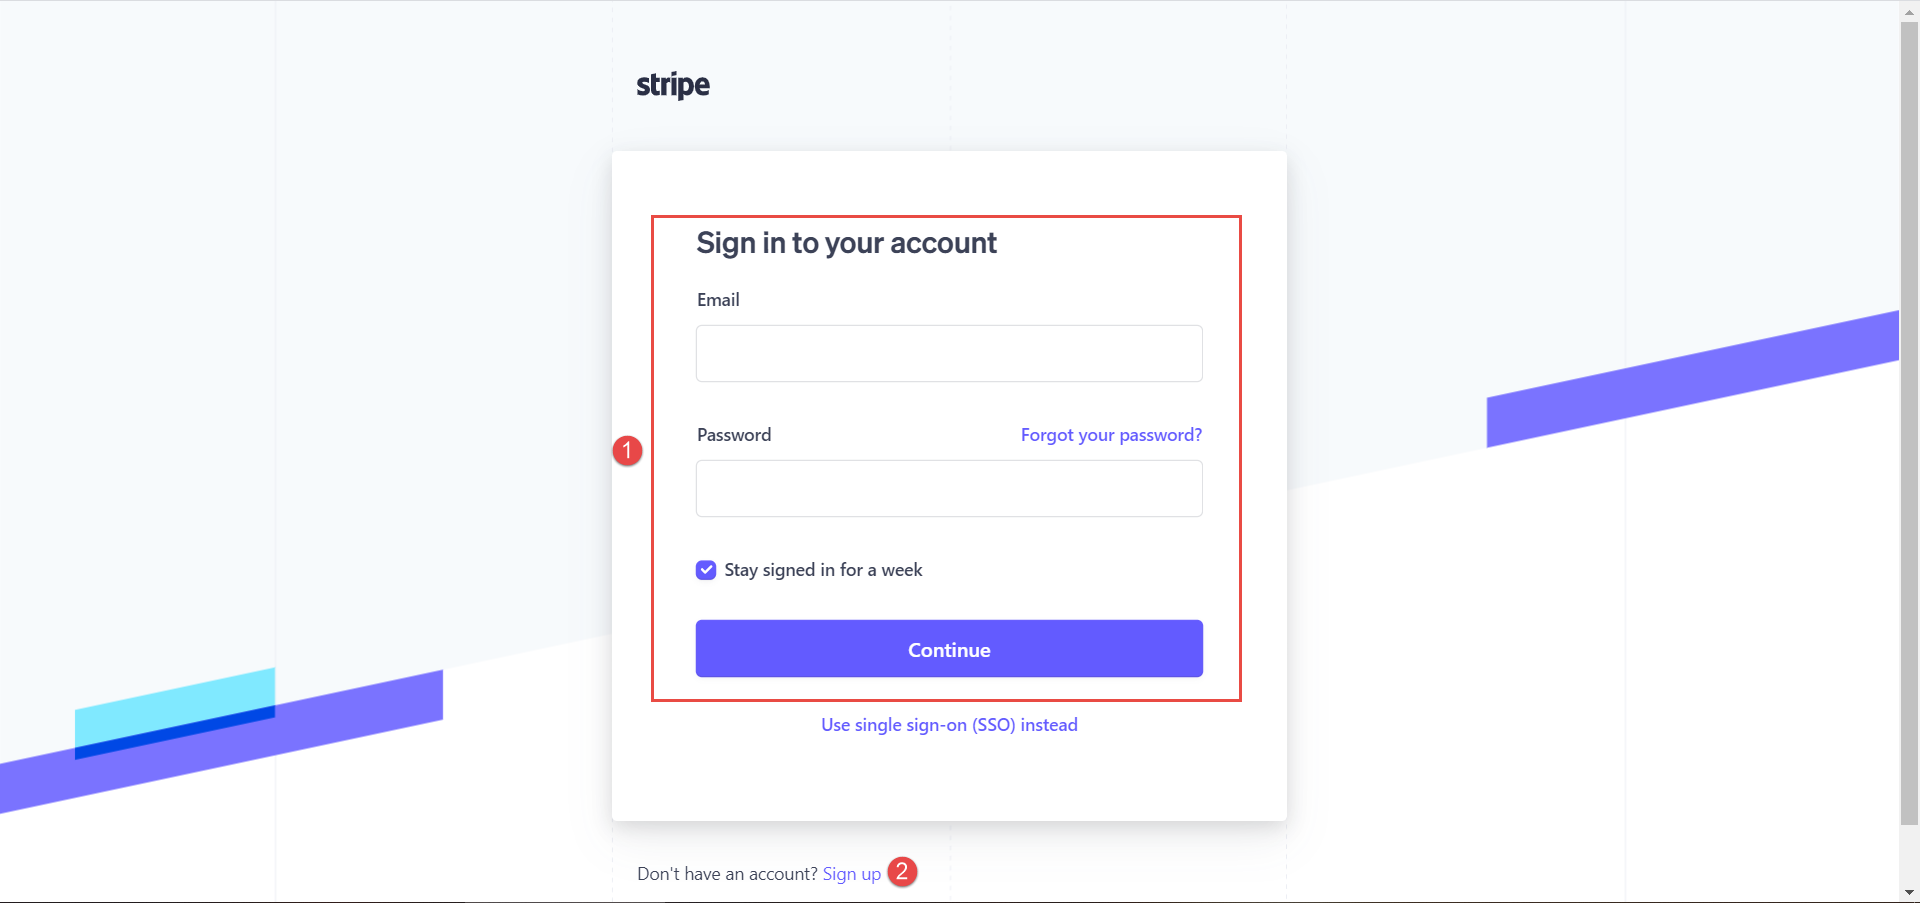
Then, you can:
1. Log in to the existing Stripe account or
2. Create a new account by clicking the “Sign up” option.
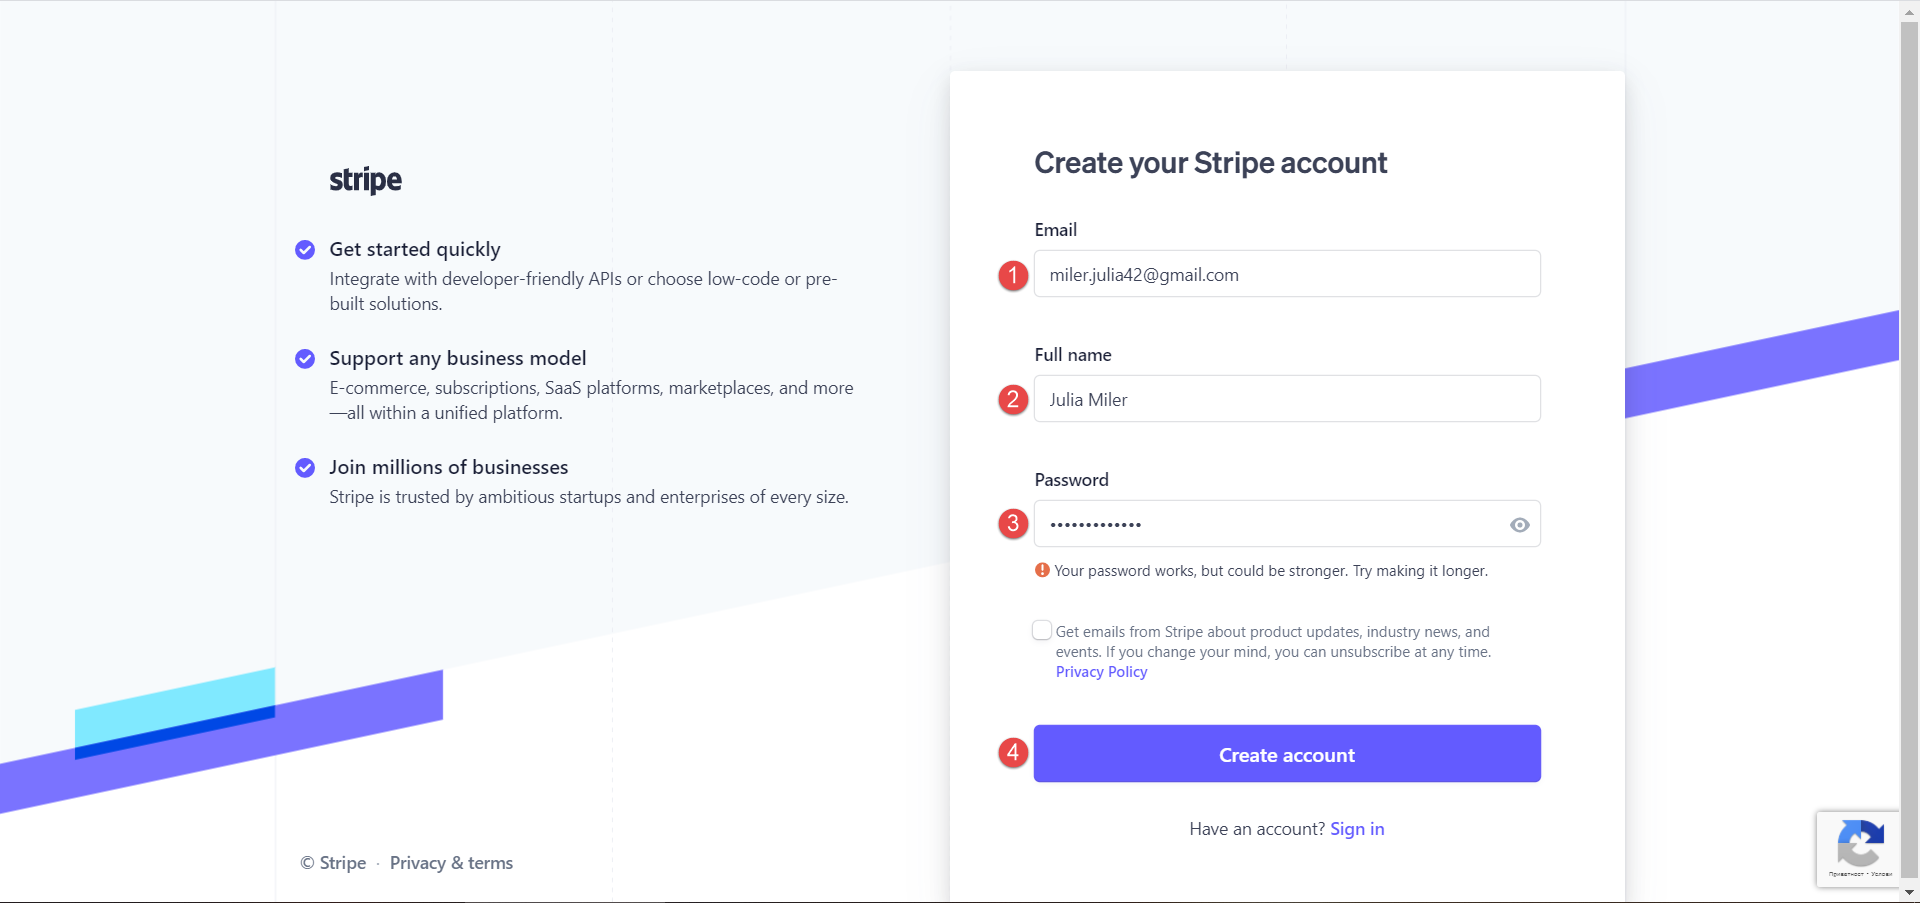
To create a new Stripe account:
- Enter the email address.
- Enter the full name.
- Enter the password for the Stripe account.
- Click the “Create account” button.
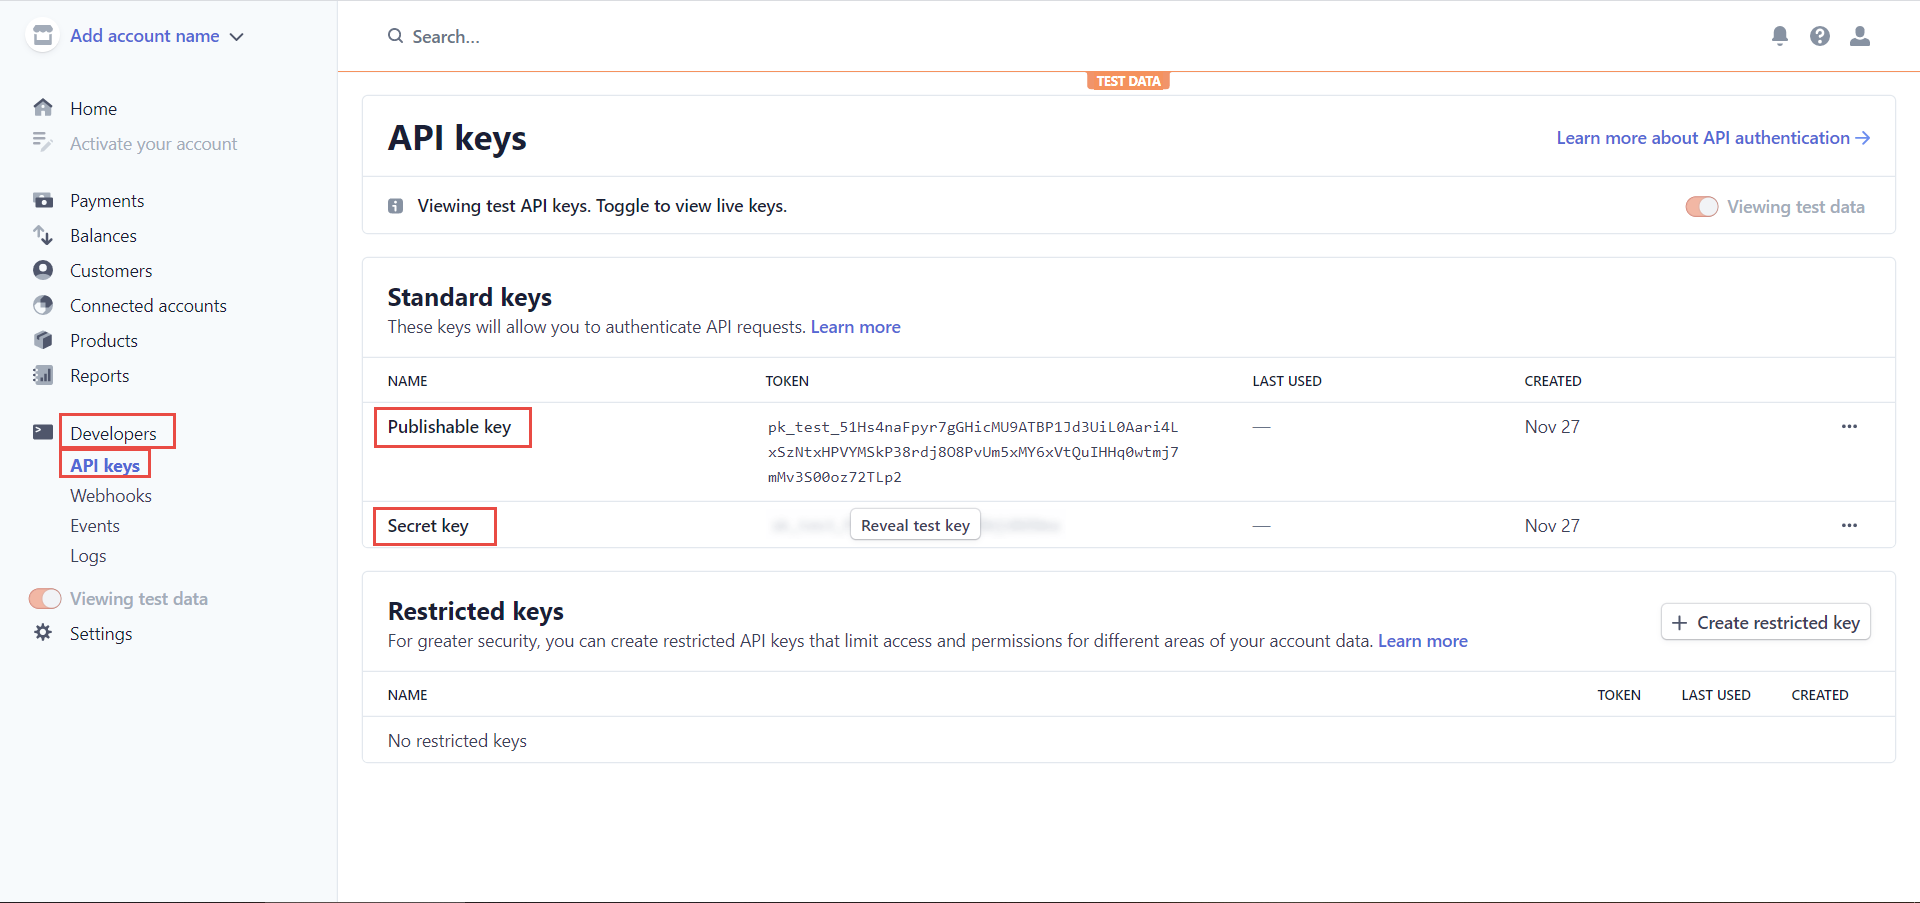
Once you create the account, click the “Developers” tab and choose API keys. On that tab, you will see Publishable and Secret keys. To display the secret key, click the “Reveal test key” button. Those keys will be used to connect your Stripe account with the GetCertified application.
Setting up prices
To navigate to the E-Commerce page:
- Click “System settings.”
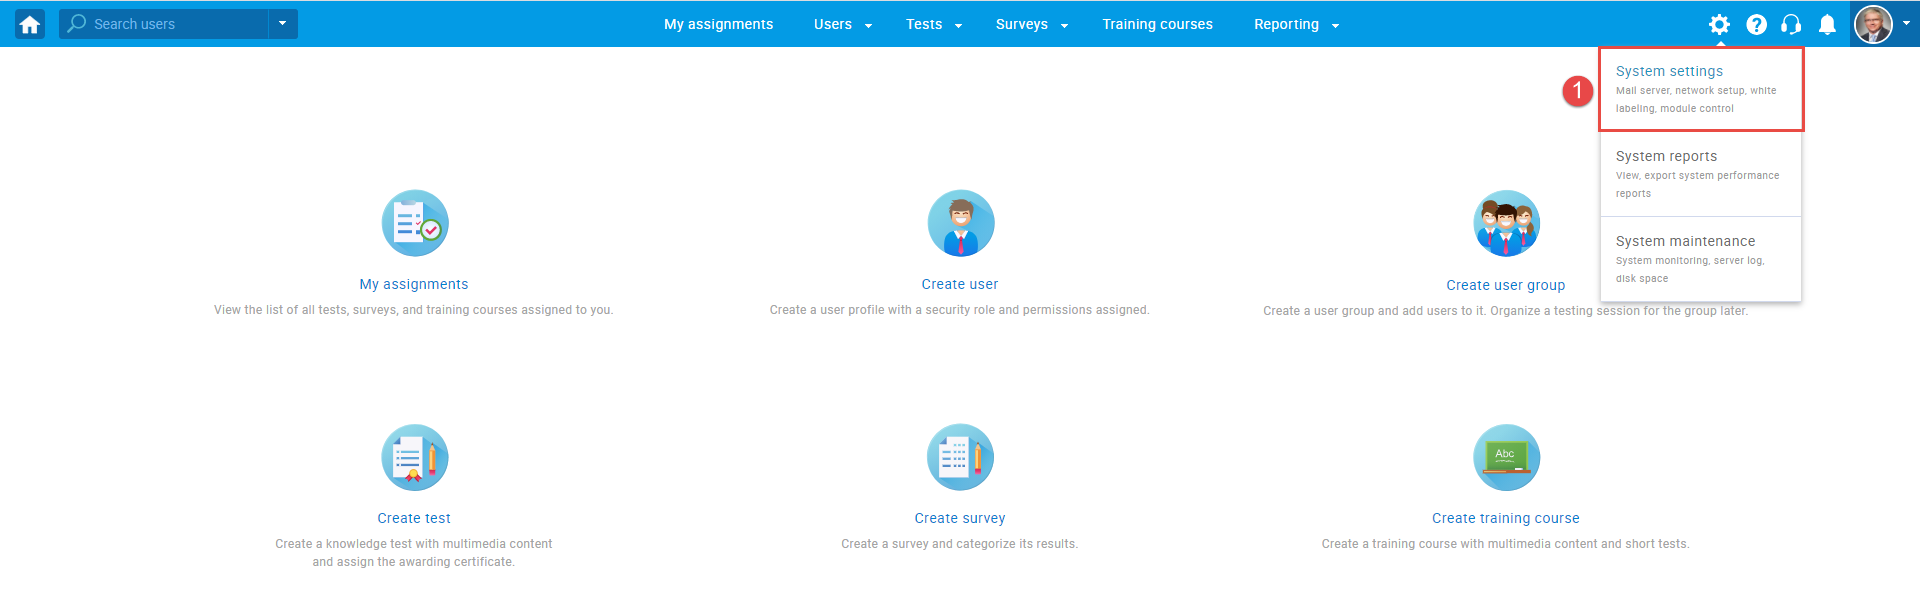
- Choose the “E-Commerce” tab.
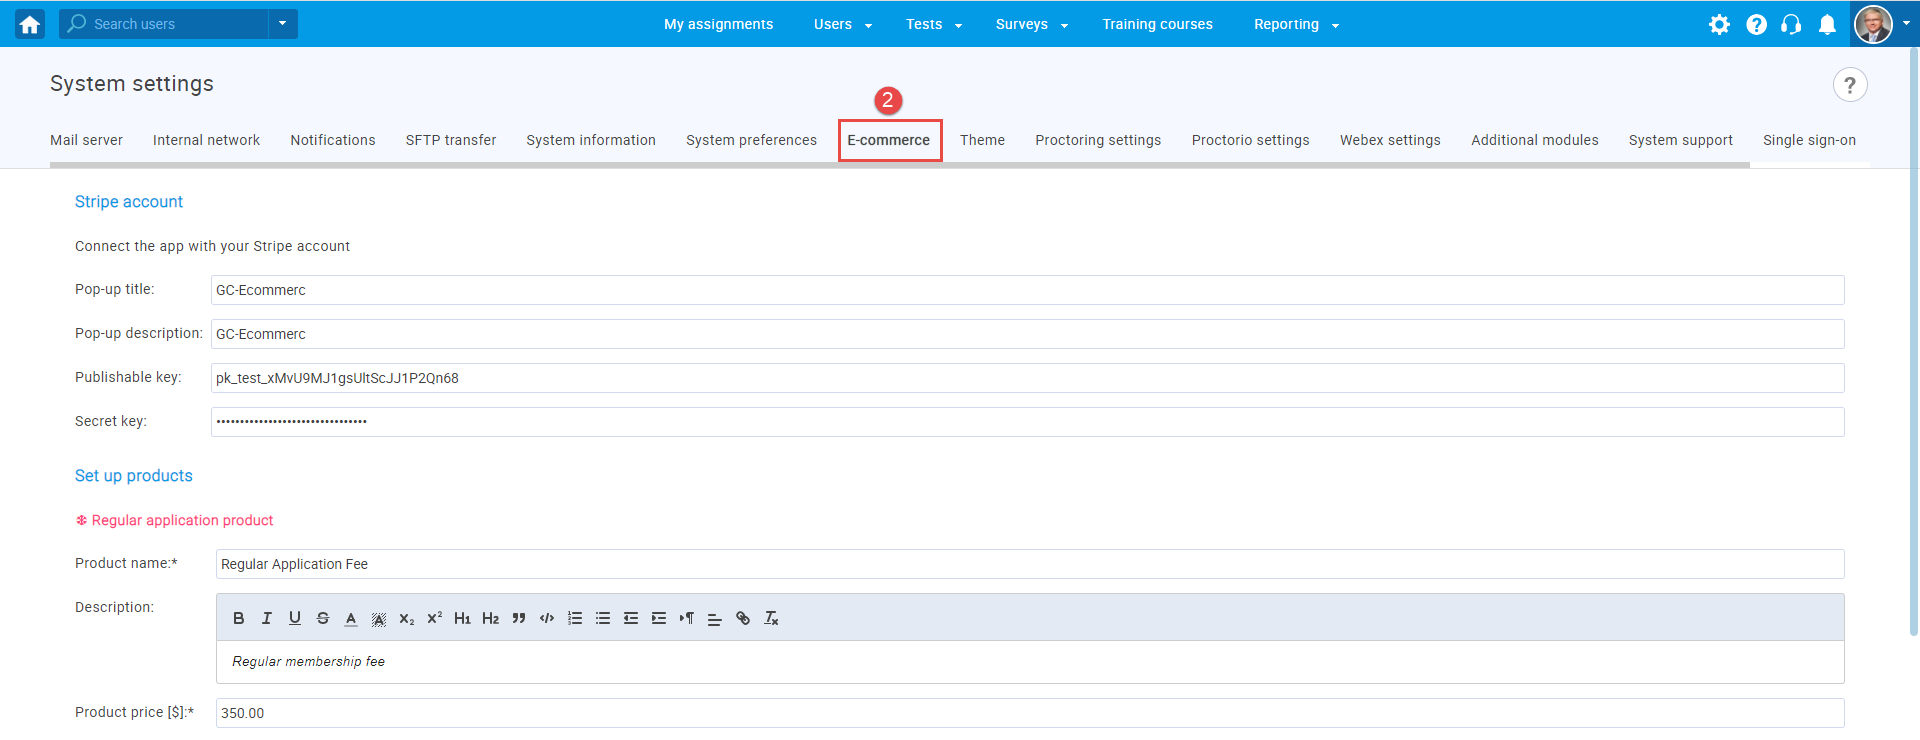
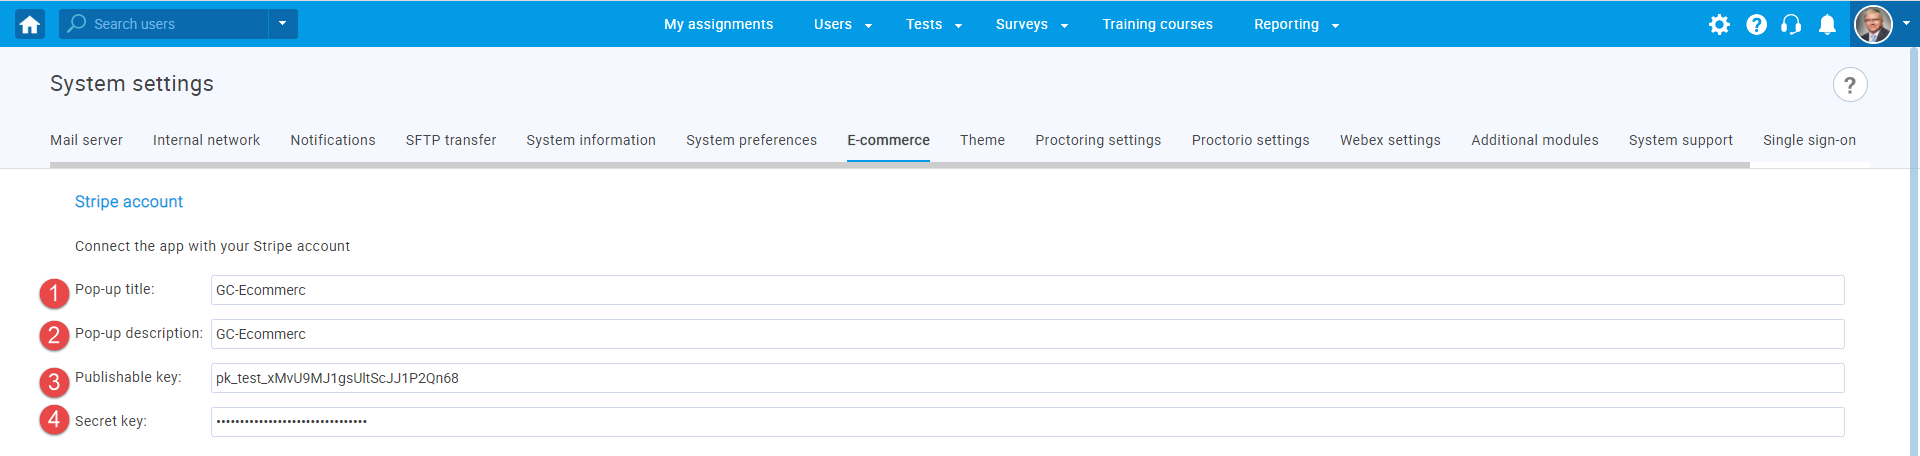
To set up e-commerce, you must have a Stripe account. To connect the GetCertified with your Stripe account:
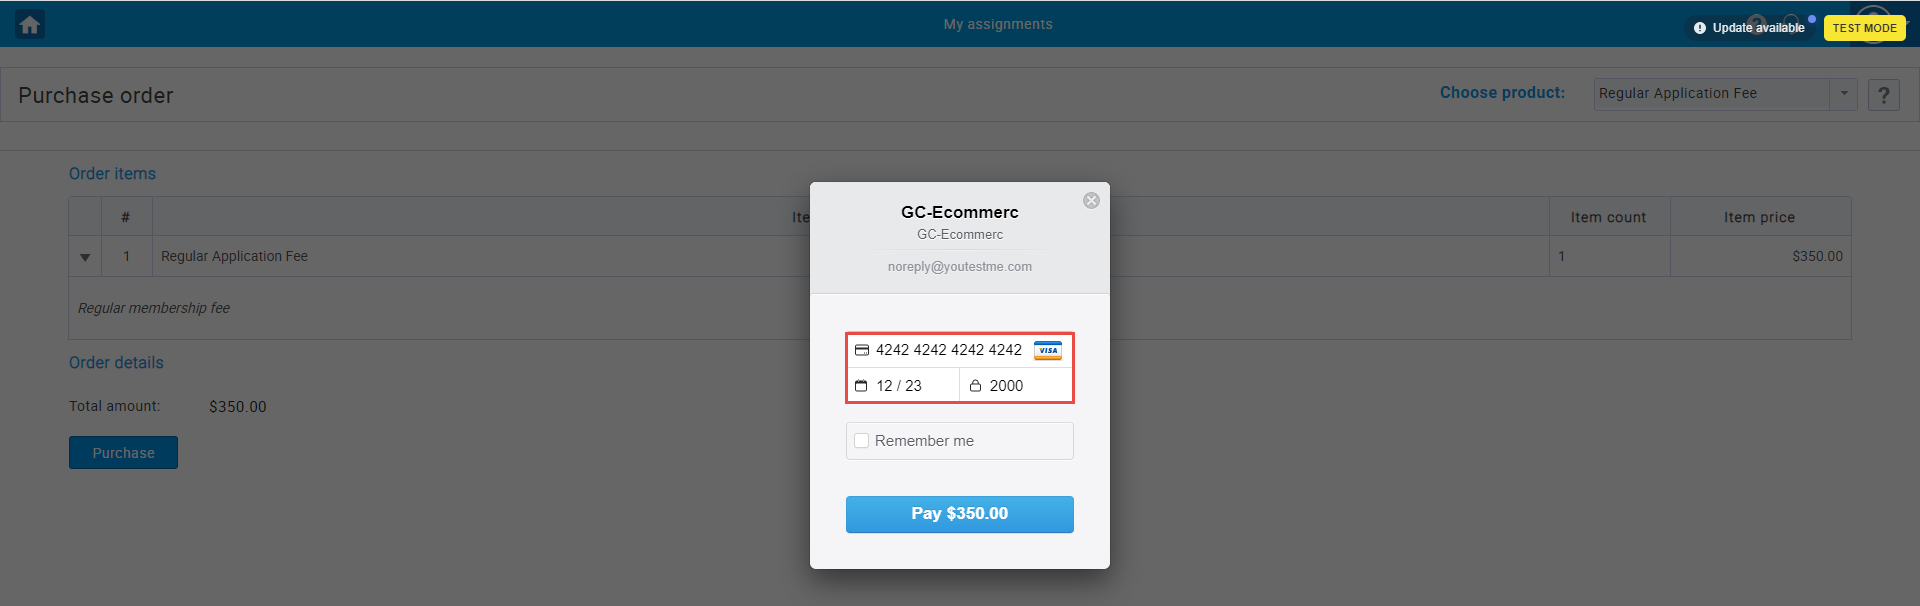
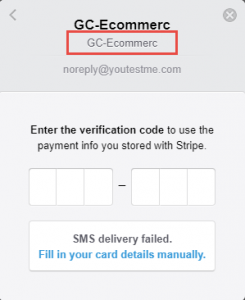
- Enter the pop-up title. This title will be displayed when entering a payment card by the candidate.
Example of how the pop-up title will be displayed from the candidate’s perspective who need to pay the fee.
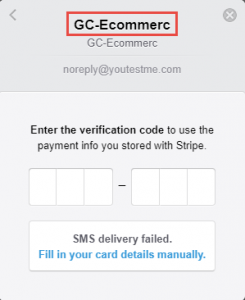
- Enter the pop-up description. This text will be displayed when entering a payment card by the candidate.
Example of how the pop-up description will be displayed from the candidate’s perspective who need to pay the fee. -
3. Enter the publishable key you got when creating the Stripe account.
4. Enter the secret key you got when creating the Stripe account.
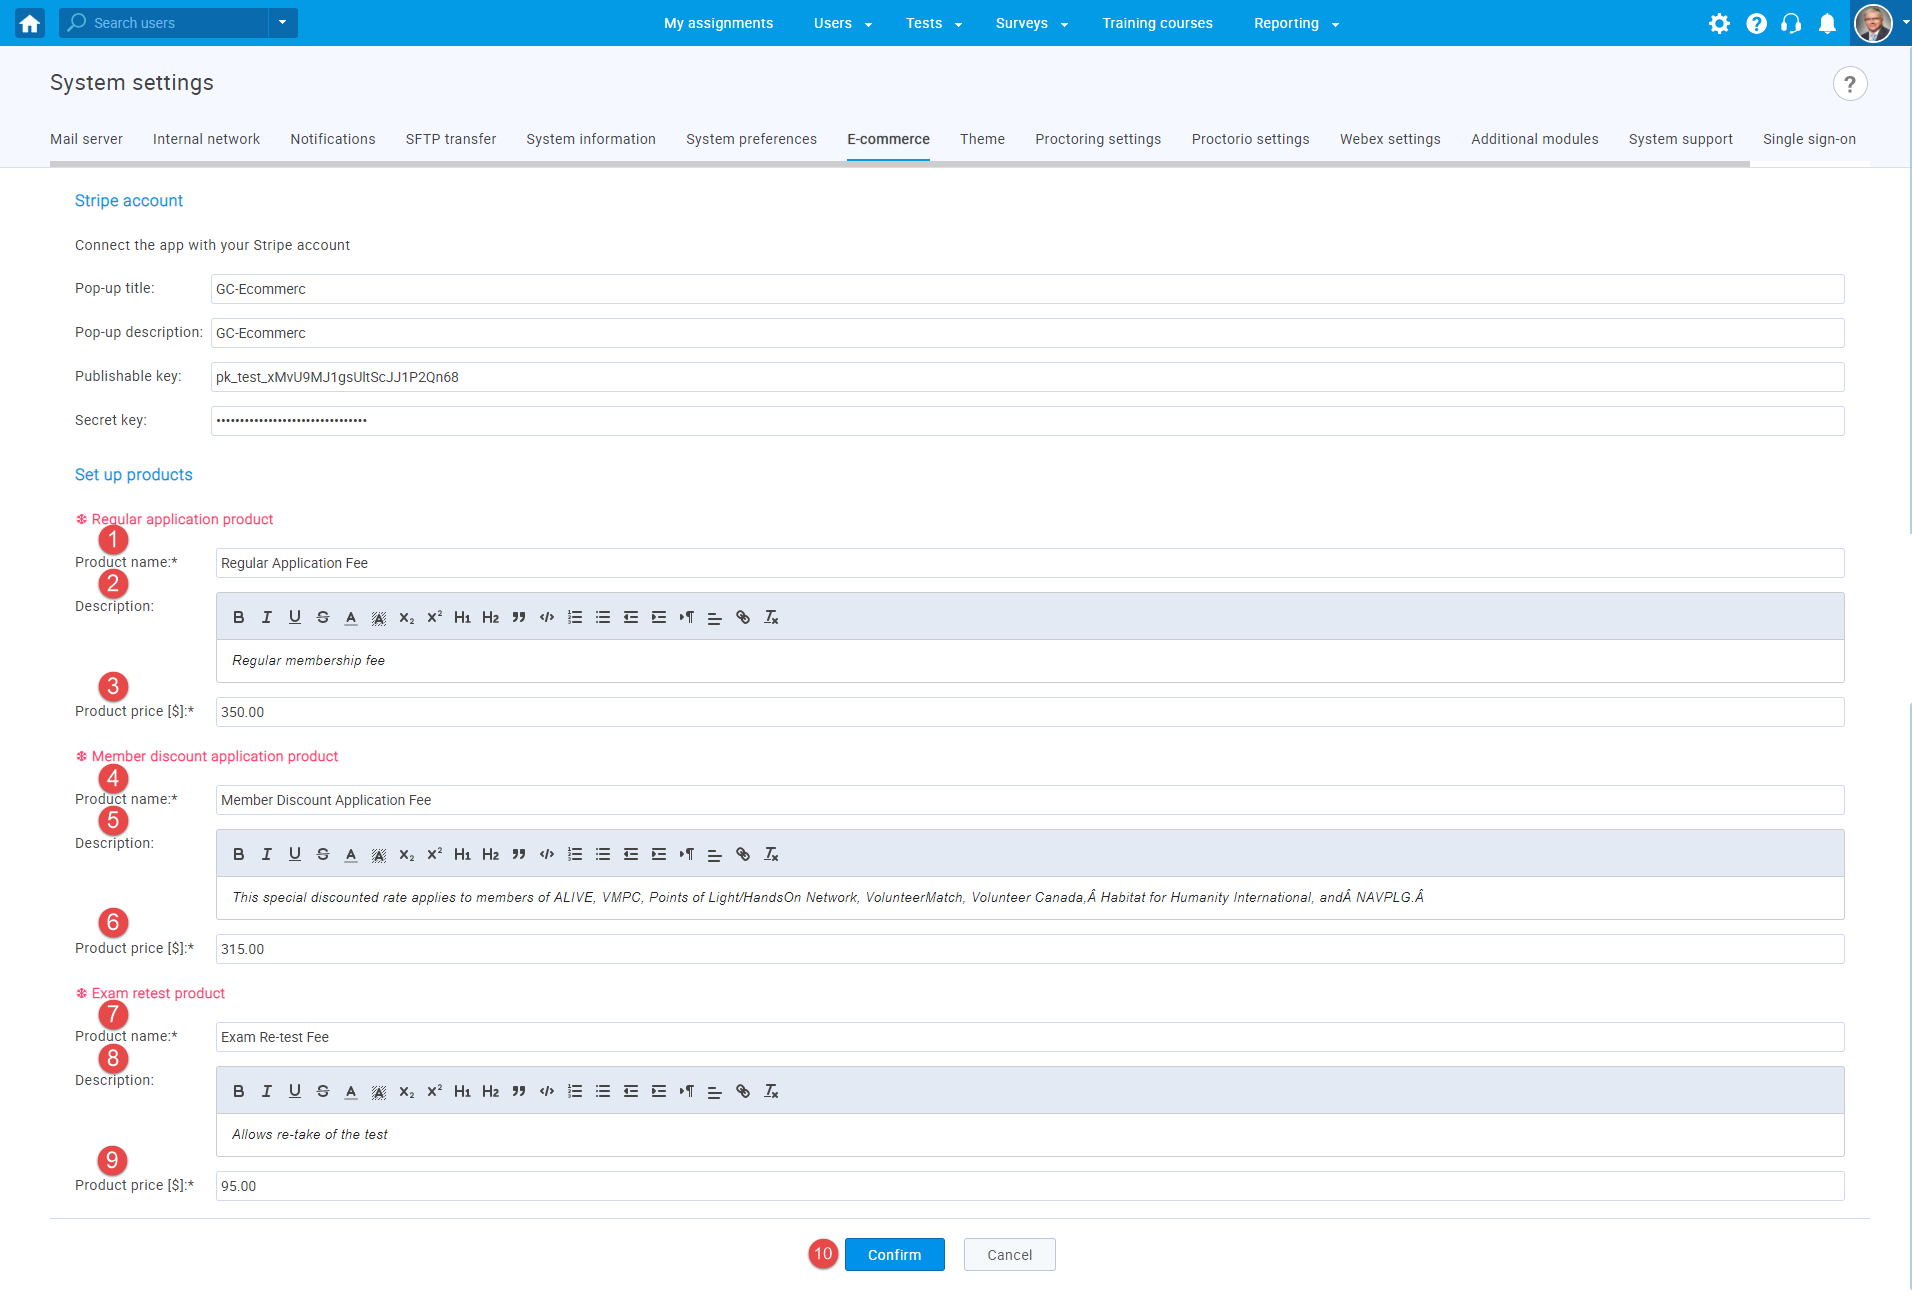
To set up products and prices, follow the next steps:
- Regular application product
- Enter the product name.
- Enter the description.
- Enter the product price.
- Member discount application product
- Enter the product name.
- Enter the description.
- Enter the product price.
- Exam retest product
- Enter the product name.
- Enter the description.
- Enter the product price.
- Click the “Confirm” button to save changes.
Checking the candidate’s account balance
Once e-commerce is set up, the administrator can change the current account balance on the candidate’s profile.
Once you access the candidate’s profile:
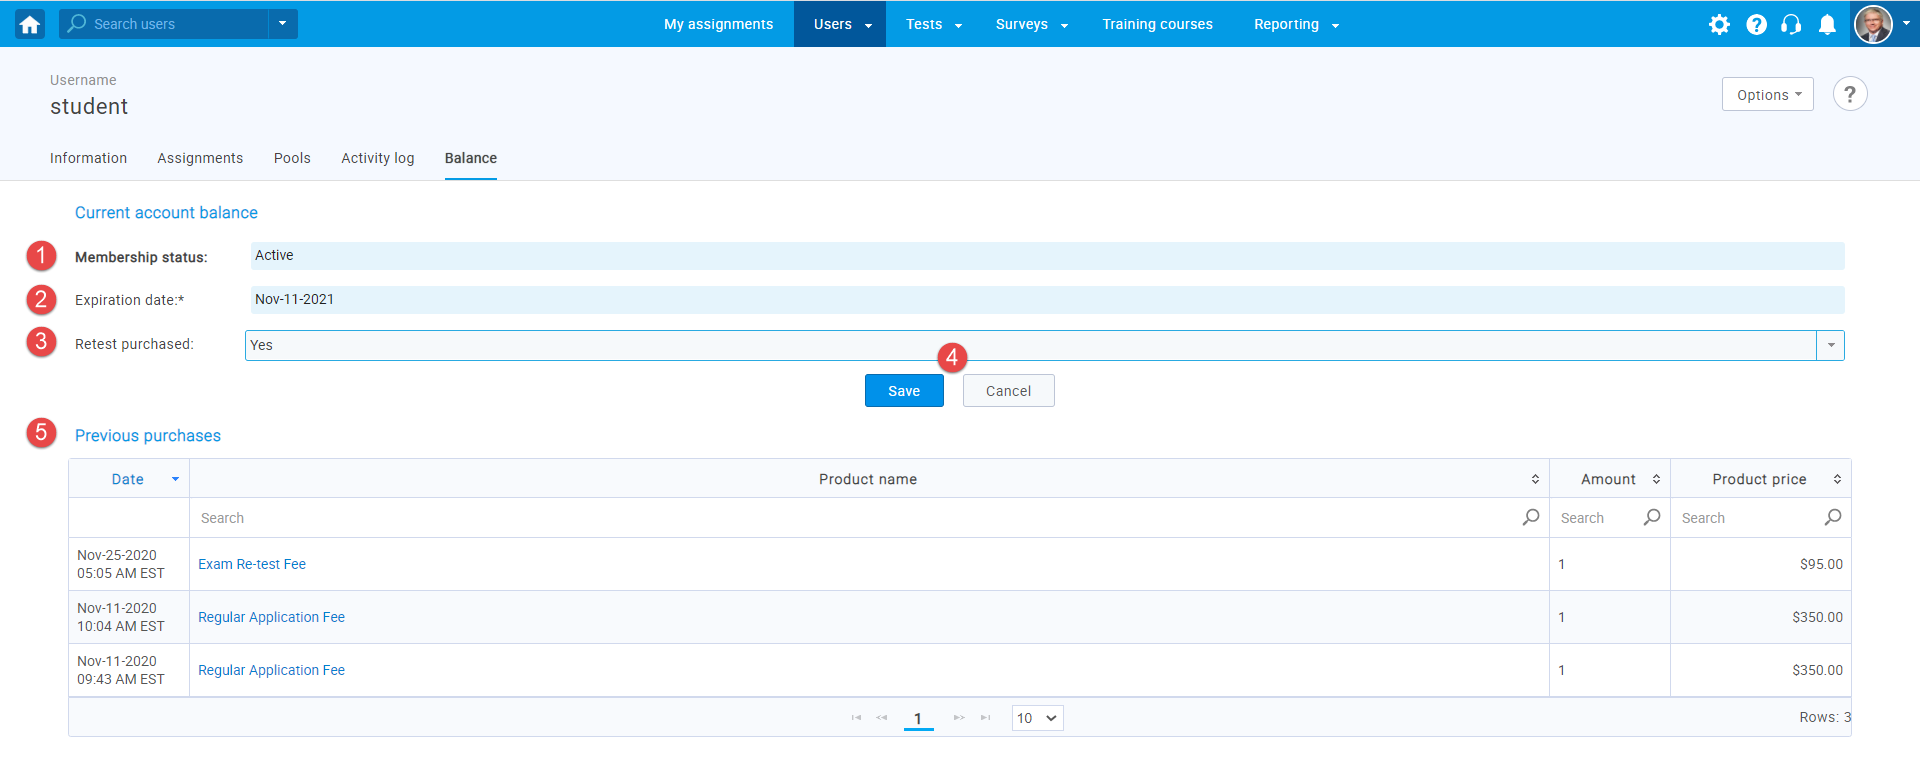
- Click the “Balance” tab.
- Set membership status. The “Active” status means that candidate should not pay before the start of the test. The “Deactivate” status means that candidate should pay before the start of the test.
- Set the expiration date. When this period expires, the candidate must pay for the test.
- In the “Retest purchased” field, choose “Yes” if the candidate purchased a retest and “No” if the candidate didn’t.
- Click the “Save” button to confirm changes and “Cancel” to discard it.
The administrator can also see the candidate’s previous purchases (number 5 in the picture below).
For more information on how the candidates pay a registration fee, please see How to pay the registration fee.
NOTE: For testing purposes, use a dummy credit card number – 4242 4242 4242, enter a random future date in the “MM/YY” field and any four numbers in the CVC field.
Example: