This article represents a guide on how to export a paper-based exam package in the YouTestMe GetCertified platform.
Accessing the testing location page
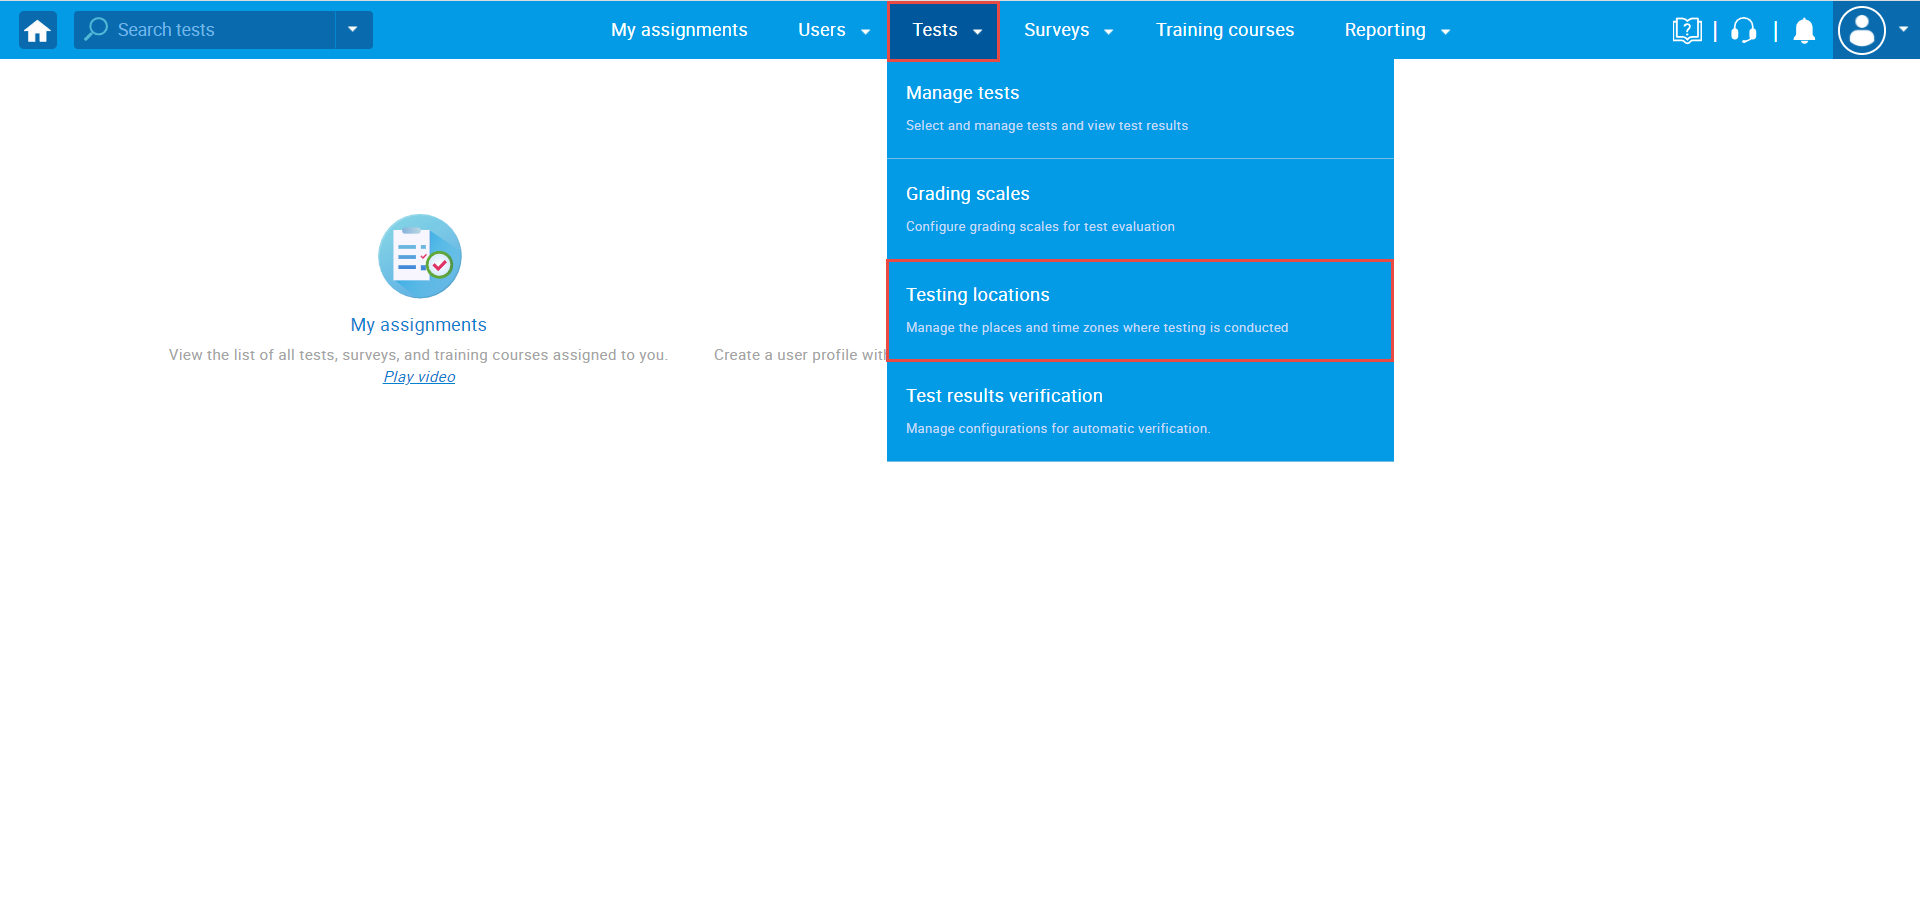
To access the testing location page, hover over the “Tests” in the main menu and select “Testing locations“.
Exporting the paper-based package
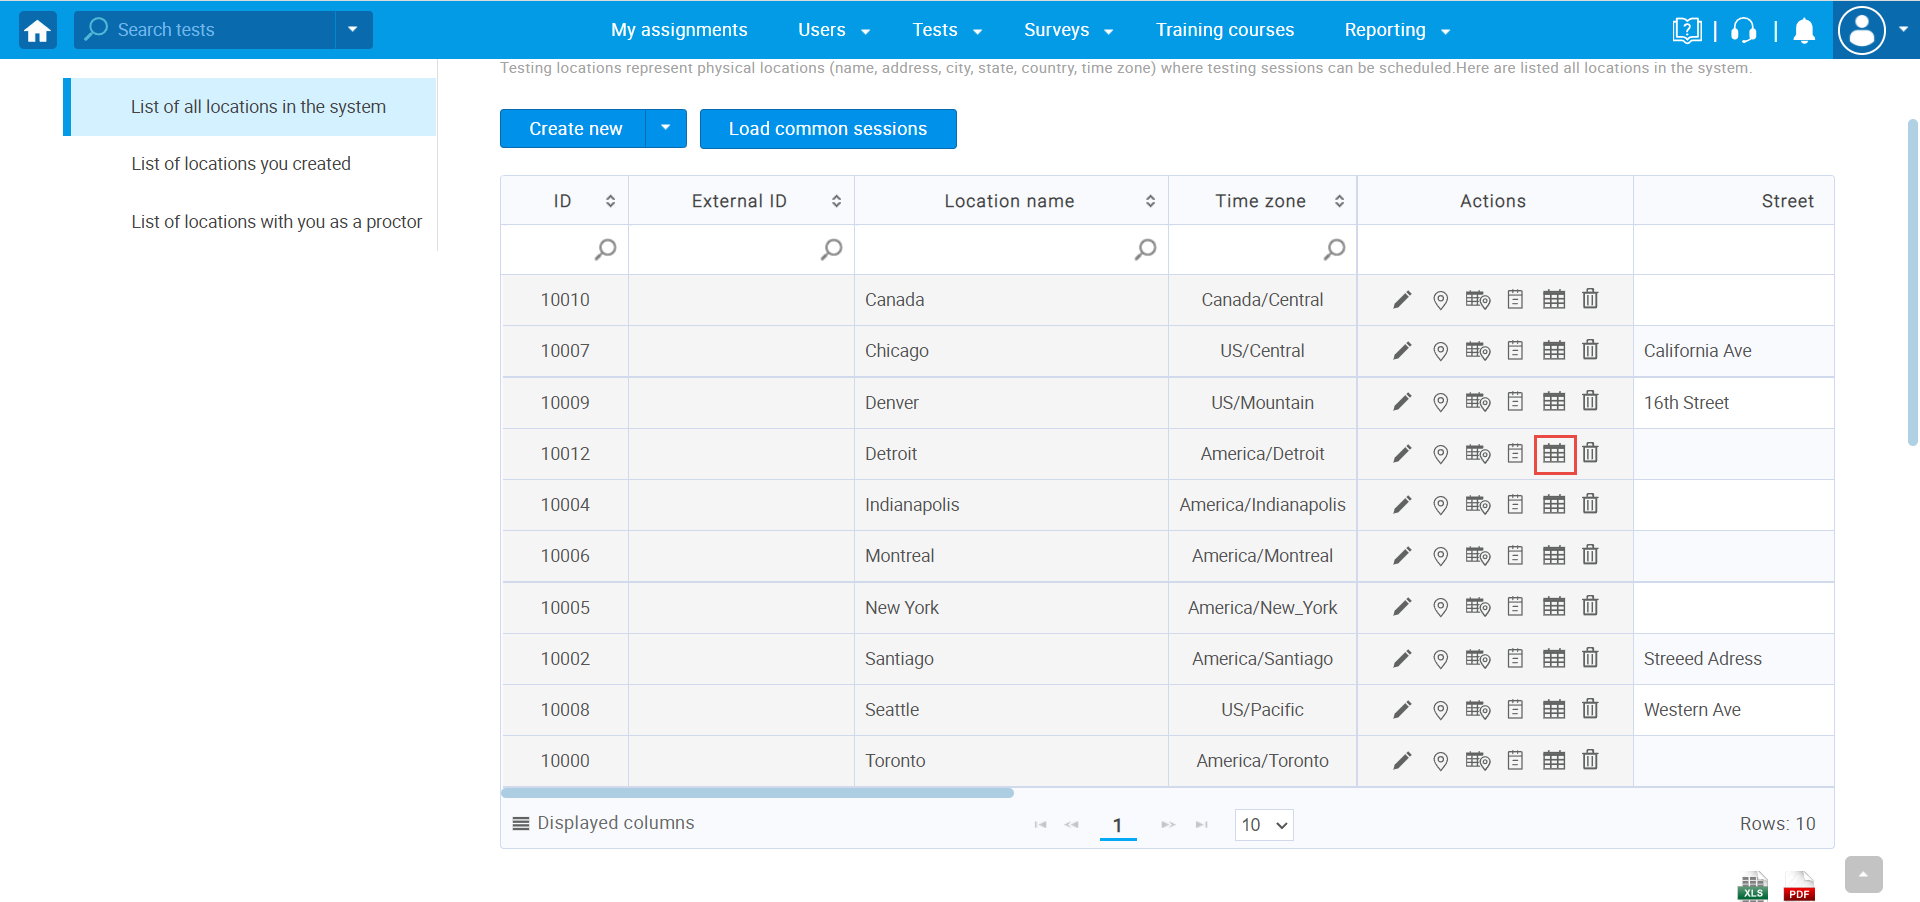
To export a paper-based package, you should click on the “Calendar” icon marked in the picture below.
The calendar with all scheduled testing sessions will appear. You can see a preview by:
- Month
- Week
- Day
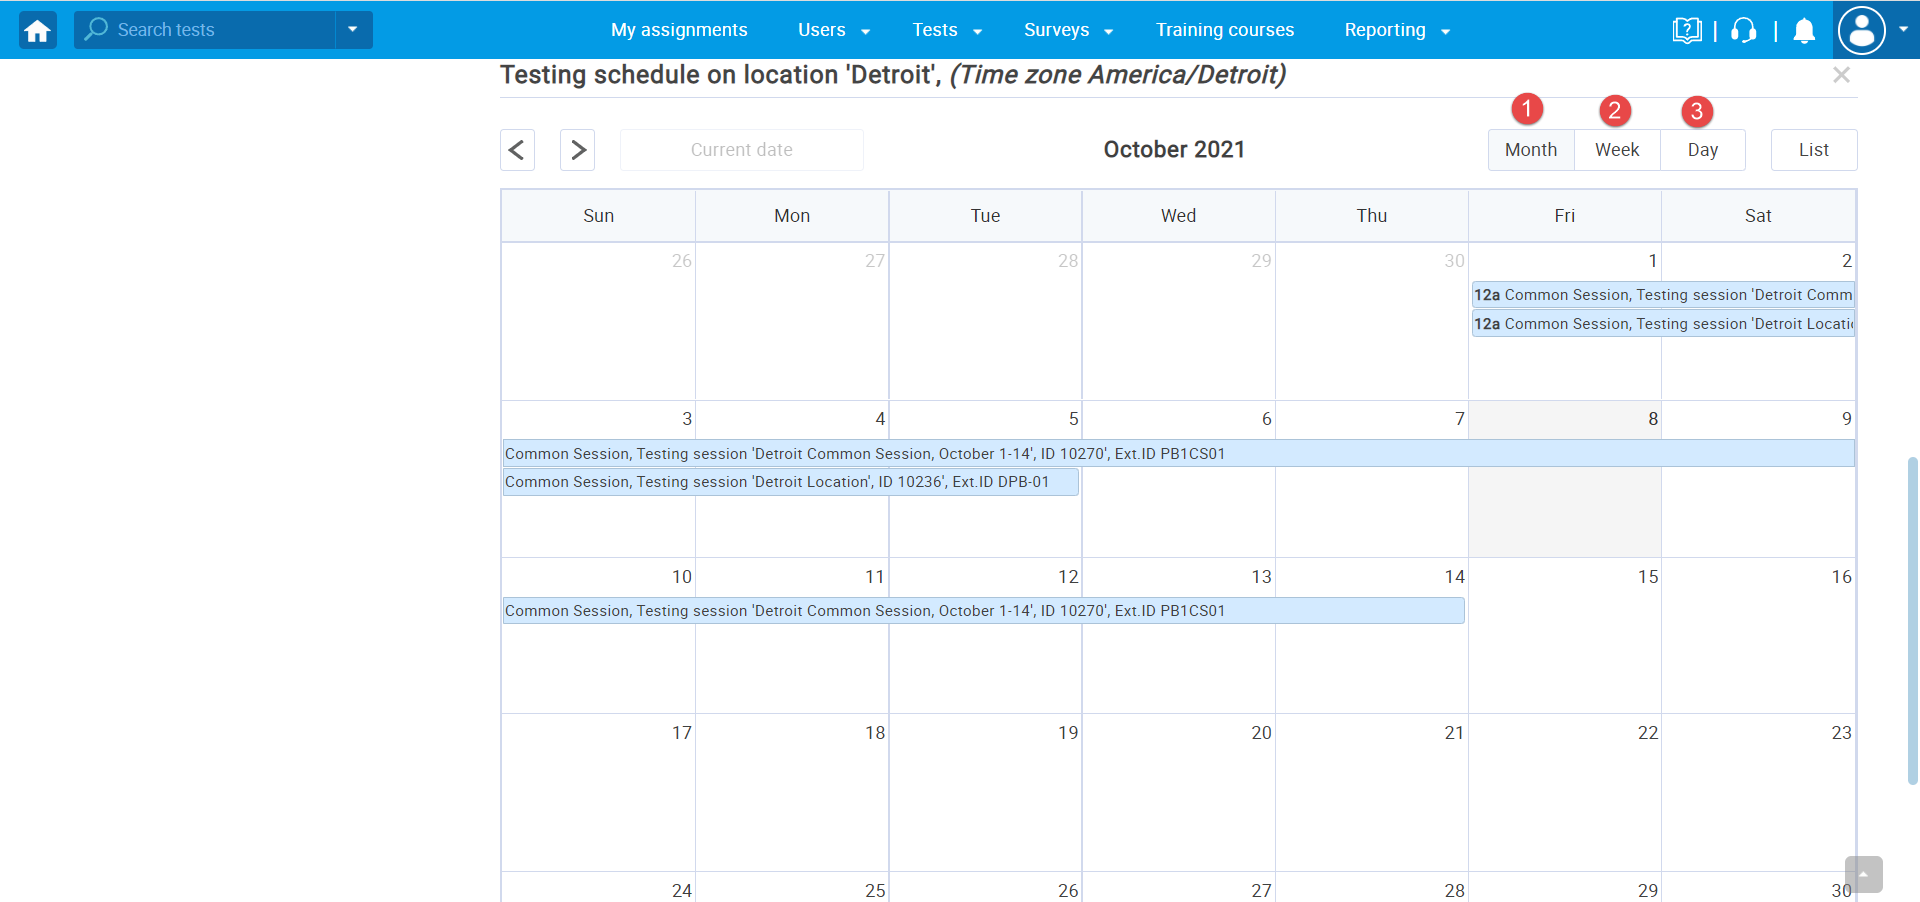
- Click on the “List” icon to open the options for editing.
- Click the “Export” button to download the Paper-based package that contains common session data.
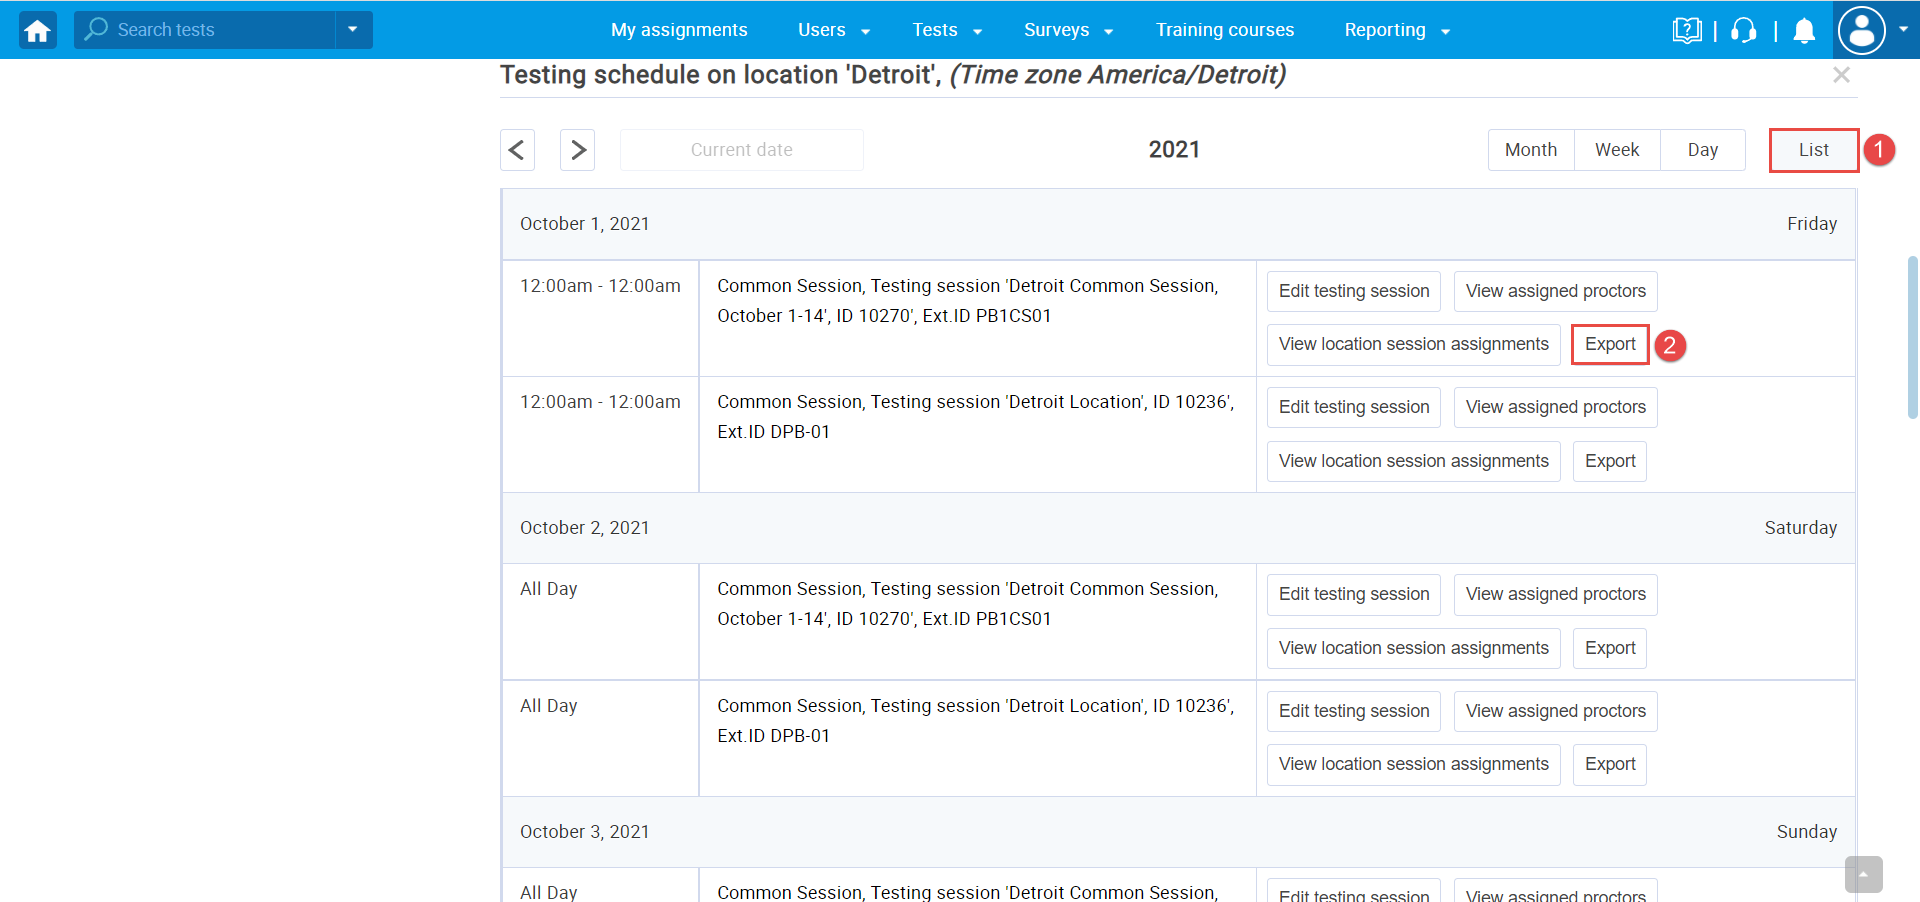
The confirmation dialogue will appear, and you should click on the “Confirm” button and wait for a zip file to be downloaded.
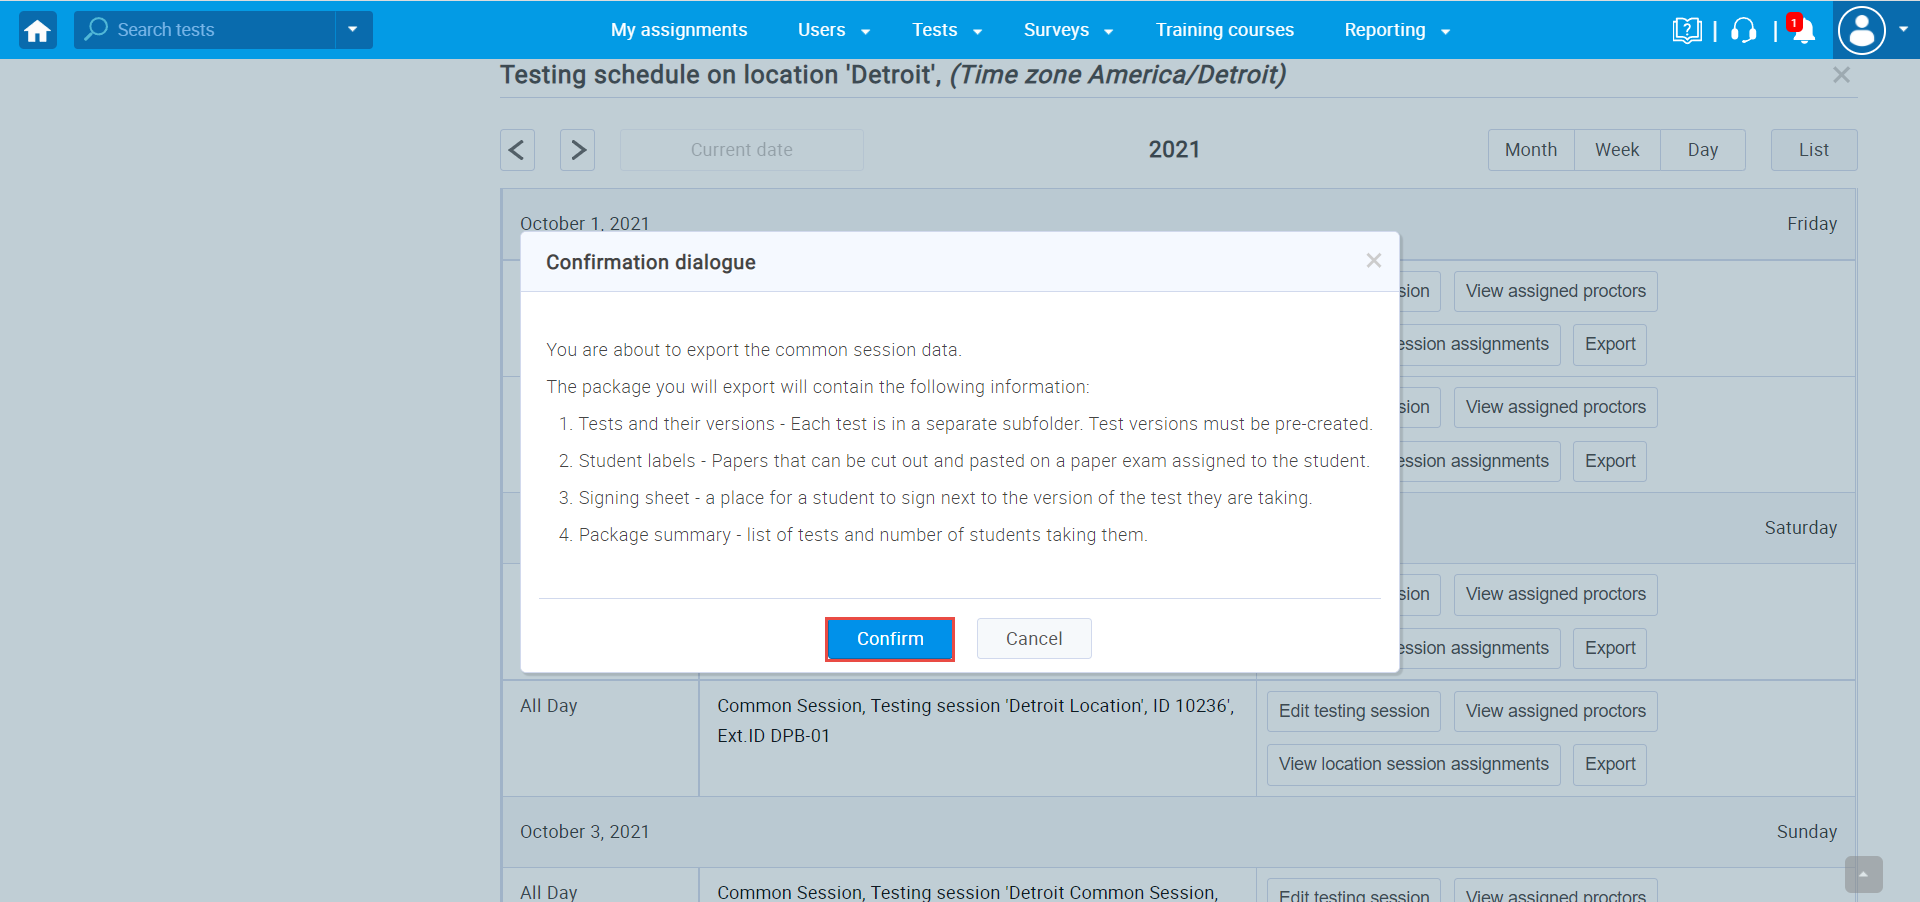
Details about exported package
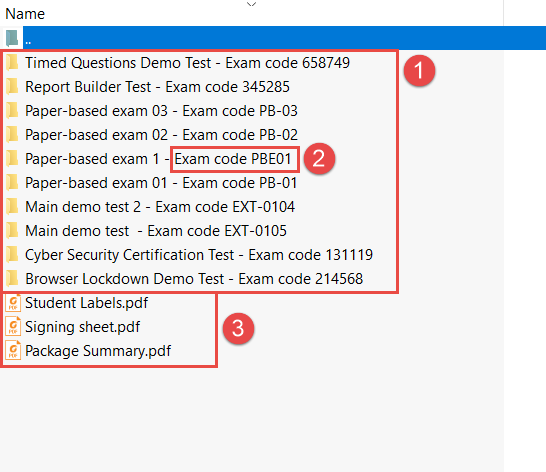
The exported zip file will contain:
- Tests and their versions – Each test is in a separate folder. Test versions must be pre-created.
- Each folder will contain the “Exam code” in the name.
- Three PDFs with basic test and candidates information.
- Student labels.
- Signing sheet.
- Package summary.
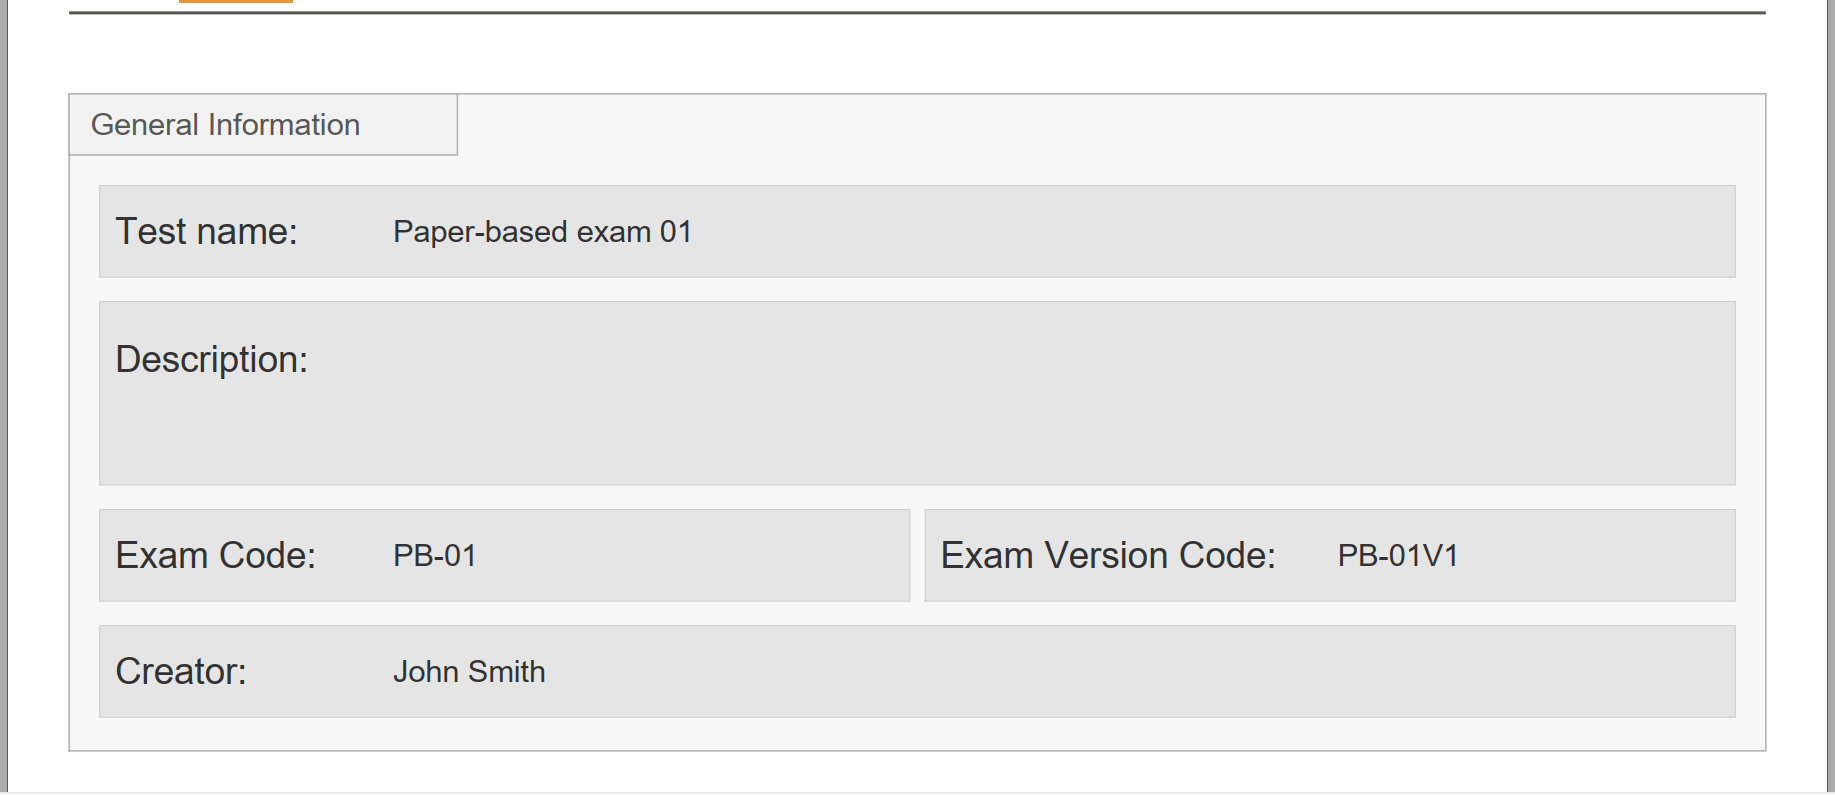
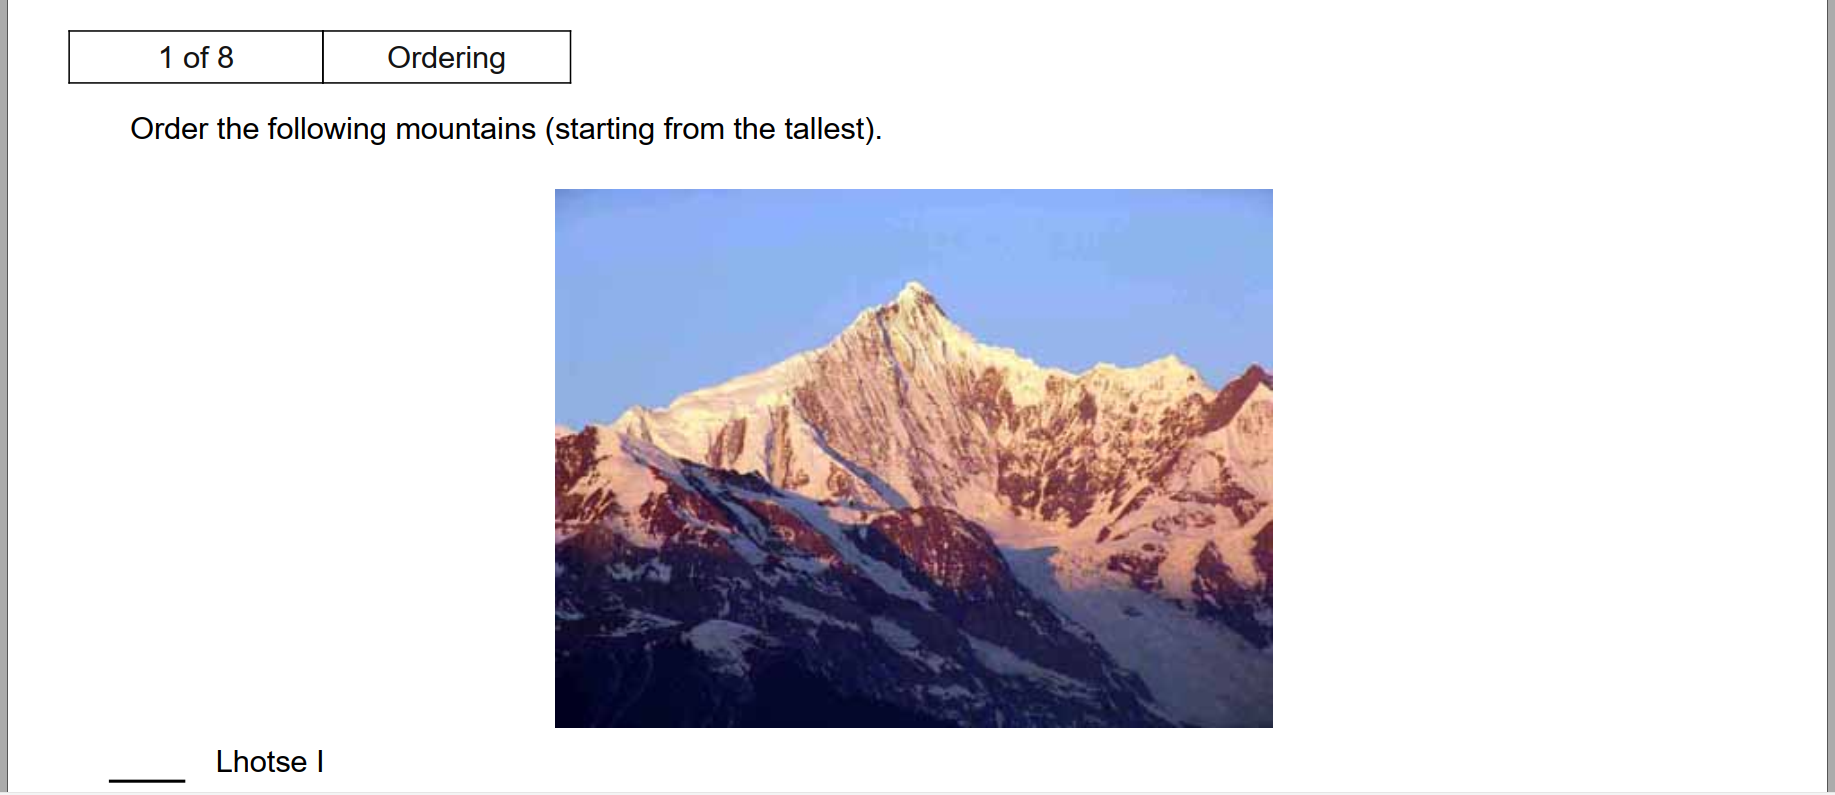
Test folders
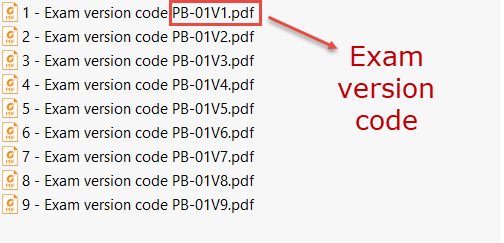
Each file contains the basic information about the test and questions contained in that version.
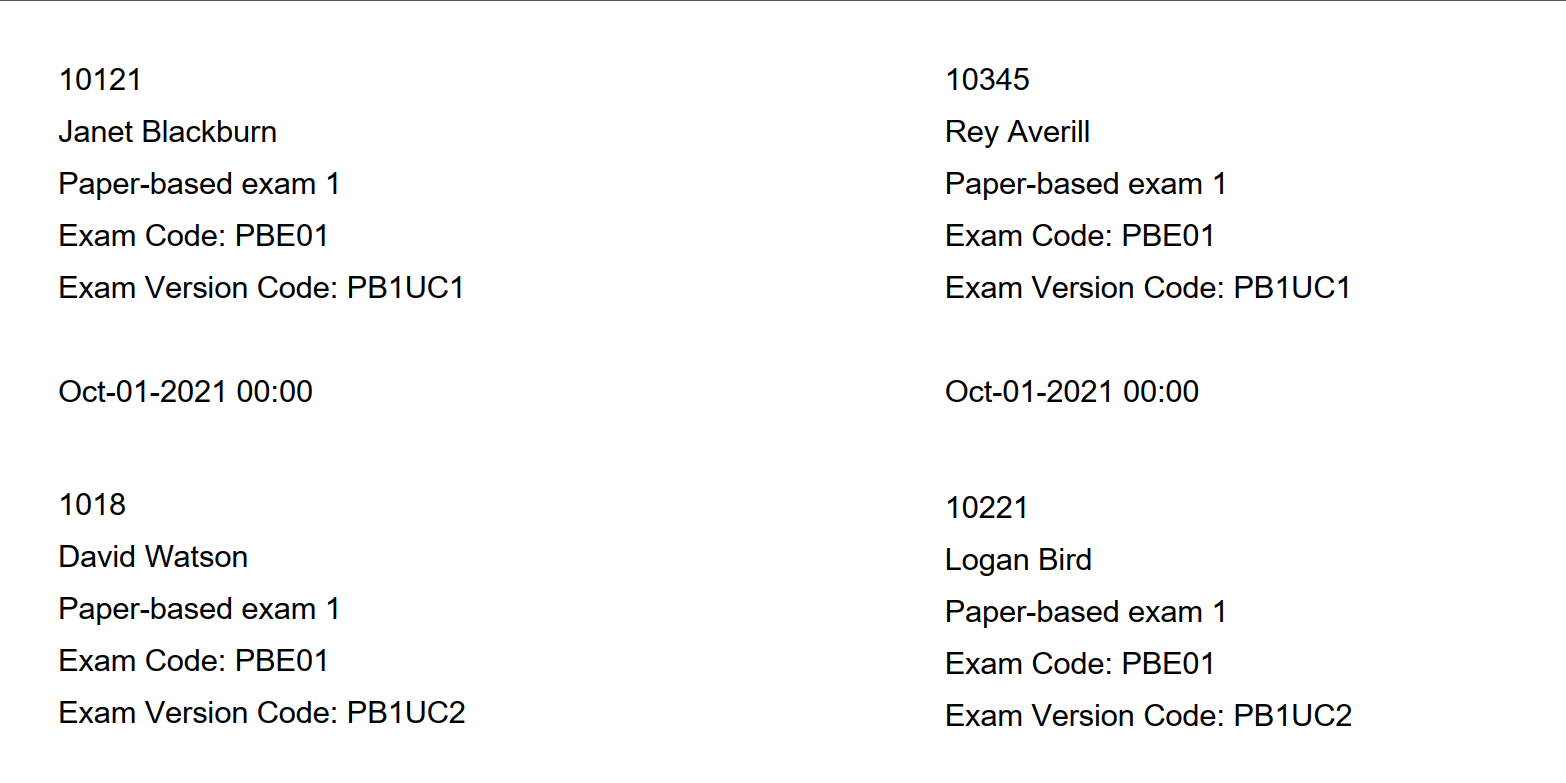
Student labels
Student labels will contain the papers that can be cut out and pasted on a paper exam assigned to the student.
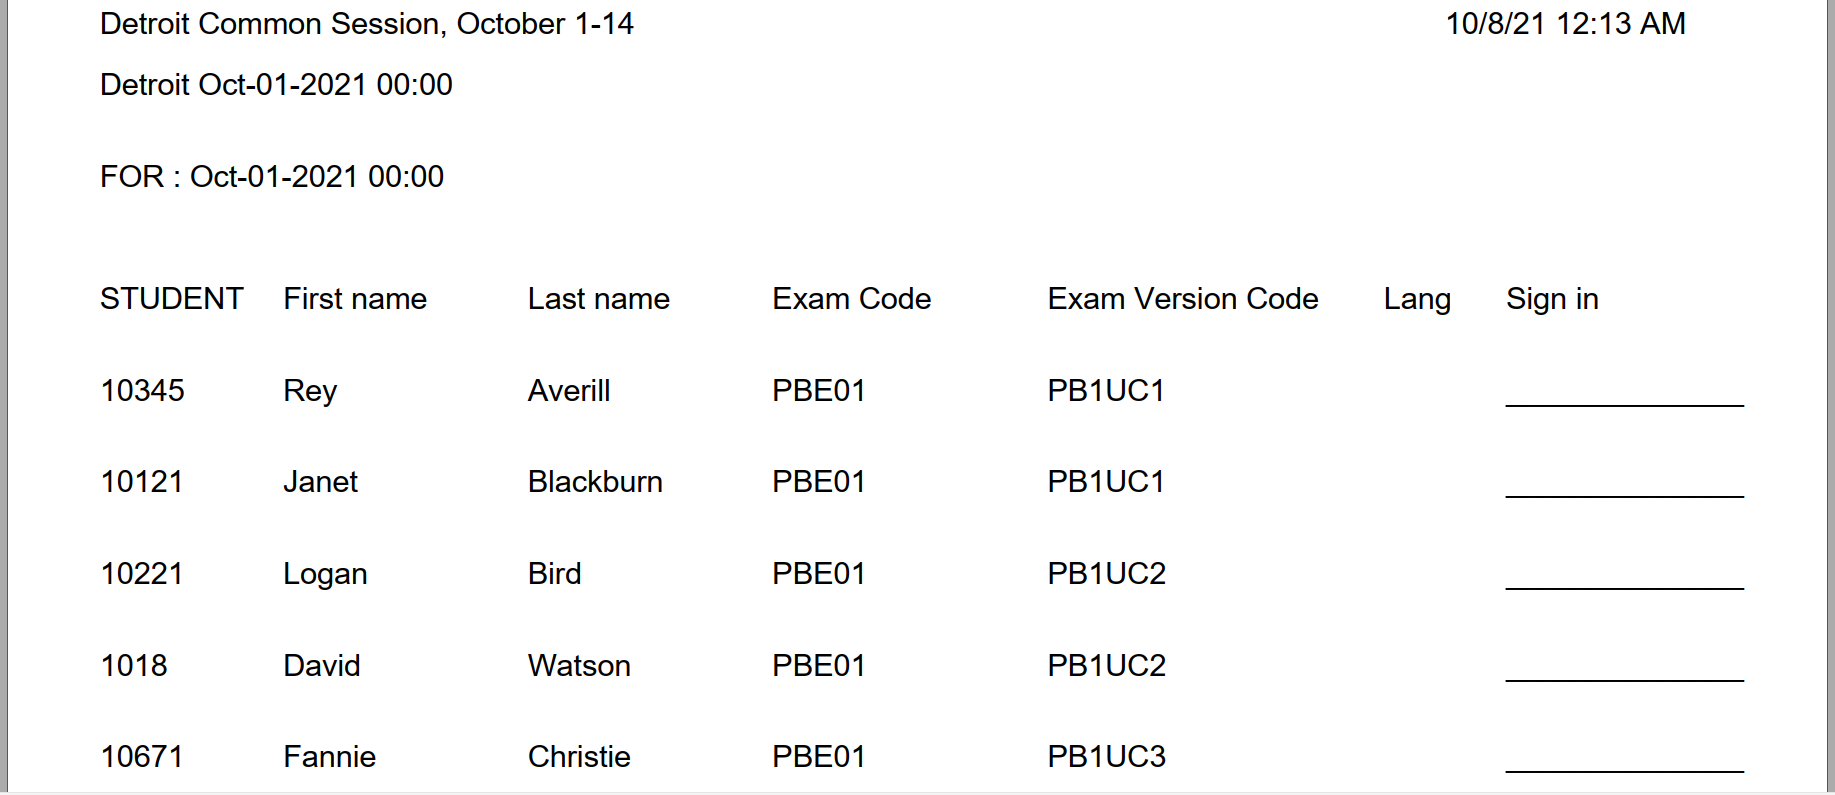
Signing sheet
A signing sheet is a paper for students to sign next to the version of the test they are taking.
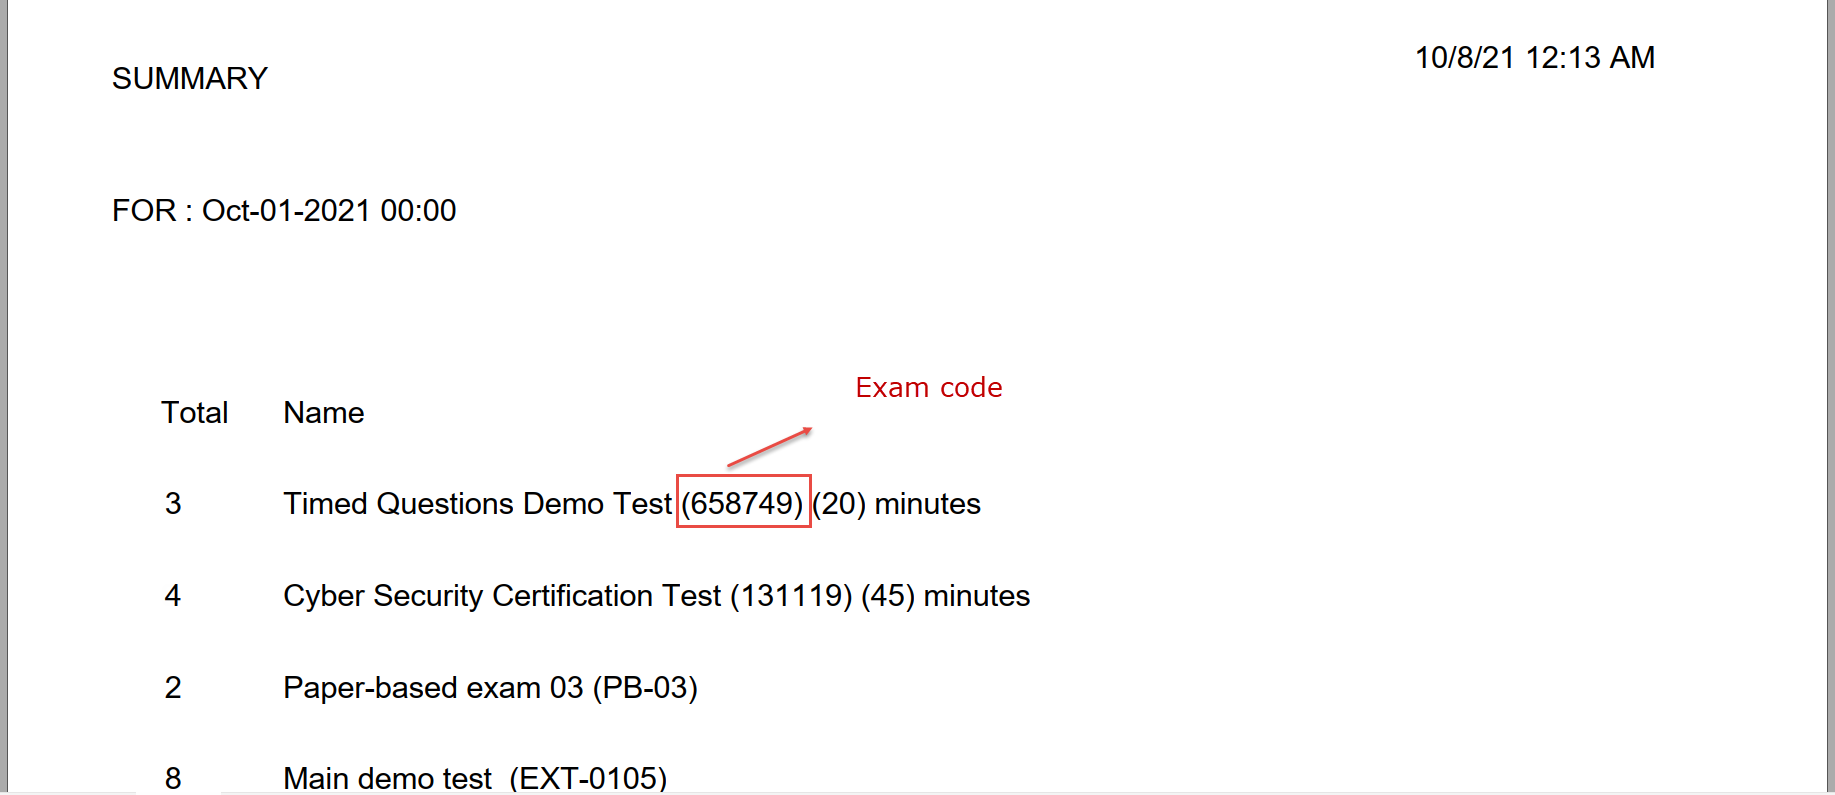
Package summary
Package summary – List of tests and number of students taking them.
For more related instructional materials, please visit:


