This article explains how to create and add certificates to a test. Candidates are awarded certificates when they successfully complete the test.
Creating a certificate
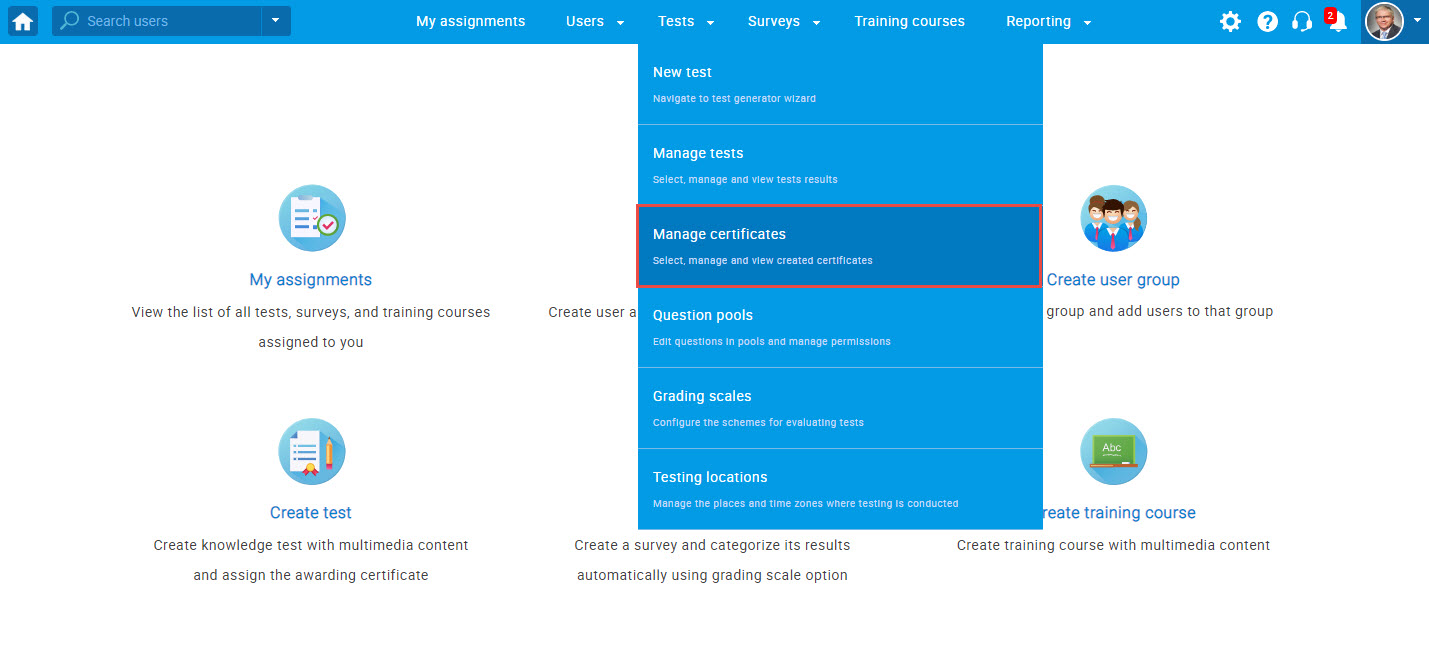
To access the page for managing certificates, click on “Tests” in the main menu, and select “Manage certificates”.
To create a new certificate, follow these steps:
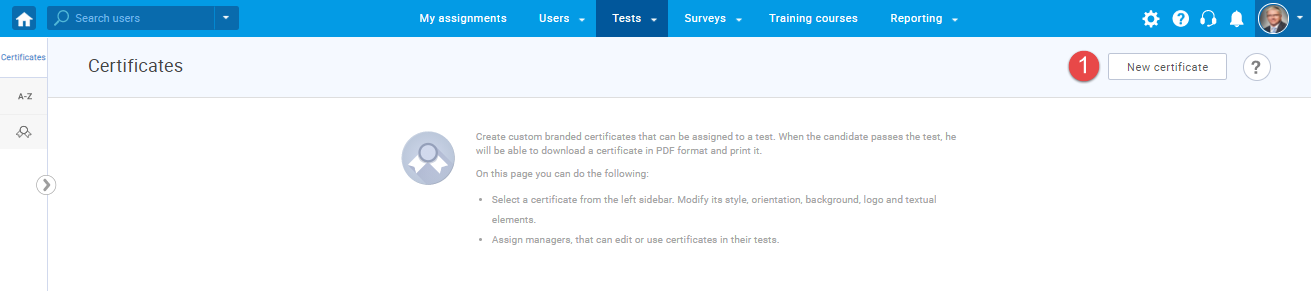
- Click the “New certificate” button.
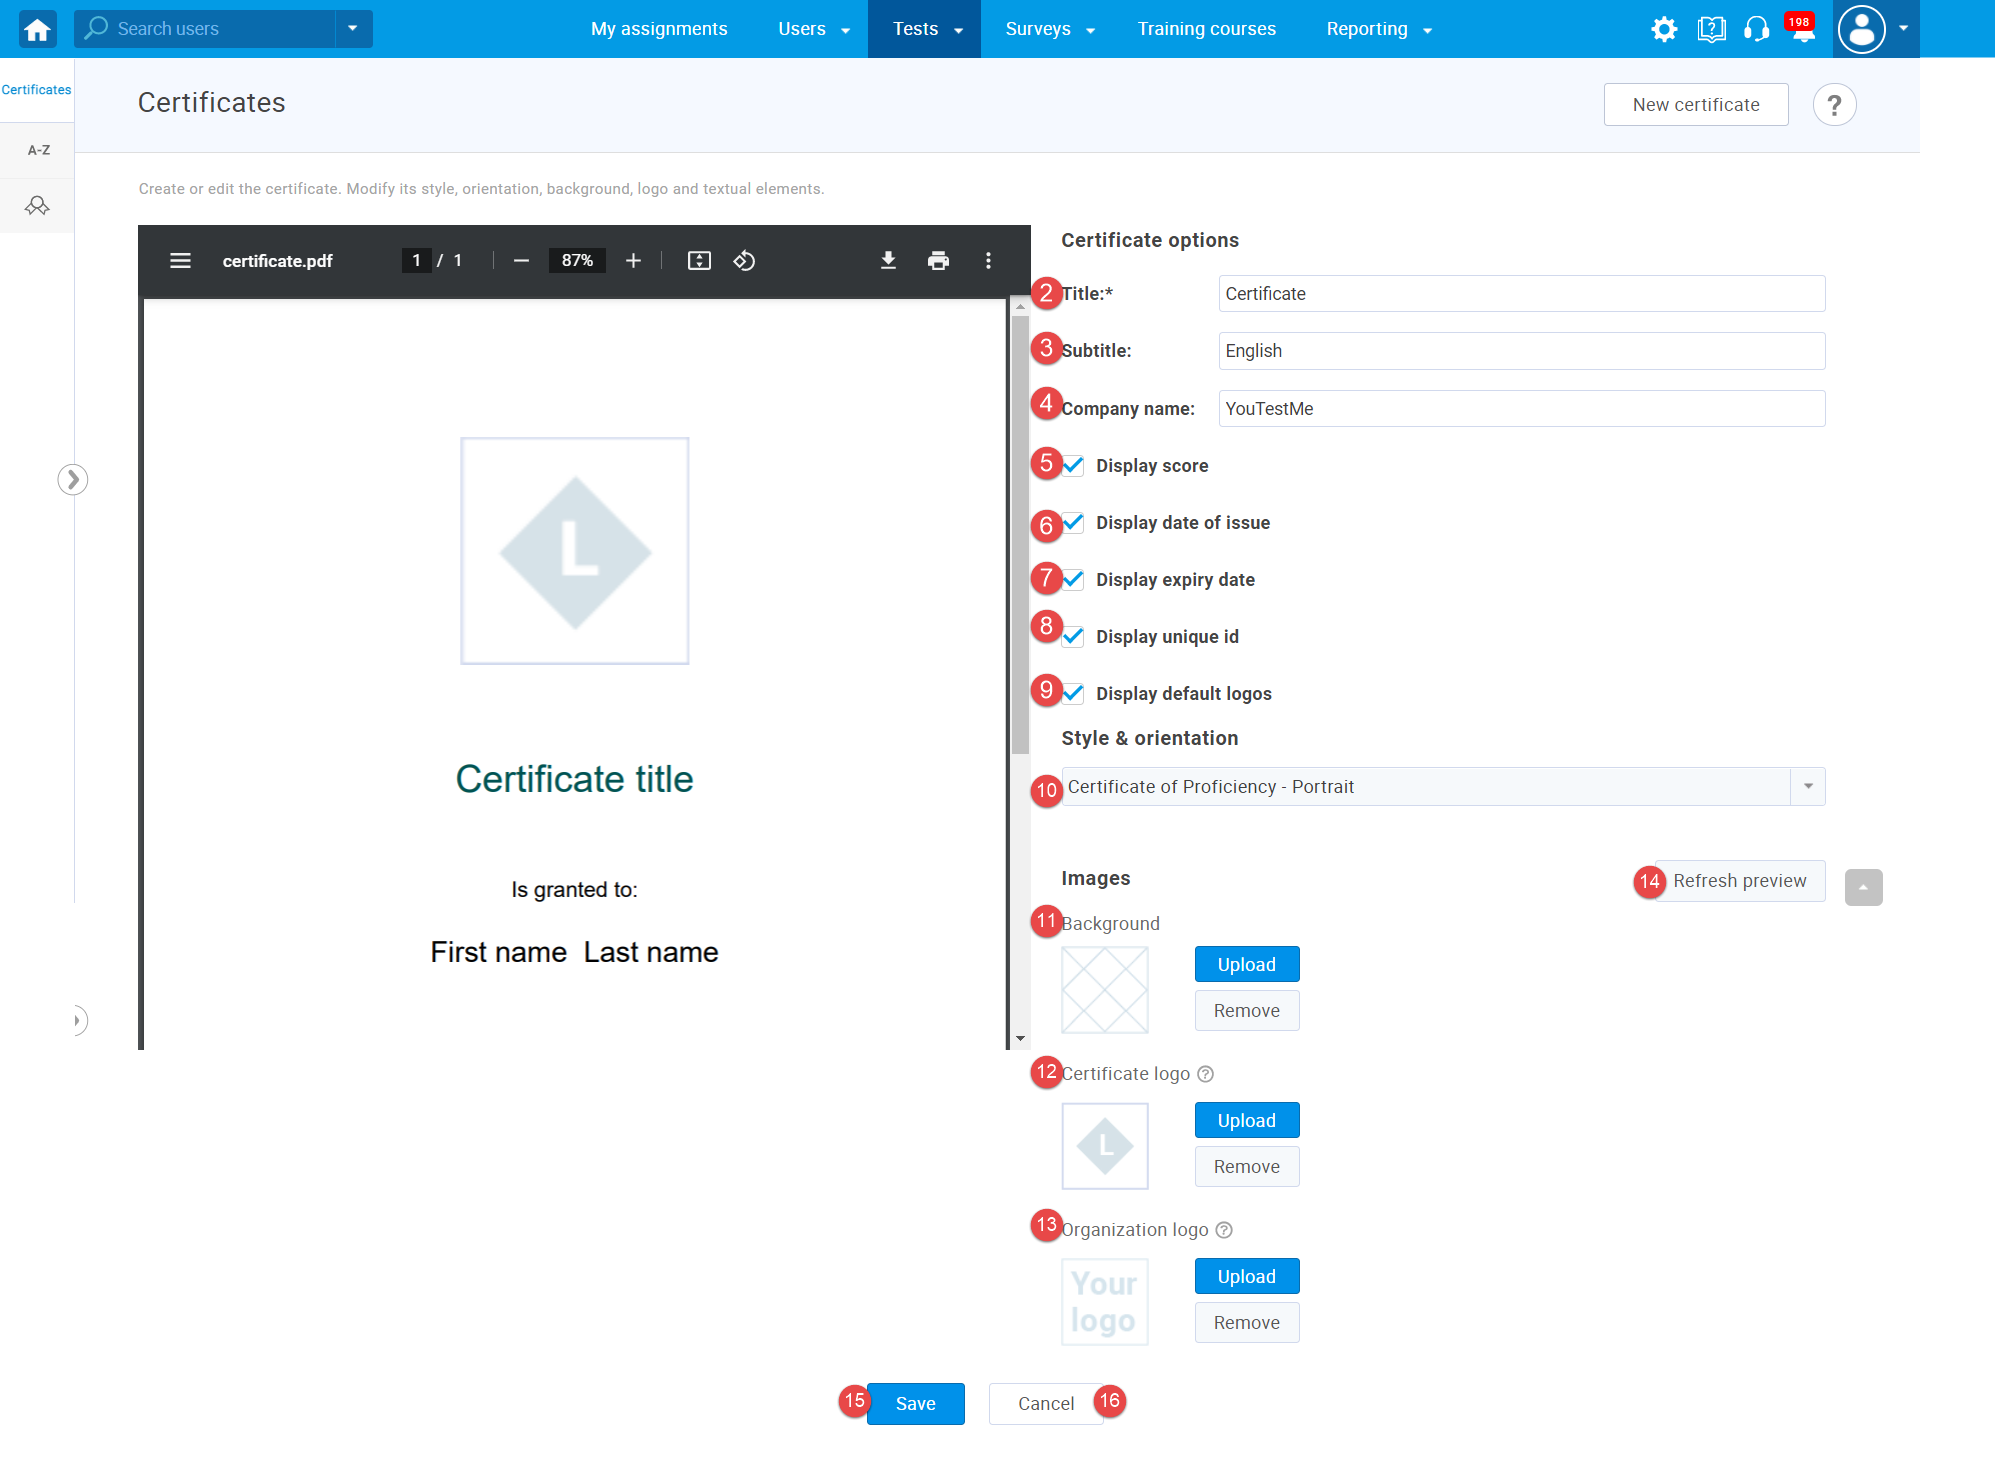
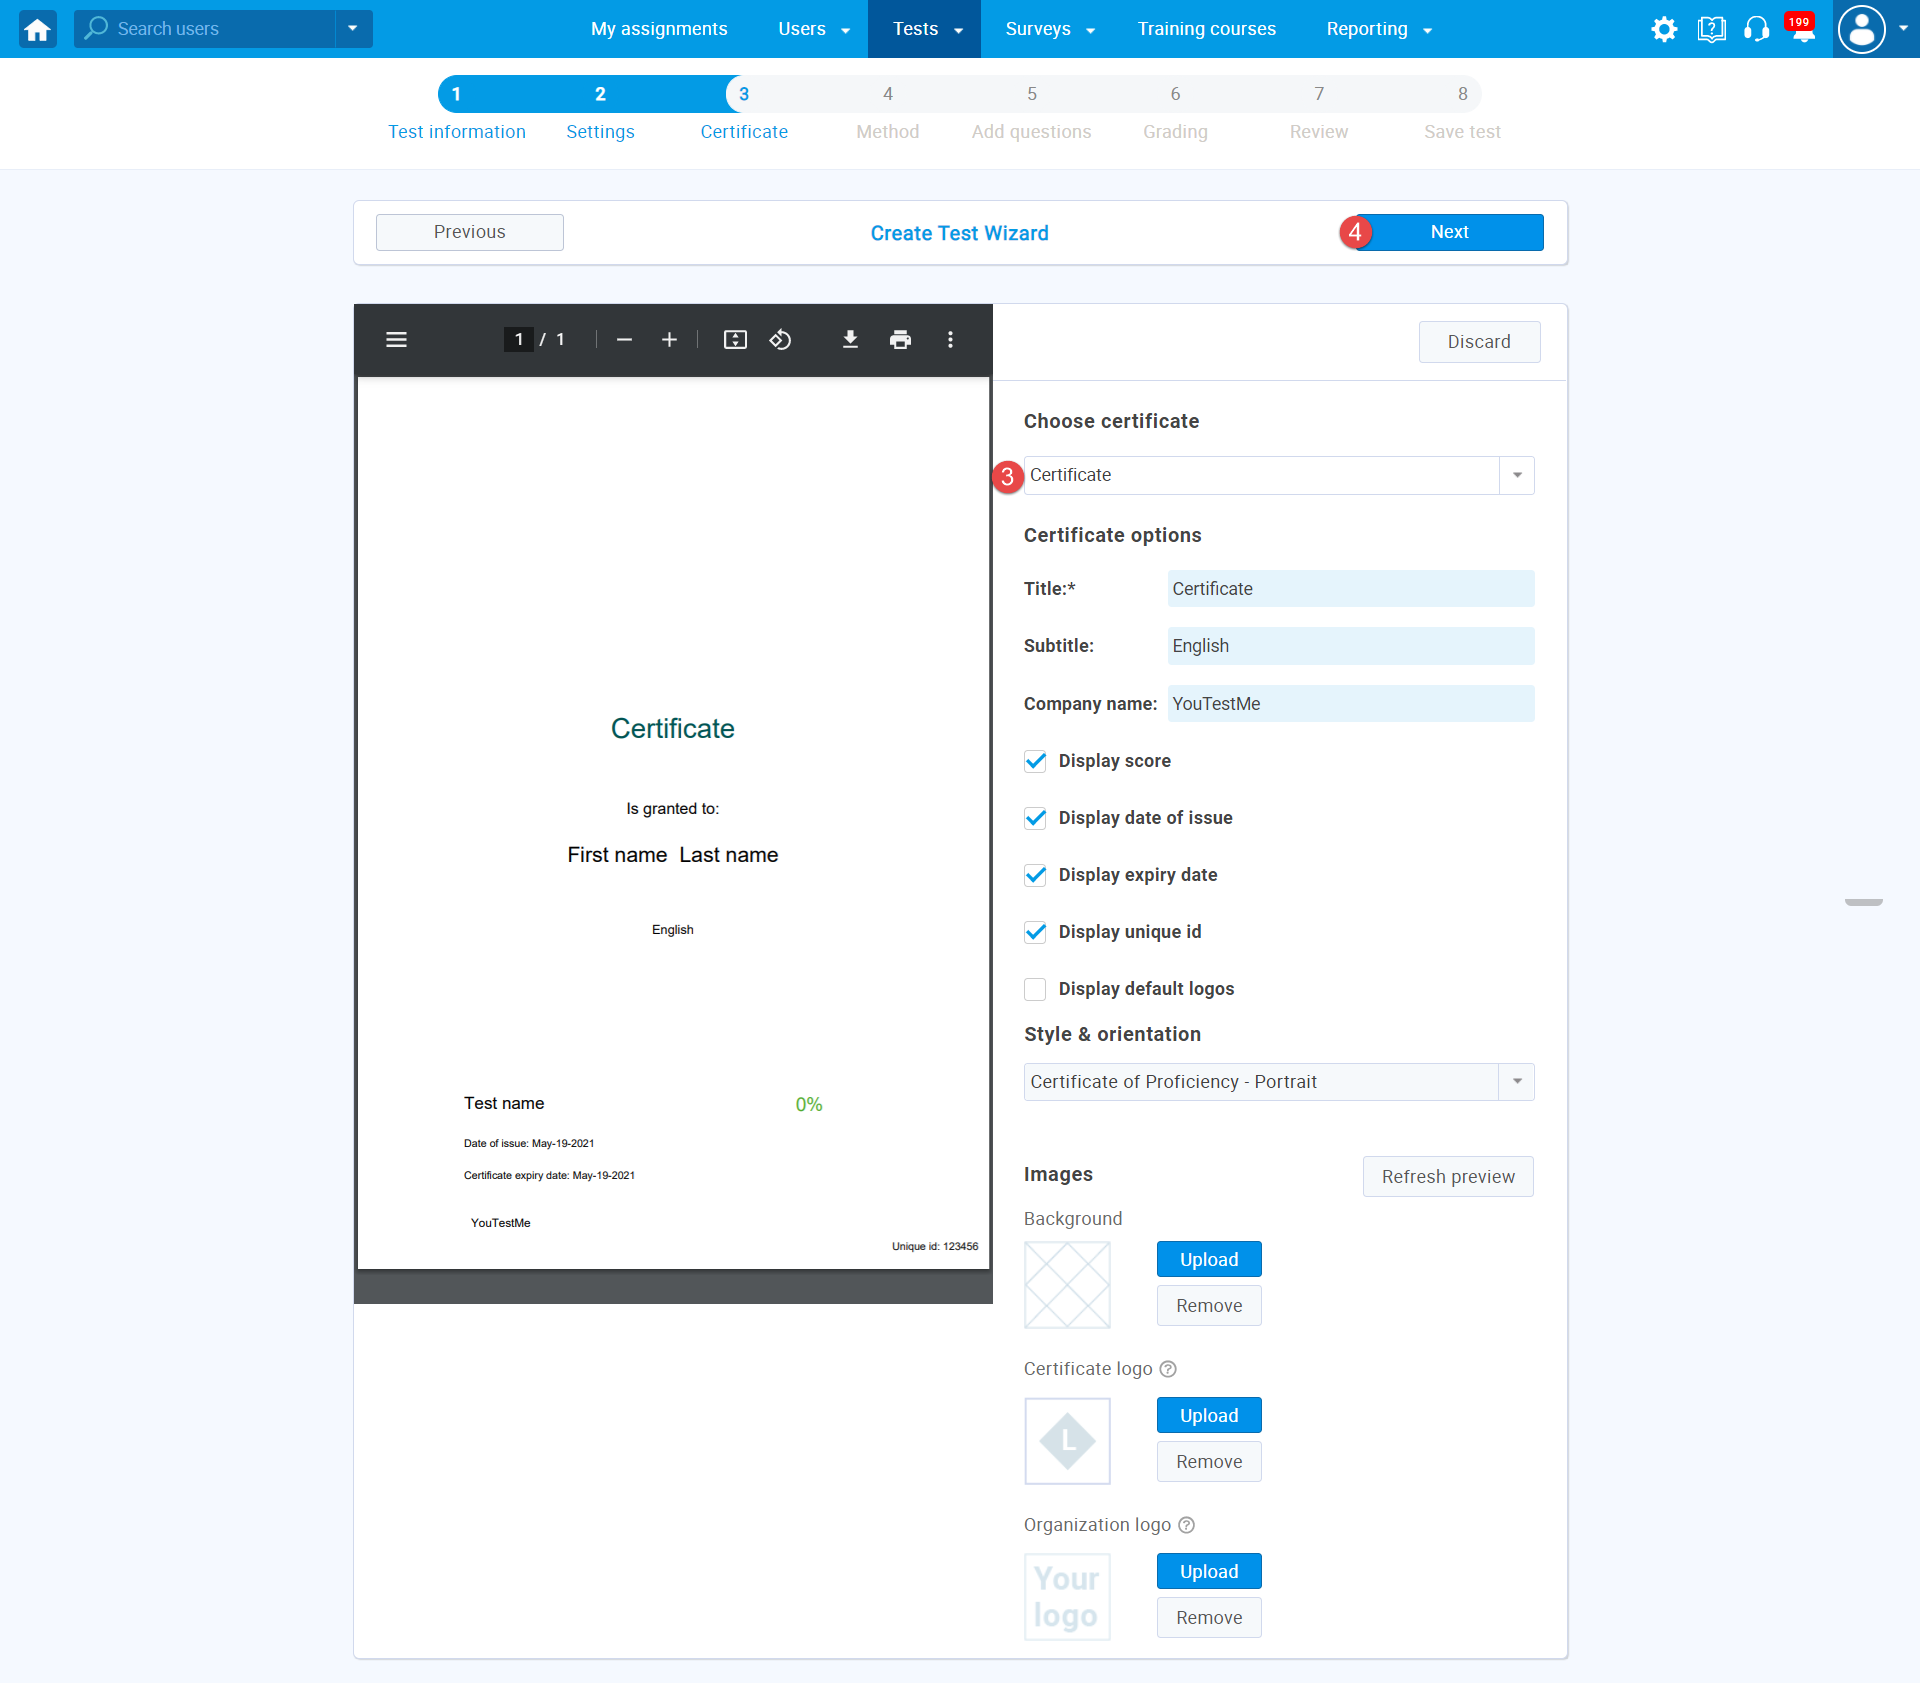
- “Title“- Add a title/name to your certificate. Could be the name of the certification program, exam, level of the test, etc.
- “Subtitle“- Add optional subtitles/description to your certificate.
- “Company’s name“- Enter the name of the company that issues the certificate.
- Choose certificate style and orientation (Portrait, Landscape, Rounded, Gold).
- Display score – tick this box if you would like to display the score achieved on the certificate.
- Display date of issue – tick this box if you would like to display the date when the certificate is issued.
- Display expiry date – tick this box if you would like to display the date when the certificate expires.
- Display unique ID – tick this box if you would like to display the certificate unique ID.
- Display default logos.
- Upload or remove the certificate background.
- Upload or remove your logo.
- Upload or remove the company’s logo.
- Click the “Refresh preview” button to view changes.
- Click the “Save” button to save your certificate.
- Click the “Cancel” to discard changes.
Adding the certificate to the test
To assign a certificate to the test, follow the steps:
- Navigate to the “Certificate” tab in Test Creation Wizard (during test creation process).
- Click the “Add” button.
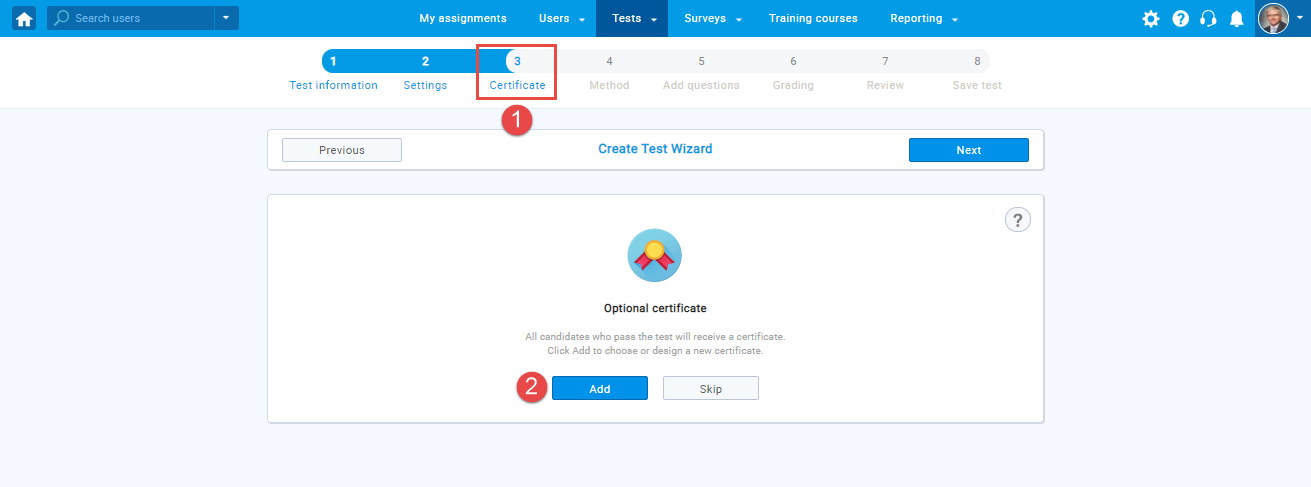
- Select a previously created certificate from the drop-down menu or create a new certificate (following the instructions above).
- Click the “Next” button to go to the next step of the test creation process.
For video instructions on how to design a certificate, you may watch this video.
For more related instructional materials, please visit:


